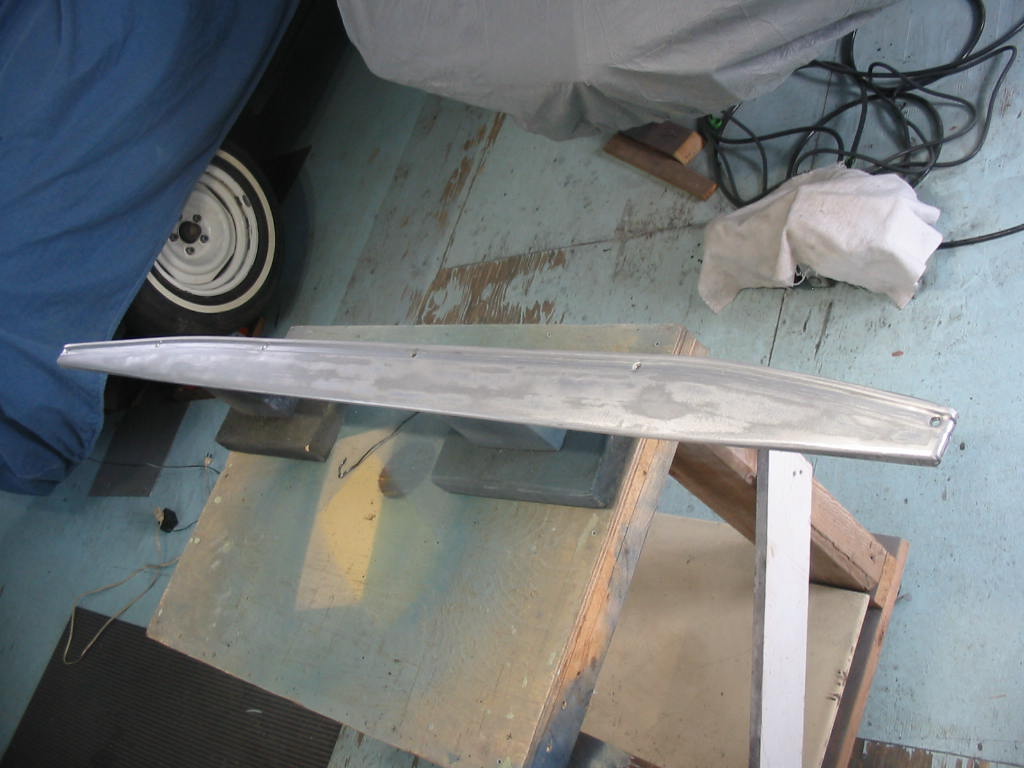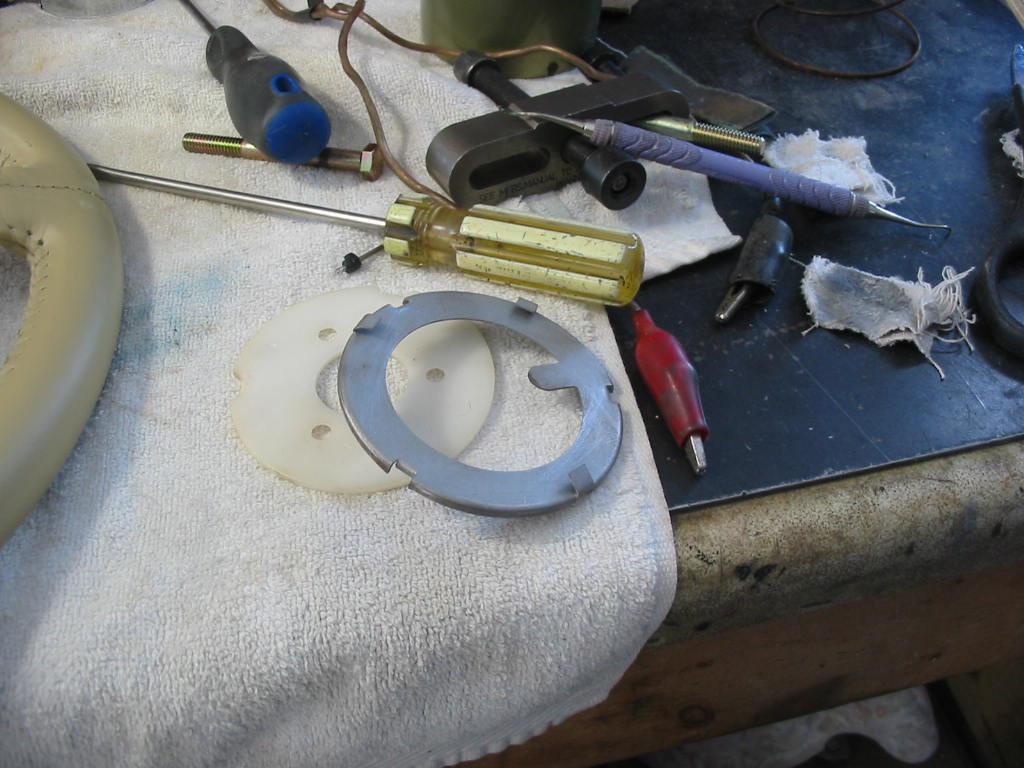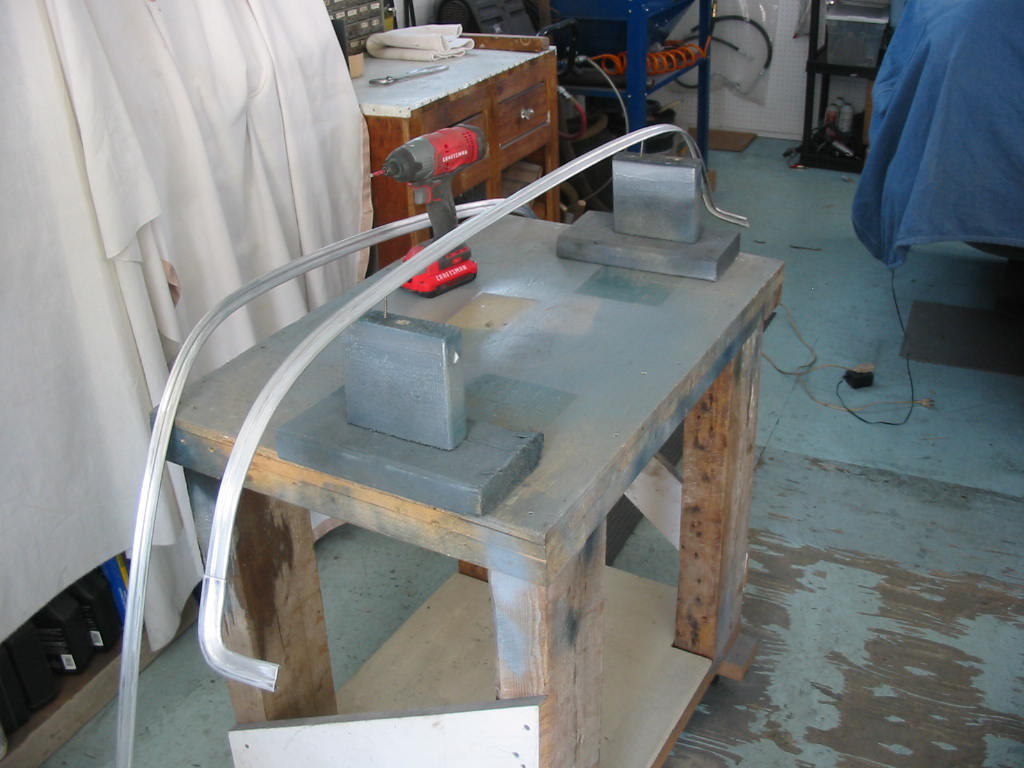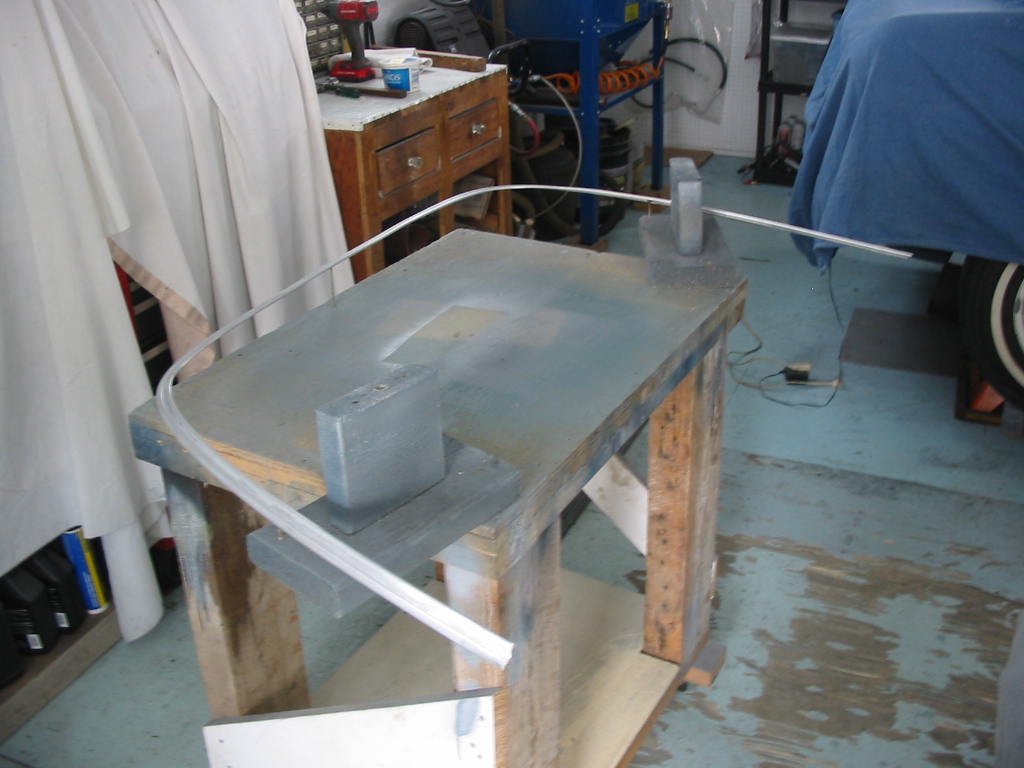
Last piece of trim to paint. I’m using long screws to hold it up in three spots. Kinda flimsy, but I think it will hold enough to paint.

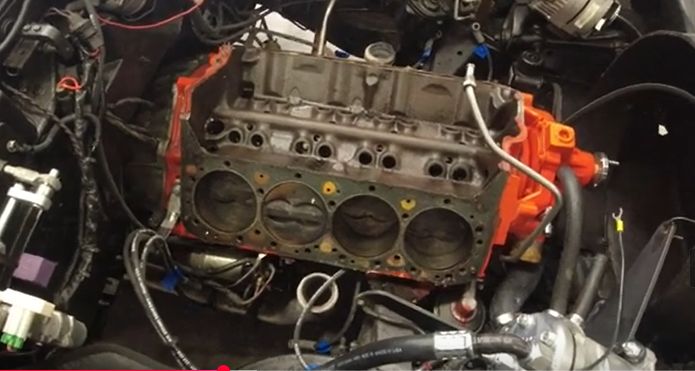
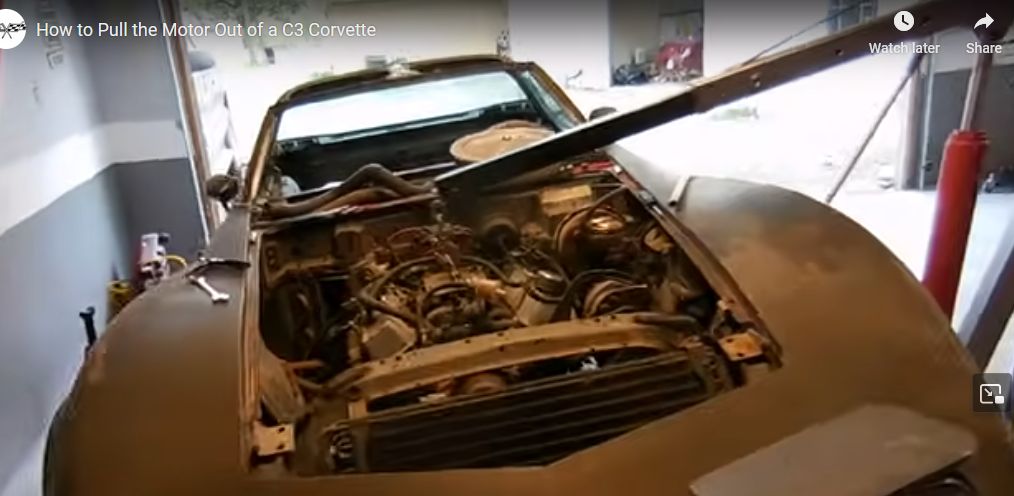
Weather is breaking and I’m looking forward to bringing home a donor ’83 Caprice with a high mileage 305 similar to the one above.
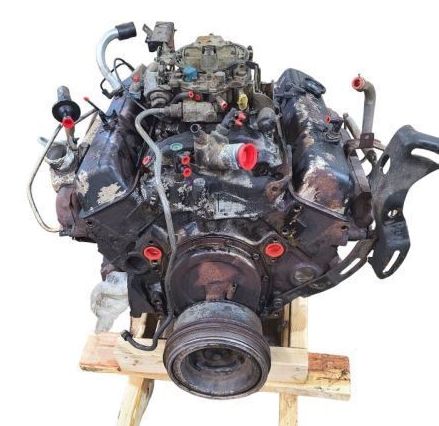
The Caprice has a 4BBL 305 engine which will be a nice temporary fix for the Chevy. The Chevy’s engine has a burnt valve and so doesn’t sound or run the best. I don’t want to pull the motor and end up having the car off the road for an extended length of time. Also I don’t want to be rushed with the rebuild. So I’ll put in a donor engine to keep me cruising in the meantime.
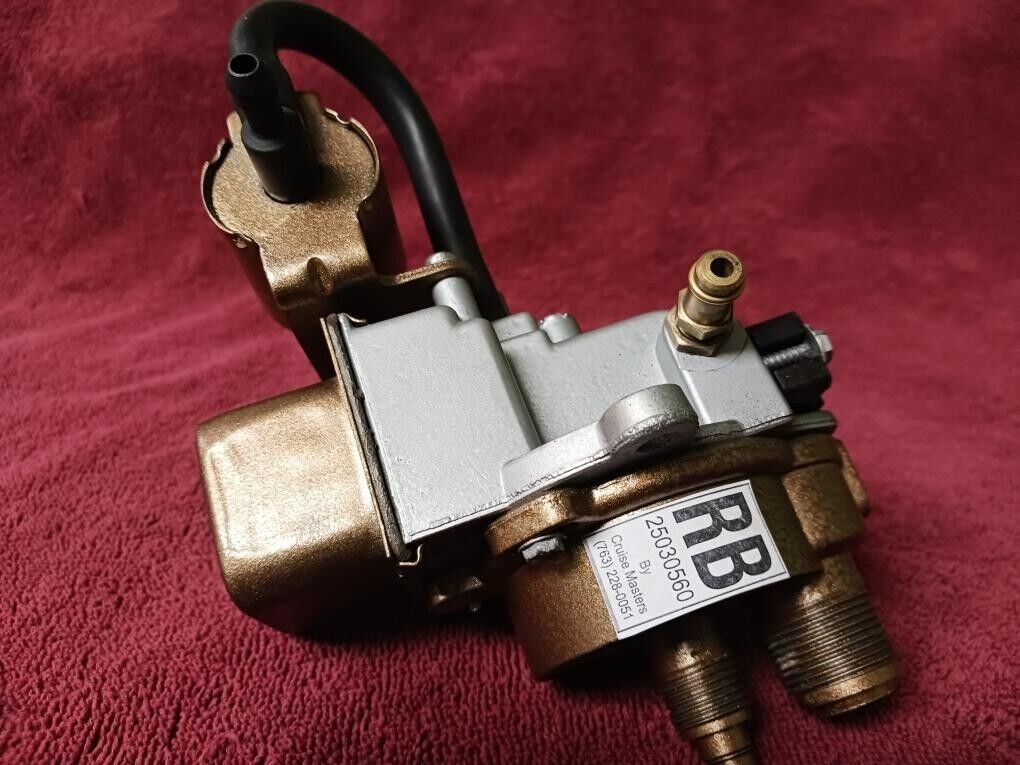
The Caprice may have other items of use. I need a transducer for the cruise control that I want to add to the Chevy. I have all the other parts for a 2 wire unit, but I may have to buy another cruise/signal lever for the steering column if it turns out to be a 3 wire unit. Also the brake booster might fit, PS components, AC components, etc.
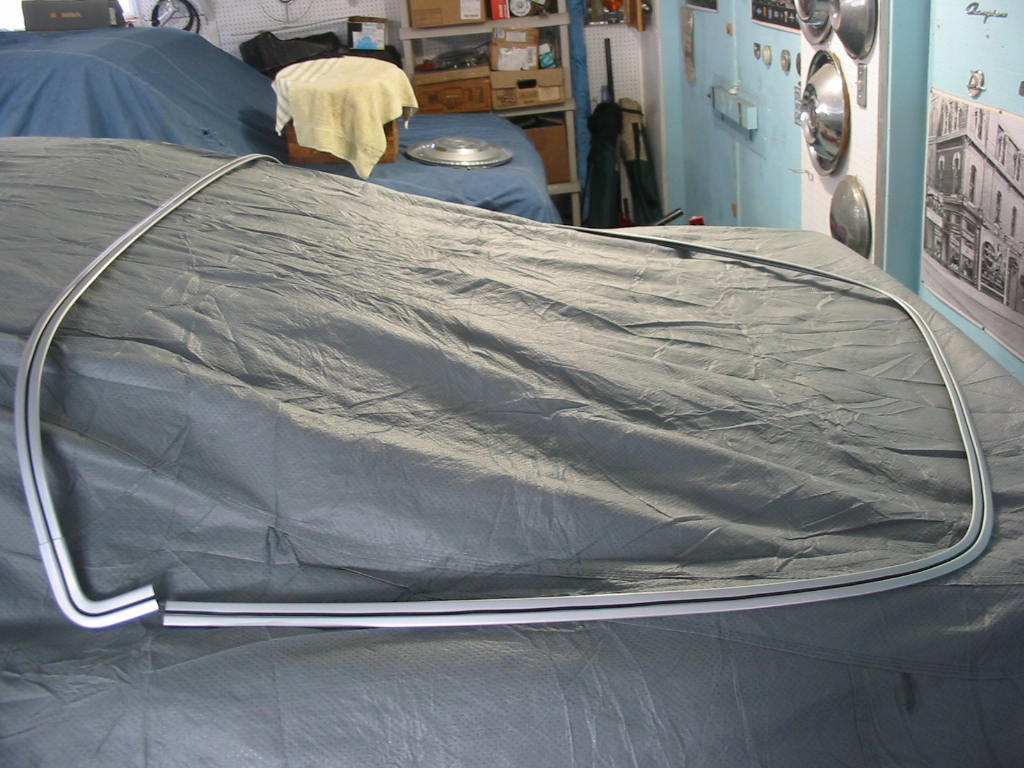
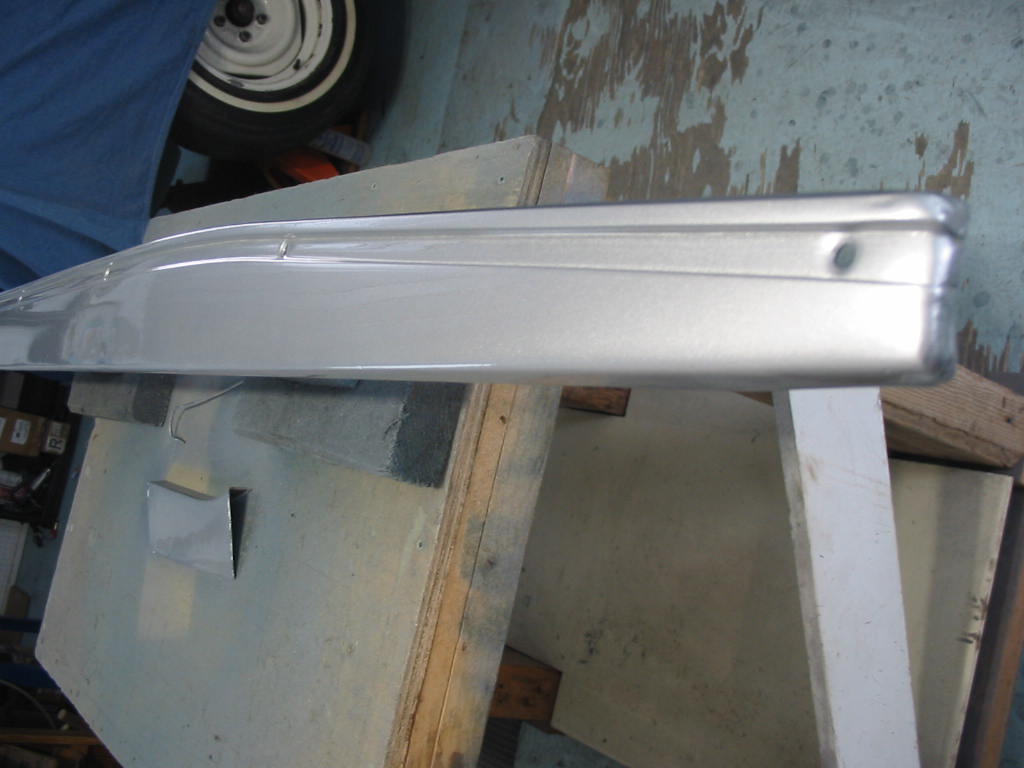
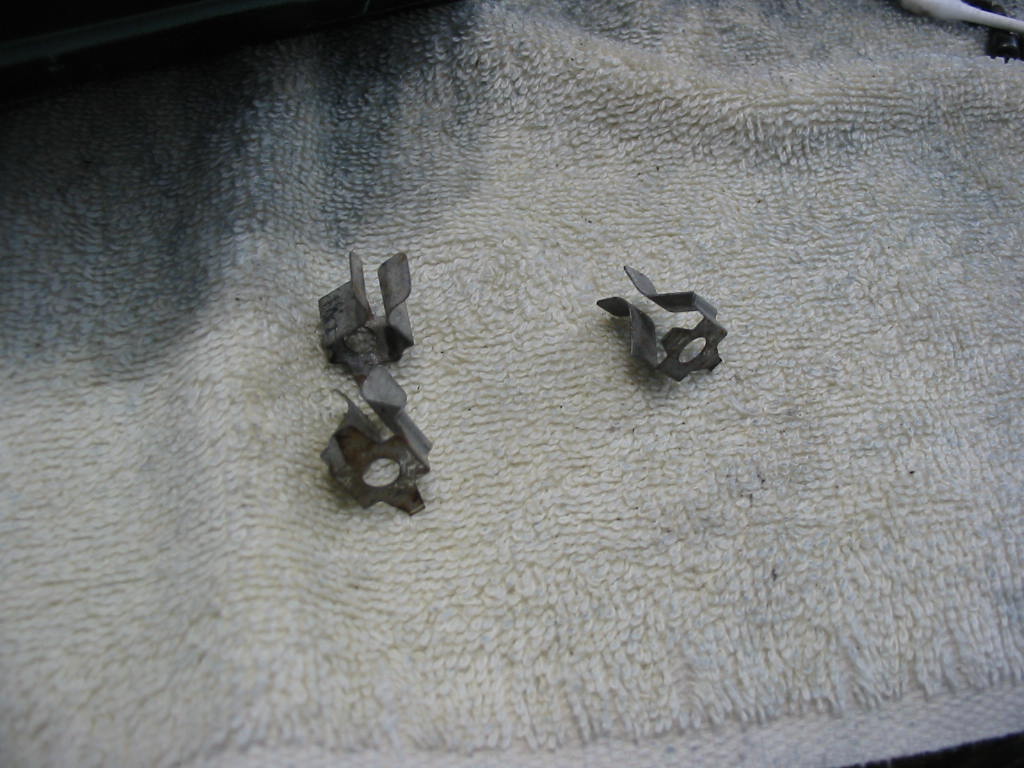
Finished rear window trim with a 1/4″ black accent pin stripe. Waiting on Corvette Depot for some trim clips for the rear window. I can install with the clips already there ,but it will be that much more secure if I can replace the 5 missing/broken clips. Supposedly you need to remove the glass to get the clips in place. I’ll have to see if I can get them in with the glass in place.
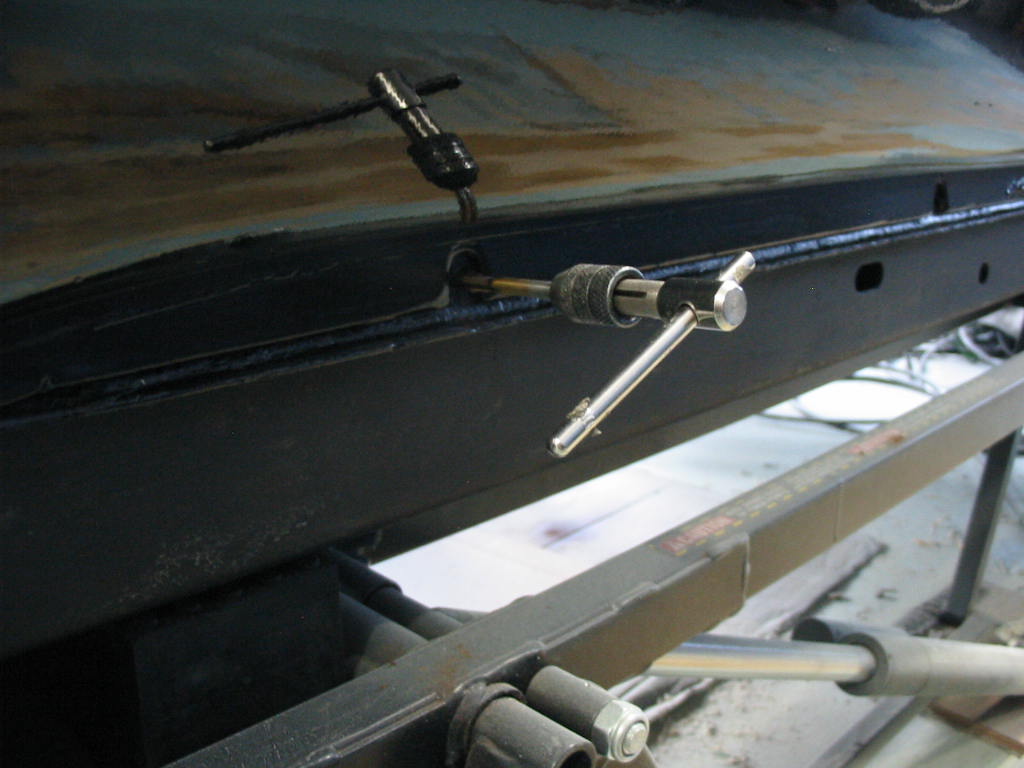
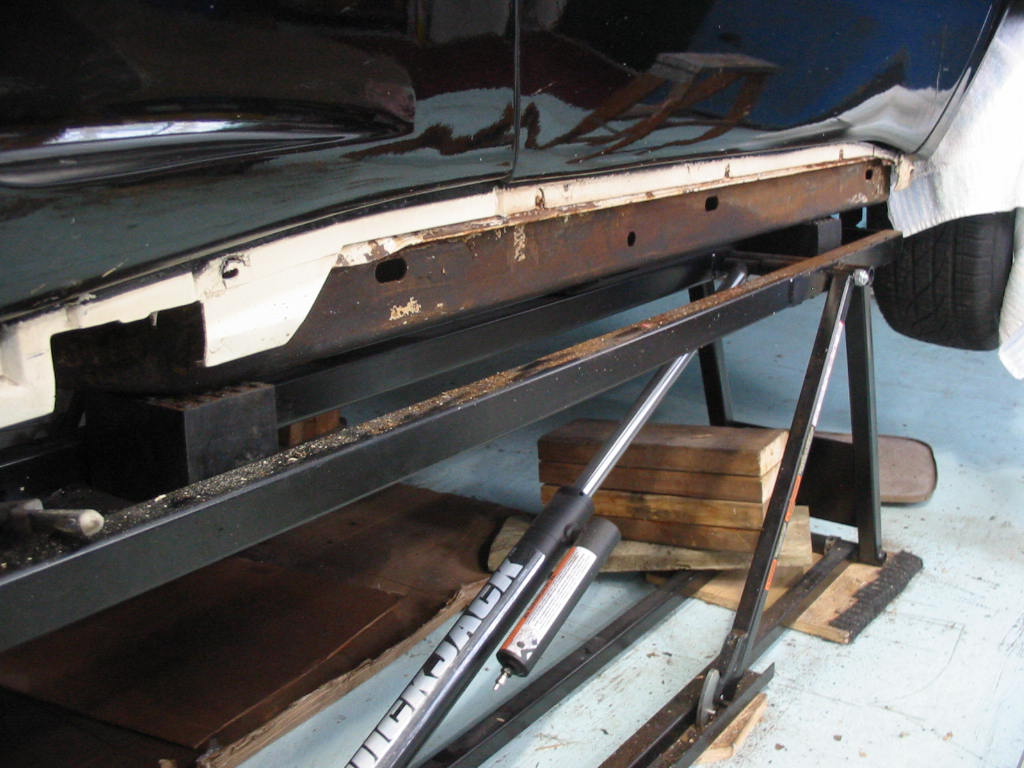
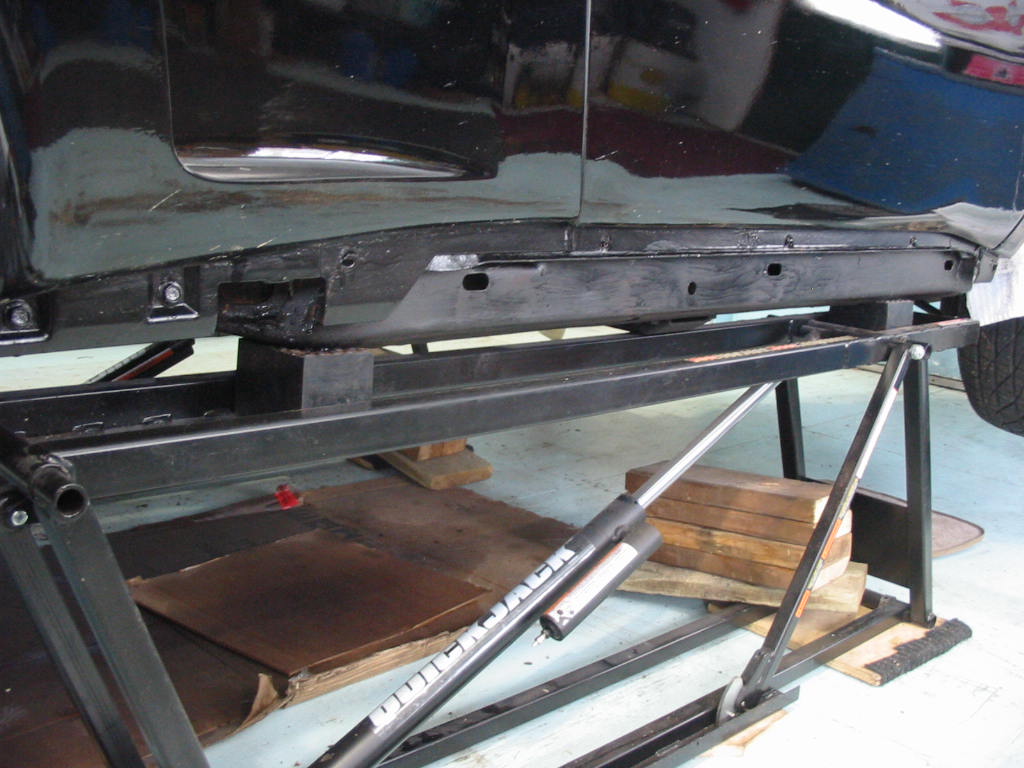
Running a tap into the six mounting holes for the rocker trim. There are also three other holes on each side that take bolts. Here too I’m waiting on Corvette Depot for a new screw/bolt kit for the rocker trim.
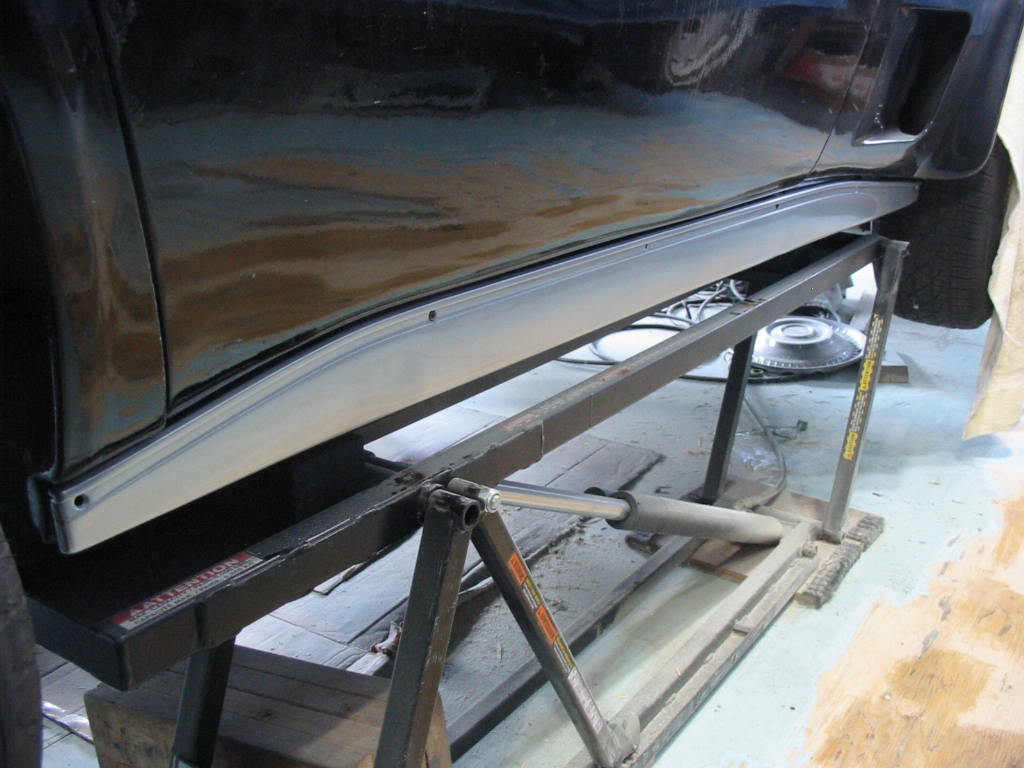
I decided to install the rockers using a couple of the old screws on each side. That keeps the rockers safer than hanging up in the garage. I’ll install the new screws/bolts then apply a 3/8″ pin stripe in the screw/bolt channel which will accent the piece and cover the screw/bolt heads.
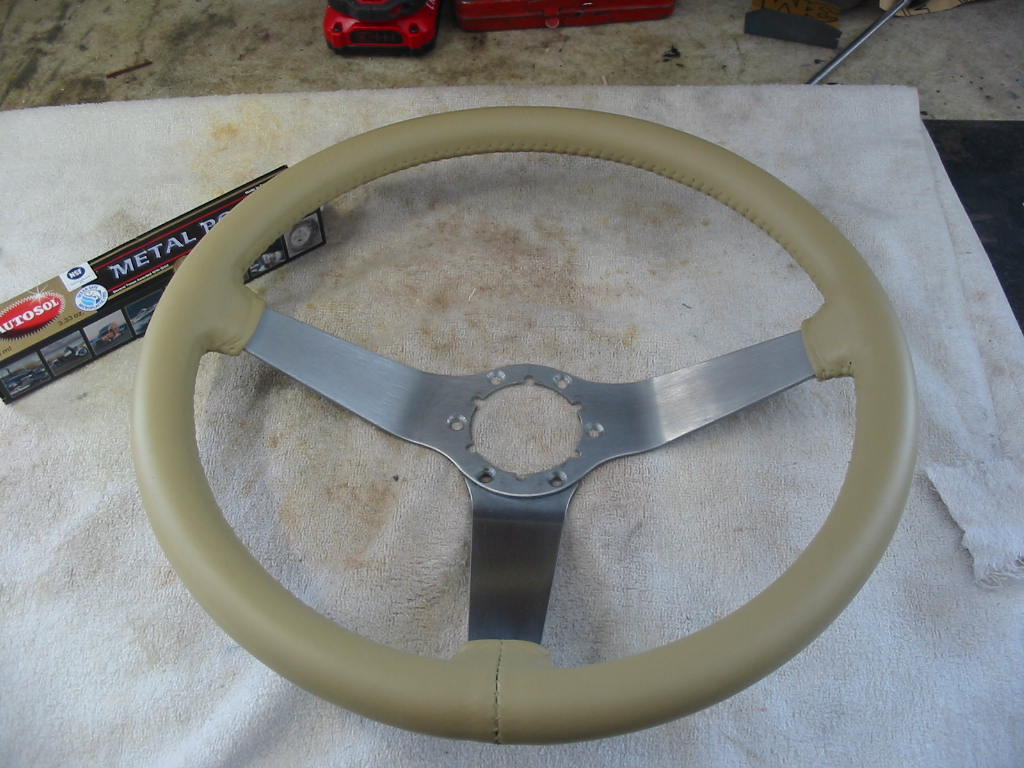
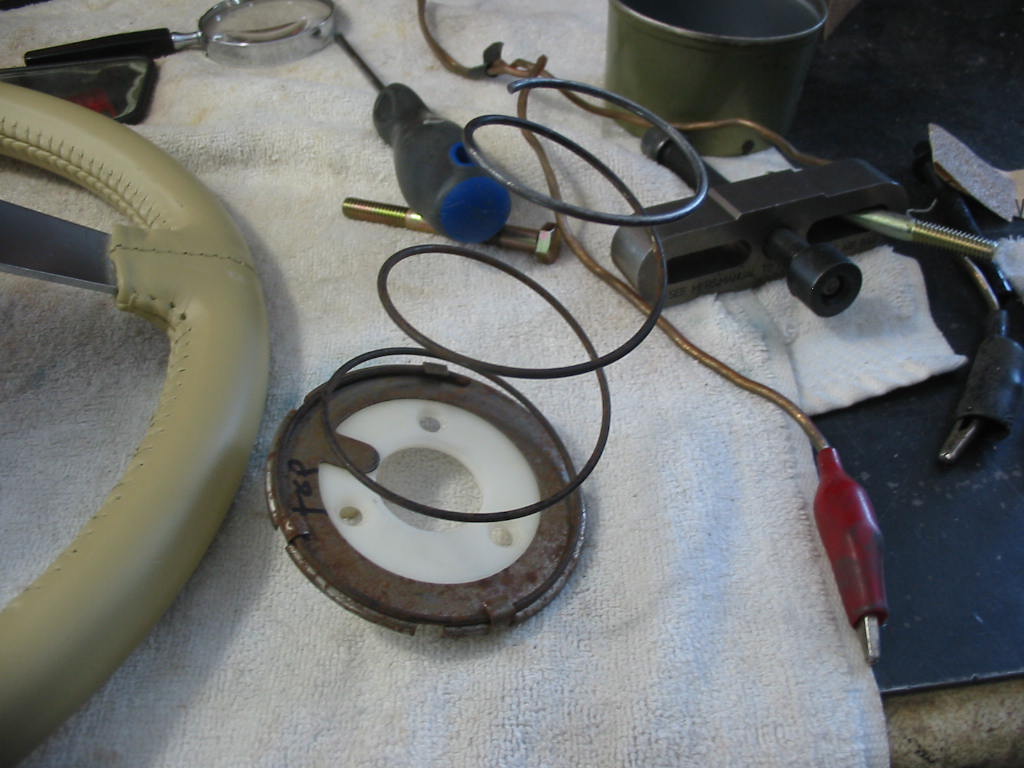
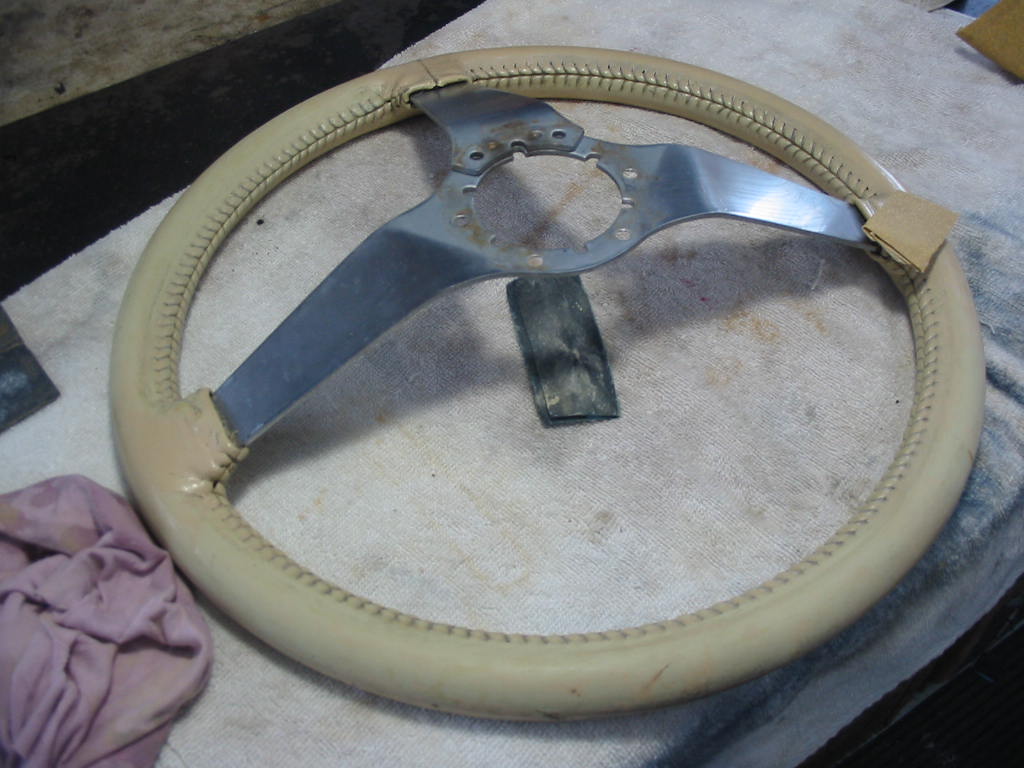
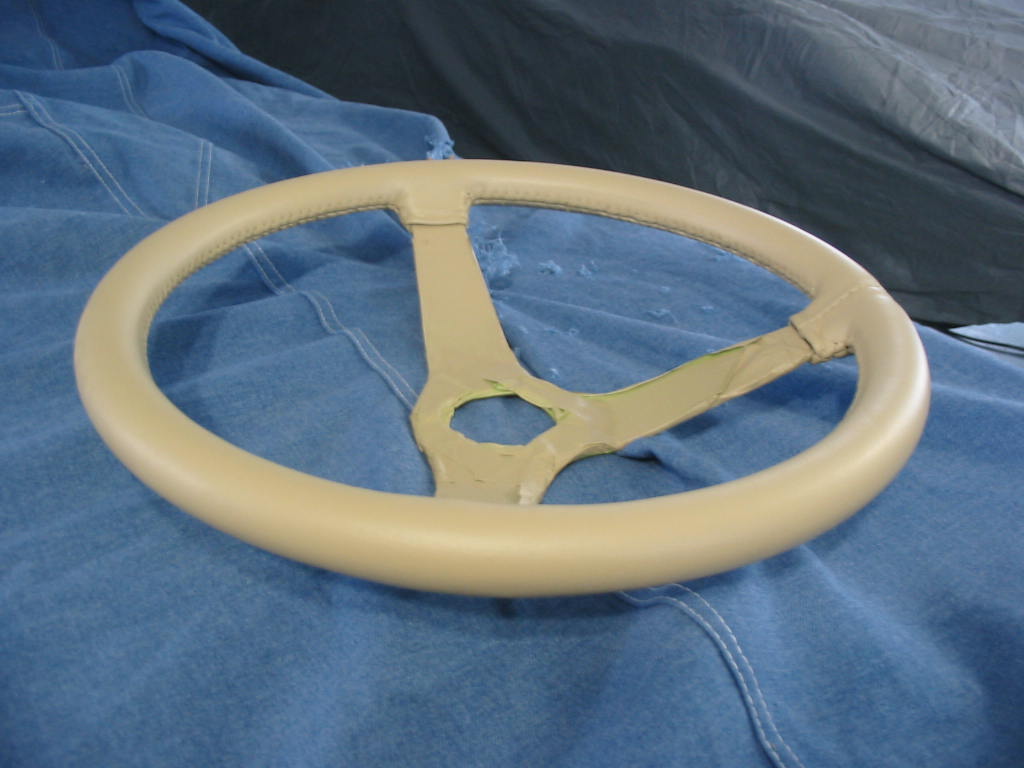
Next: another steering wheel install. This time on the Studie. Winter seems to have broken so it will be time to get the Chevy on it’s tires and ready for the road! I just need a few parts from Corvette Depot: a screw kit, rear window clips and two new front engine mounts for the 305 Caprice swap.