Getting Started

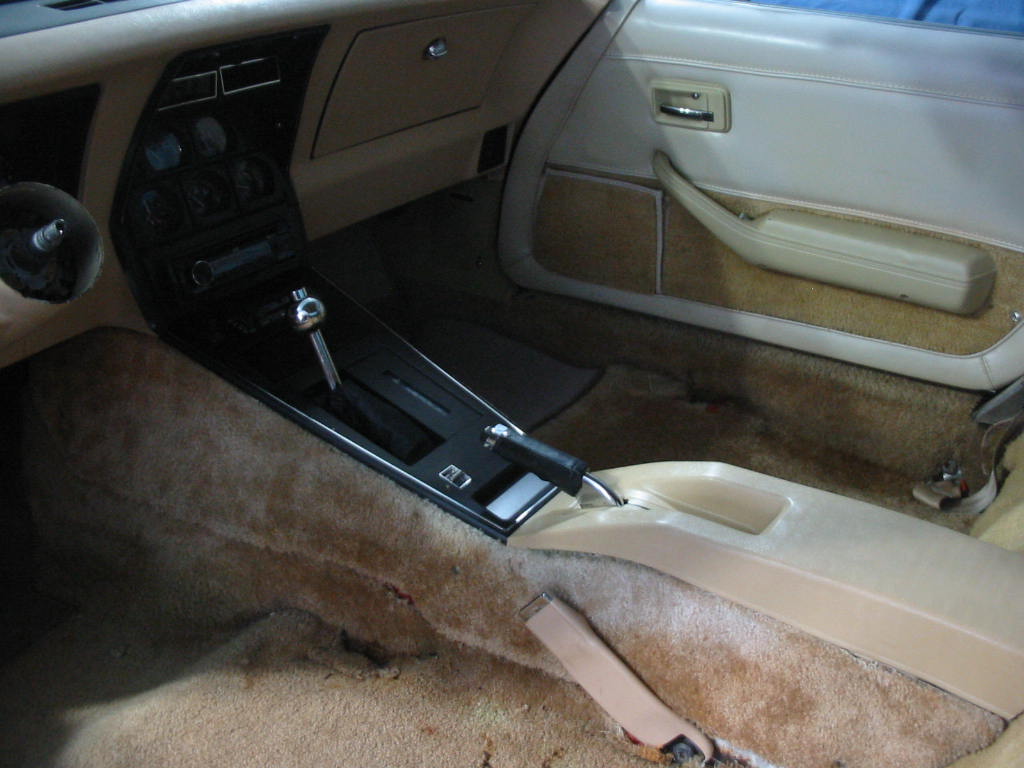
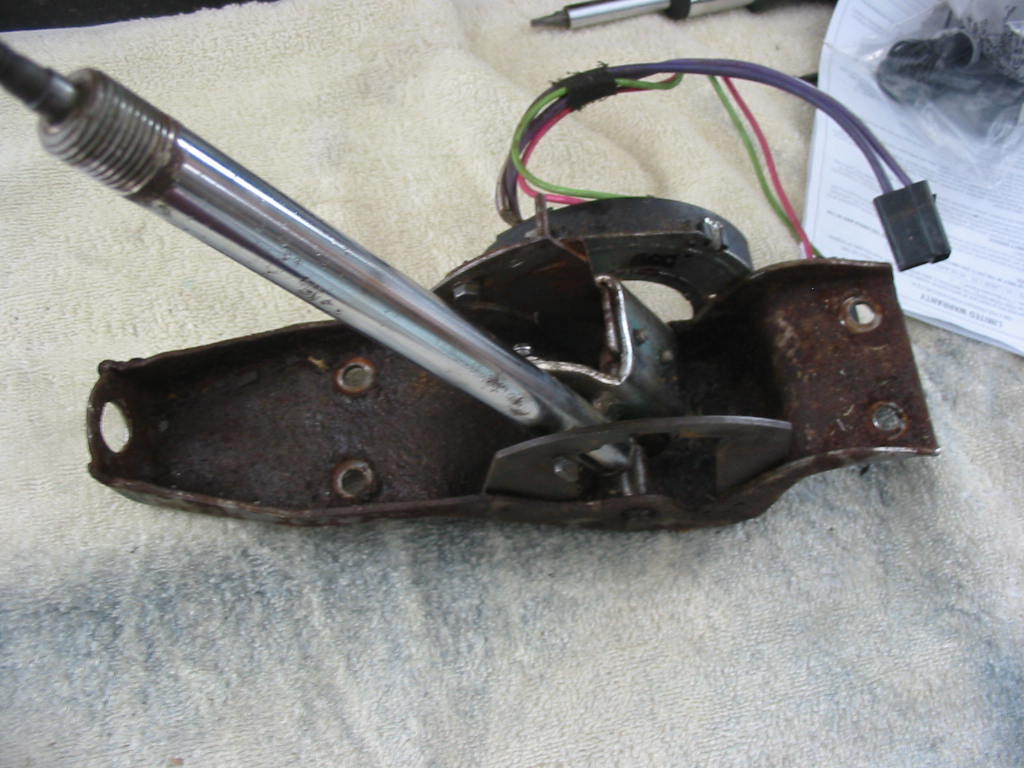
I’m getting used to removing the seats. The seats need to be removed to do any of the console work. When I get to the dash I’ll have to remove the steering wheel too.

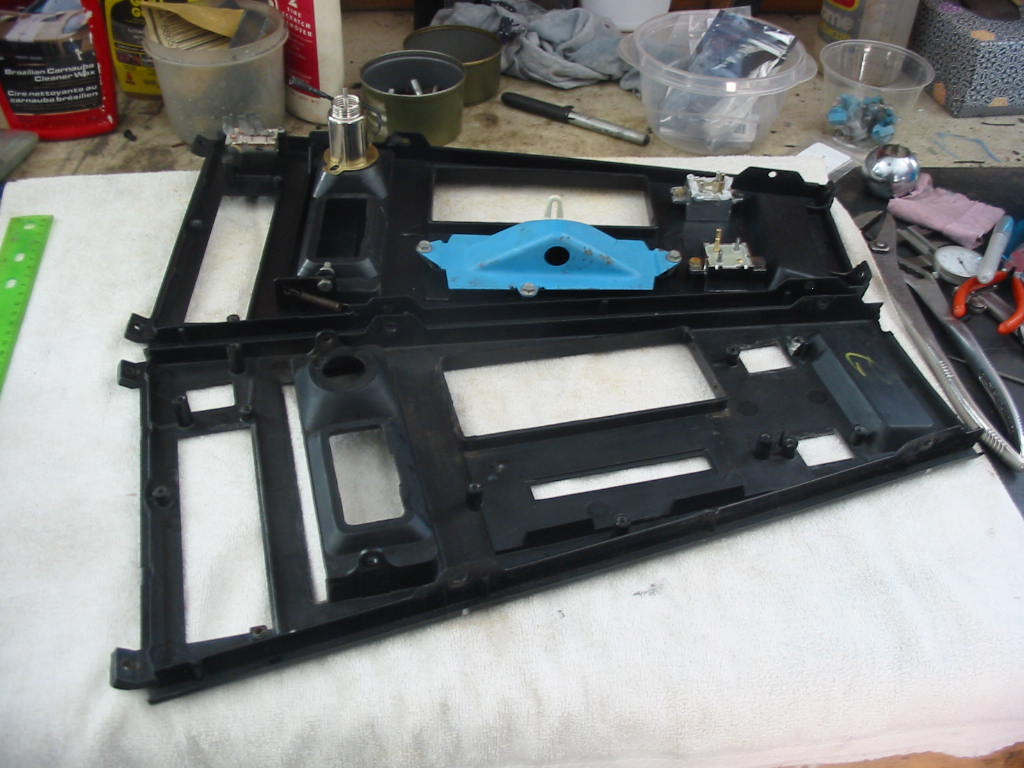
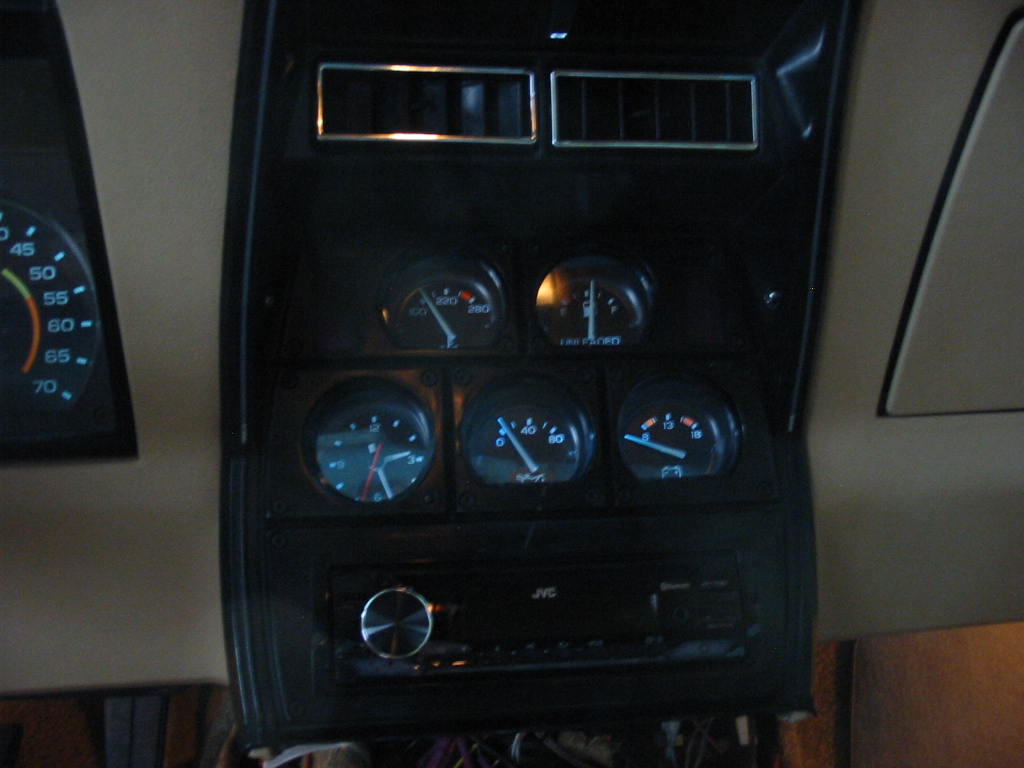
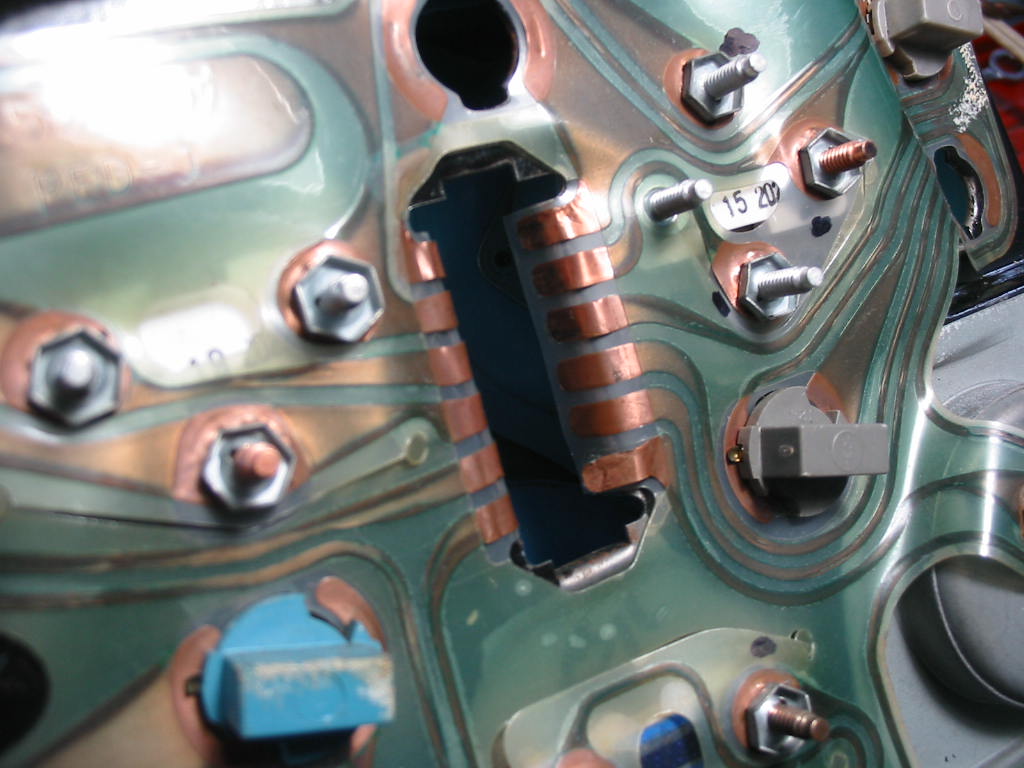
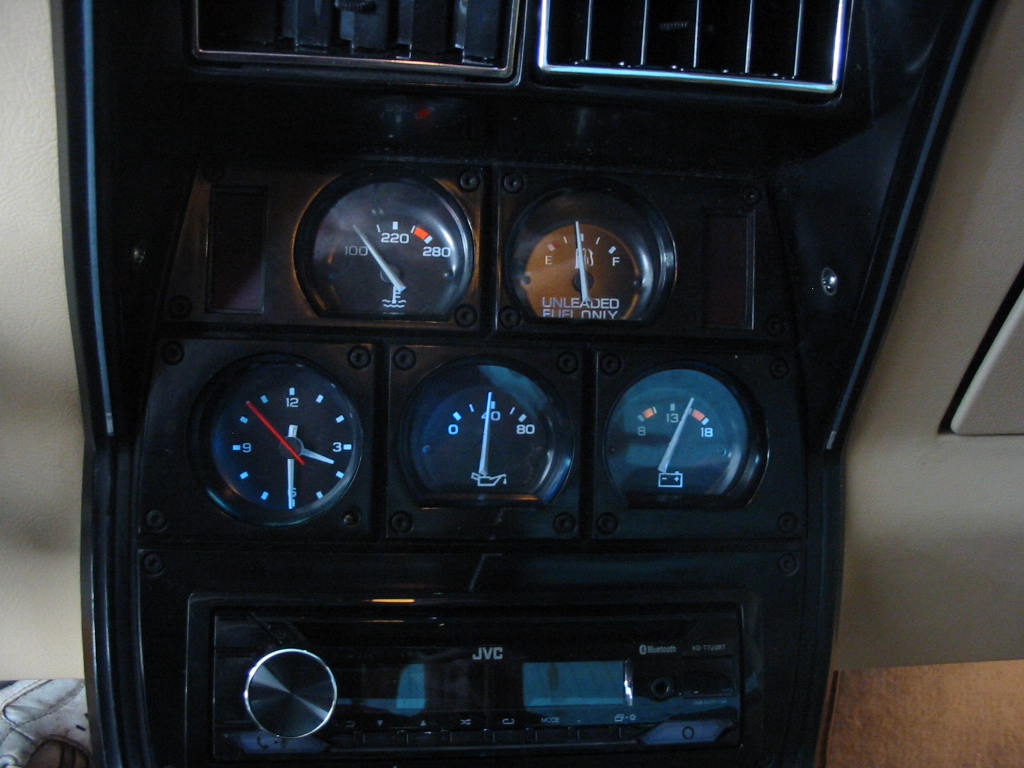
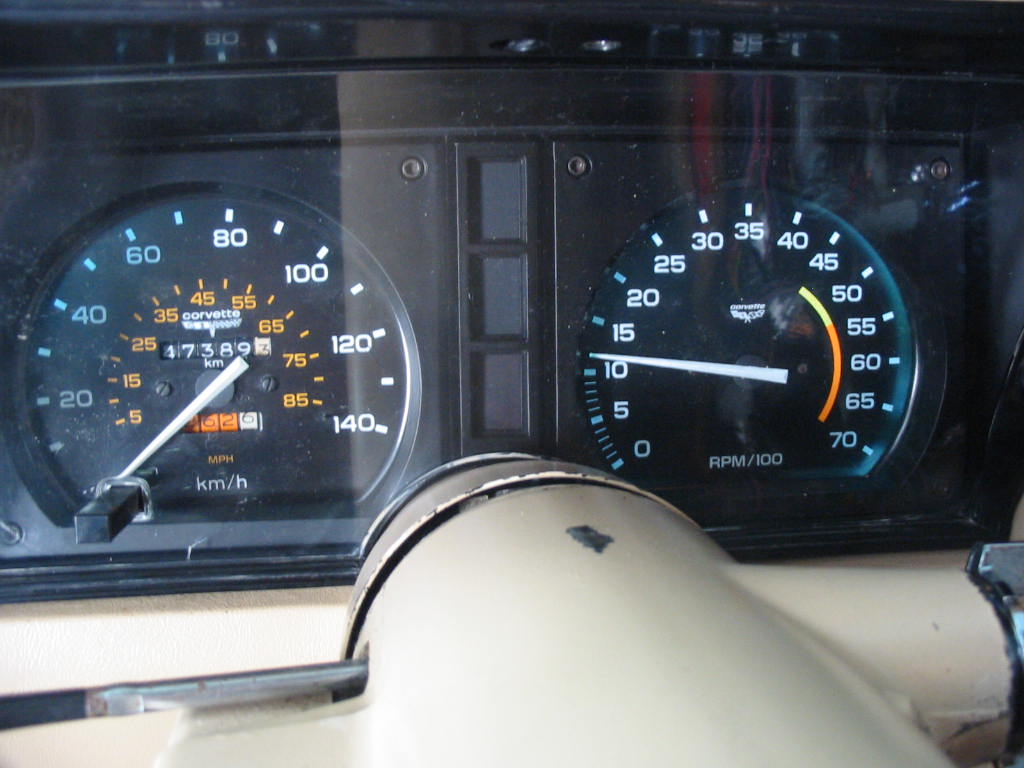
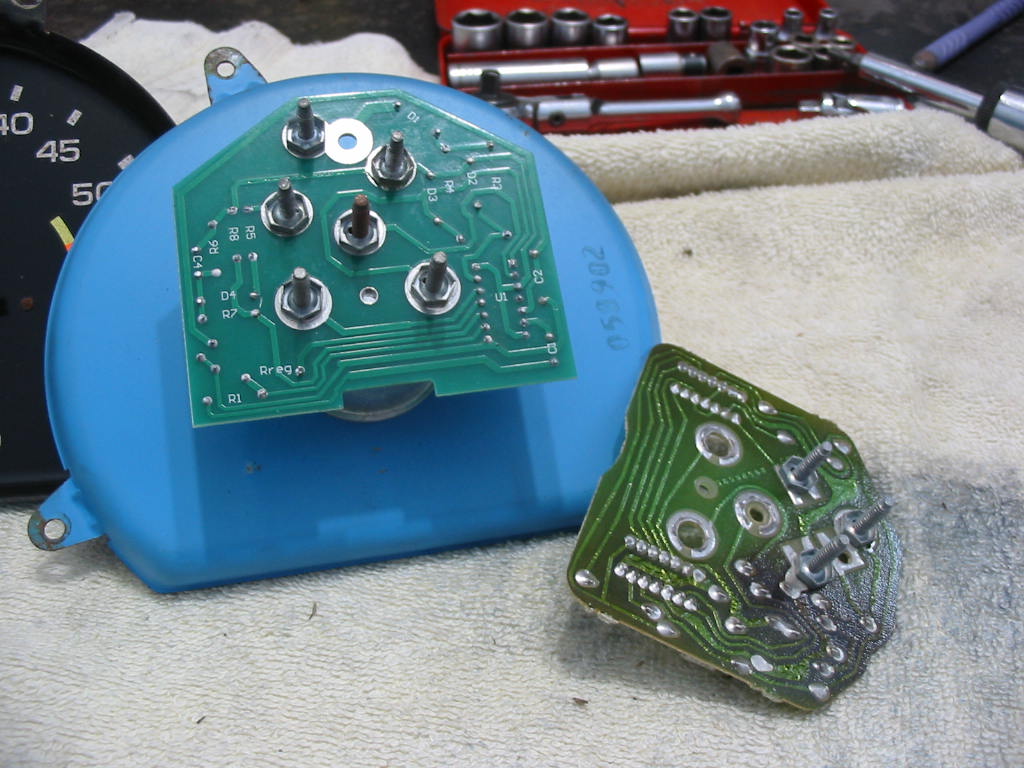
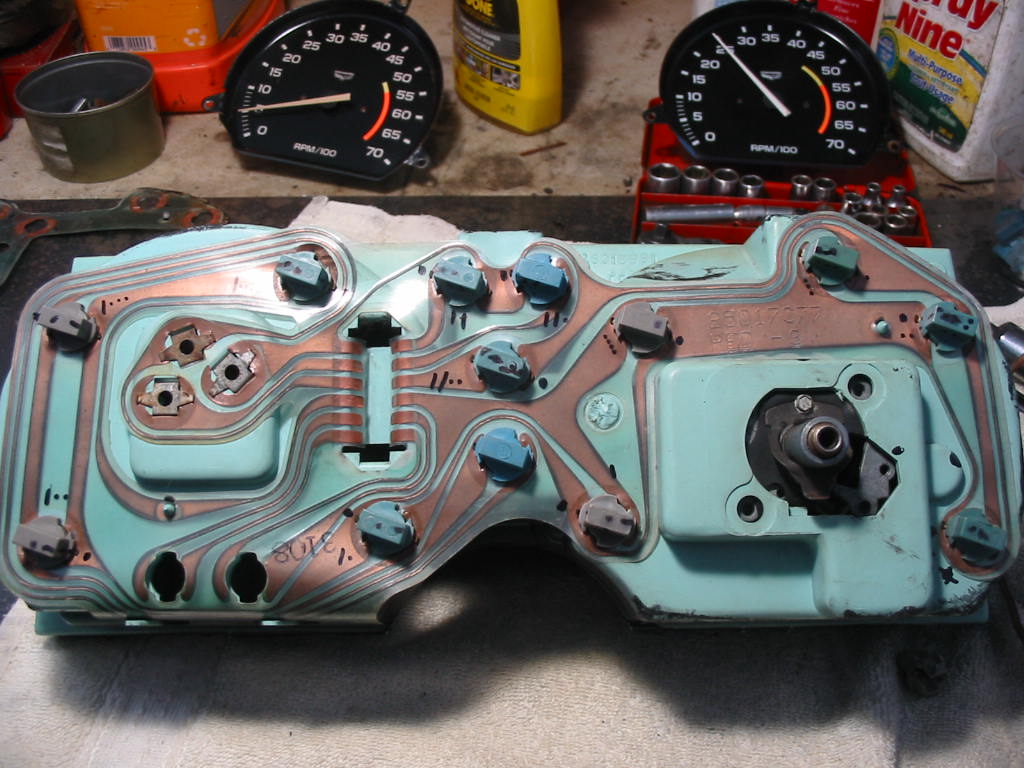
The gauges weren’t too hard to remove once the console and radio were taken out. Only 4 screws to remove – the manual says five? It was a bit tight getting it out from behind the dash panels. I was happy to find out the gauges have a circuit board. So only one nice big plug to detach – see the hole in the centre.

I carefully removed the circuit board exposing the gauges – I removed the clock earlier.

Often times it’s a problem getting the clock setting knob off so you can remove the device. It was a headache in the Studebaker, but GM had a better idea this time and made the knob screw-fitted. You can just see the tiny blade screw driver slot in the centre of the knob.

The gauge panel has gotten itself rusted in spots. Another sign that this car was left outside and rain got in to damage various console components. I’ll clean this unit up and put on a bit of paint. I’ll leave the blue as it’s not too bad and it will be a bother to find a matching colour for a spray bomb.

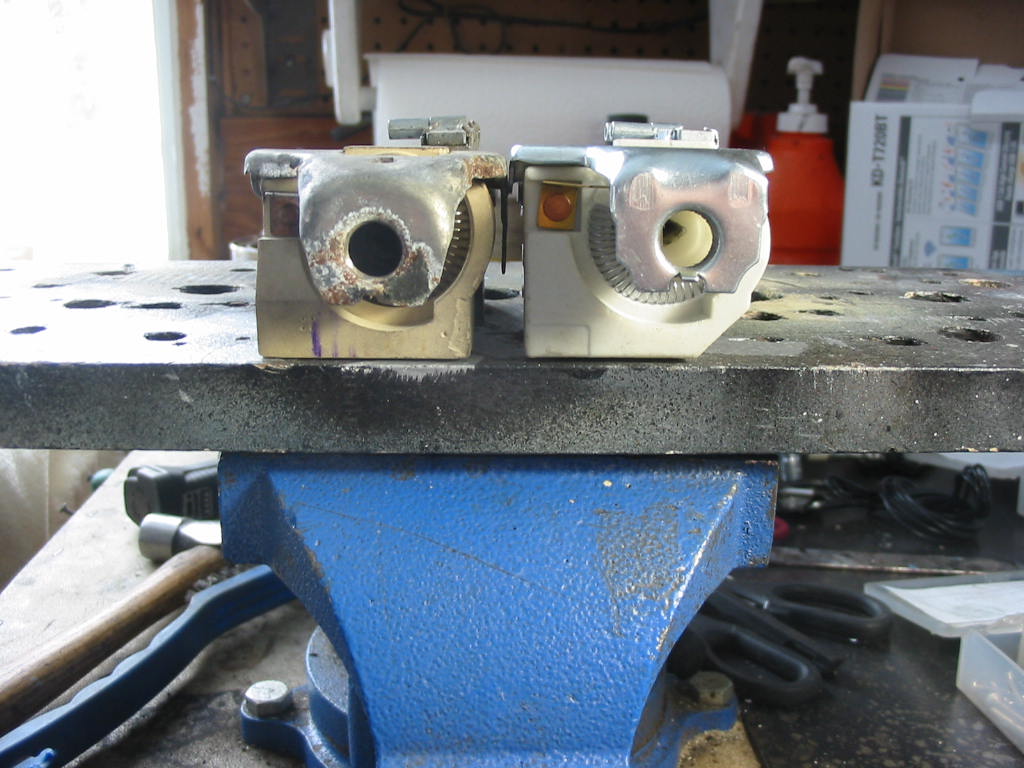
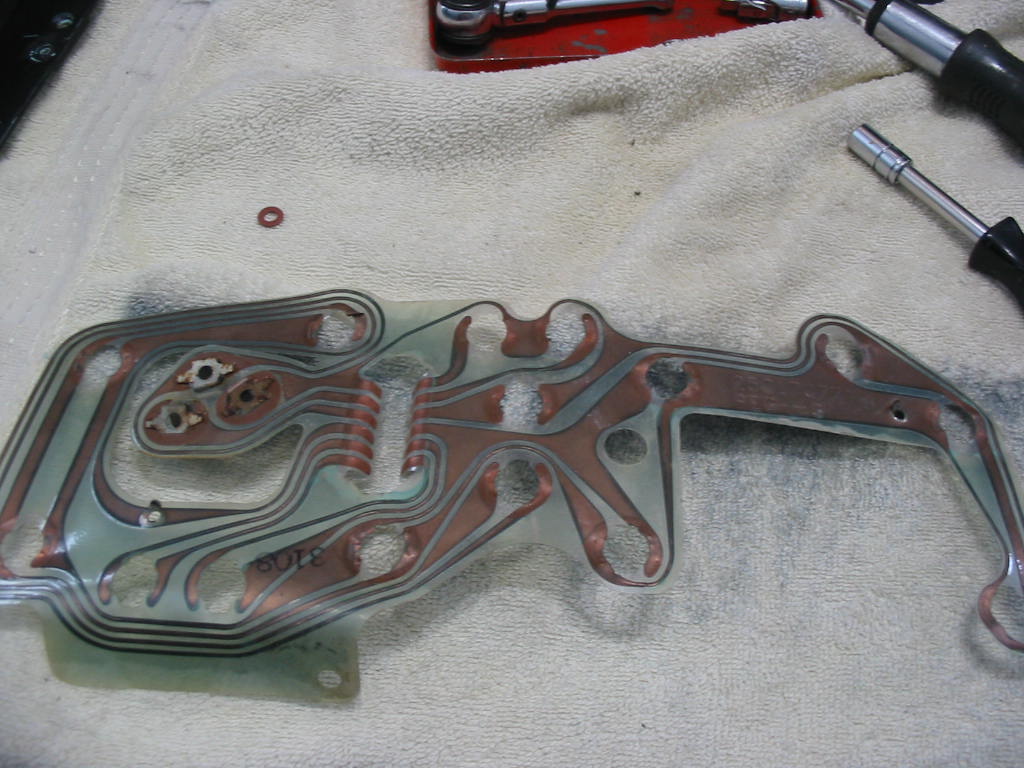
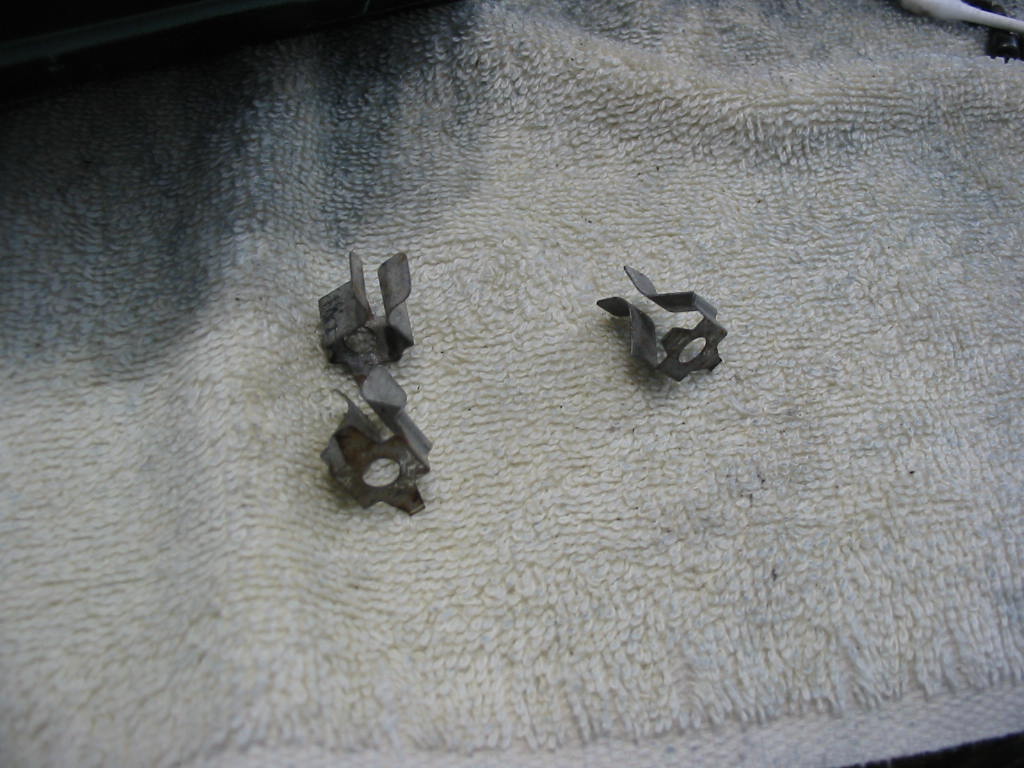
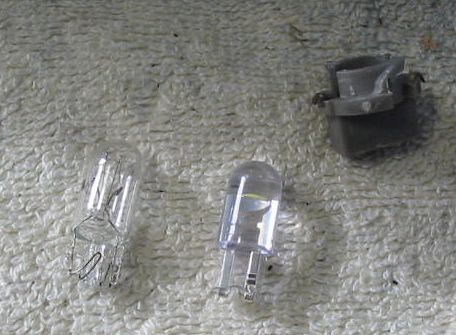
I sprayed the circuit board contacts and each of the dash bulb connectors with electrical contact cleaner just to be sure to get a good contact on re-assembly. When I removed the gauge assembly someone had been in there before and used black electrical tape to hold a couple of the dash bulbs tight against the circuit board.

Next: more console work.

’66 Finale & Chevy Start

Driver’s seat in place. I used 3/4″ hardwood blocks to get the seat level and up a bit. I found Studebaker kept the seats lower – maybe to accommodate drivers with hats as they did back in the ’50s.

Passenger seat in place and sure enough I realized that I made an error with the drivers seat. I started with the seat rails in the same adjustment notch, but somehow one rail jumped a couple of notches in the installation. I’ve left off the adjuster covers. I have to paint the levers to finish the job.

Both seats and console in place. I’ll actually have to drive the car to be sure I didn’t raise the seats too much or too little.

Back seat went in OK once I realized I needed to position the seat belt attaching brackets in the upward position.

That’s about all for the ’66. It is now pretty well ready for the road 🙂

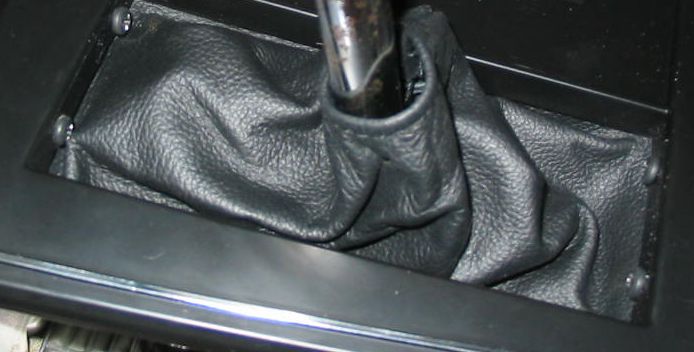
Lots of stuff for the Chevy. New console, antenna, gas and temp gauges, upper console AC vents, shift boot, and other rubber parts. I also have a used intermittent wiper switch and tach face to install. Lots to do and I’m keen to start.

Seat install

These seats come from a GT Hawk and don’t fit in the same location on a Lark type body. The outer attachment locations on the body don’t match up with the seat rails. Also the angle of the floor is different so I need to use lifting block under the outside rails. This is the type of problem street rod builders also have only they have to face many more fitment issues in building their modified car/truck.

All the while I’m working on the Commander I’m thinking that soon it will be the Chevy’s turn for attention 🙂 Shot taken at a local cruise in last summer.

Finishing up the painting

Painting done. Not my favourite old car job. Doing this will simplify the whole car paint and reduce the cost, I hope, when the time comes.

Door panel, windlace and carpet re-installed.

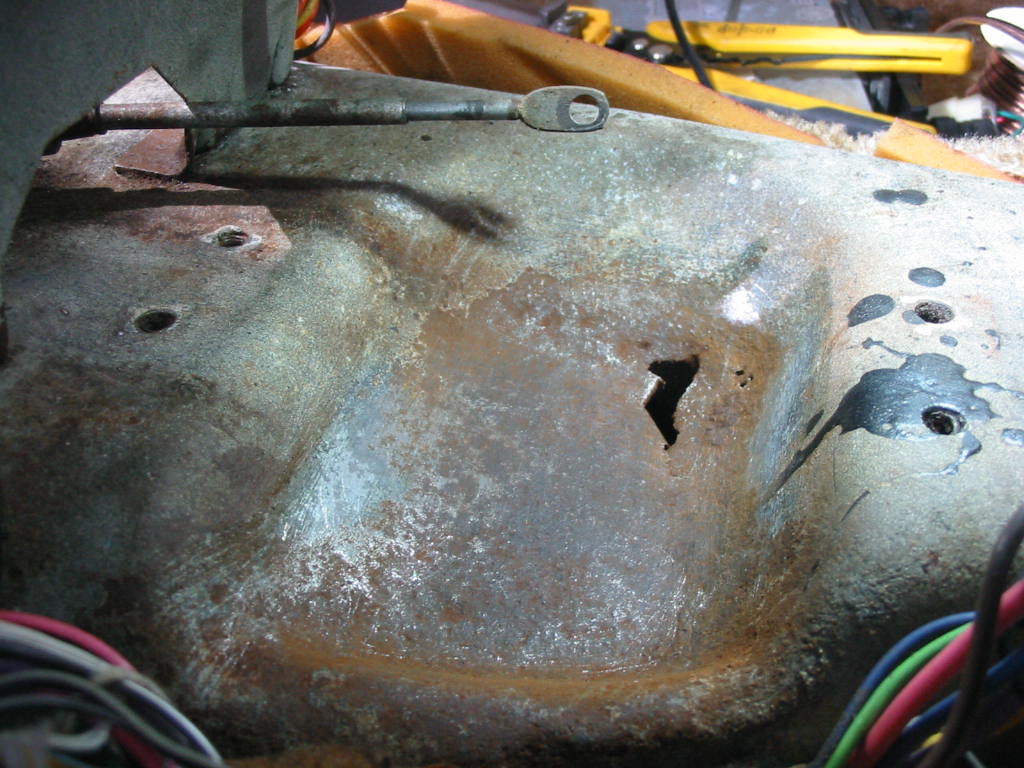
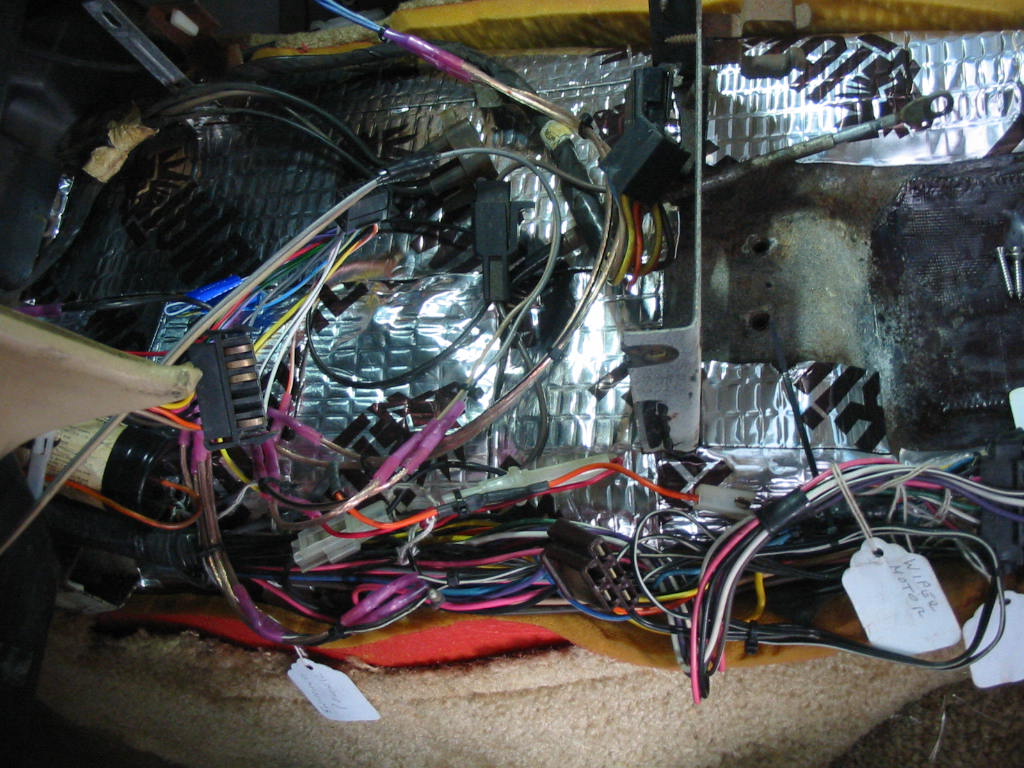
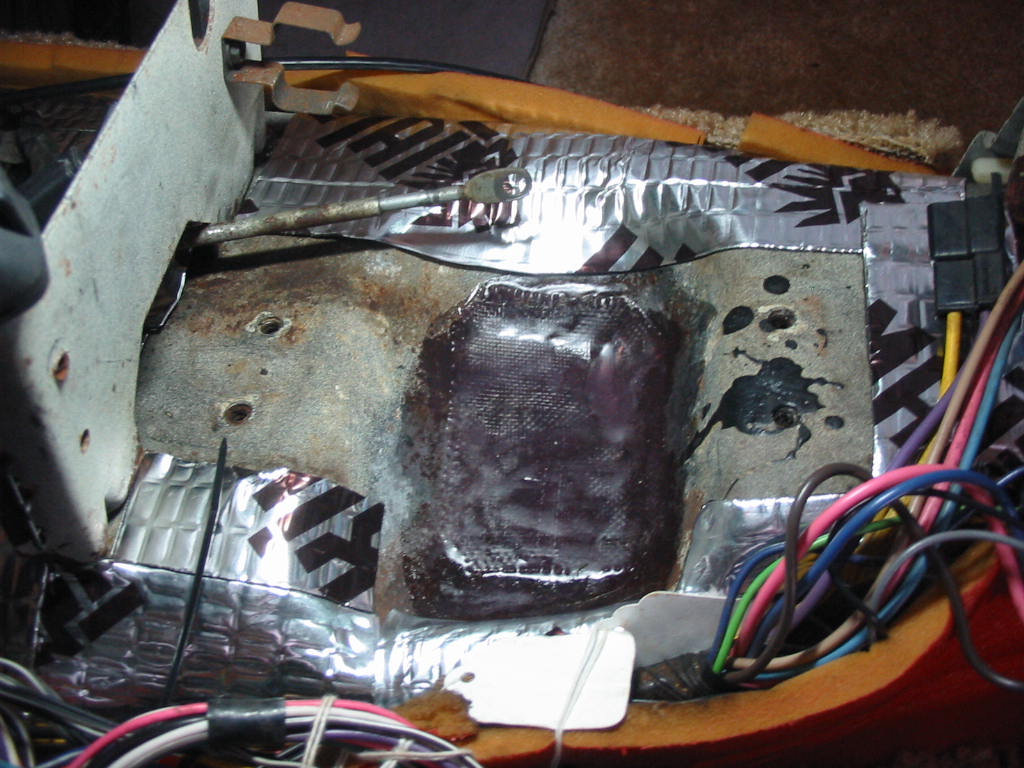
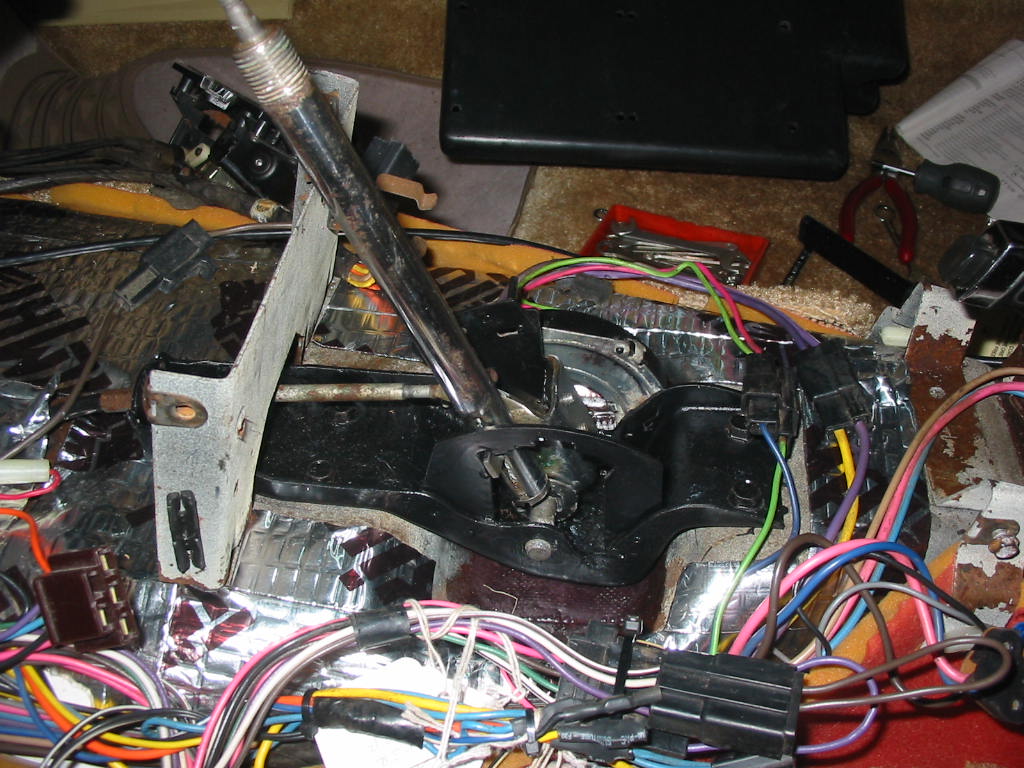
The new console test fitted. Now the doors are done I can get the new seats installed. Switching to buckets means I had to install a special body pan over the transmission hump. This pan has slots for the bolts that hold the console in place and also nuts in slots to hold the inside of the seat frame – the two bolts beside the console are where the inside bucket seat rail is attached.

Looking forward to getting the seats in place. Once that’s done it will be time to start my winter work on the Chevy 🙂

Movin’ along

Finally the first coat of sandable primer. I sanded the primer down in an uneven spots then used spot putty to fill any small holes. I then gave it another coat of primer.

After over two years and two upholstery shops I finally have the new seats for the ’66. The buckets and console come from a Studebaker GT Hawk and the back seat is the original frame. I had the work done by the 2nd upholster Jody Noble and he got it out sooner than he estimated. He did a nice job of the light teal vinyl with darker teal cloth inserts and he used the original dark teal vinyl from the old seats to make up the piping and the top of the console. That helped to match up with the original dark teal vinyl on the doors, dash, etc. Happy day!

Three coats of satin black and the door is ready to be installed. I’ll leave it for a couple of days to let the paint cure a bit.

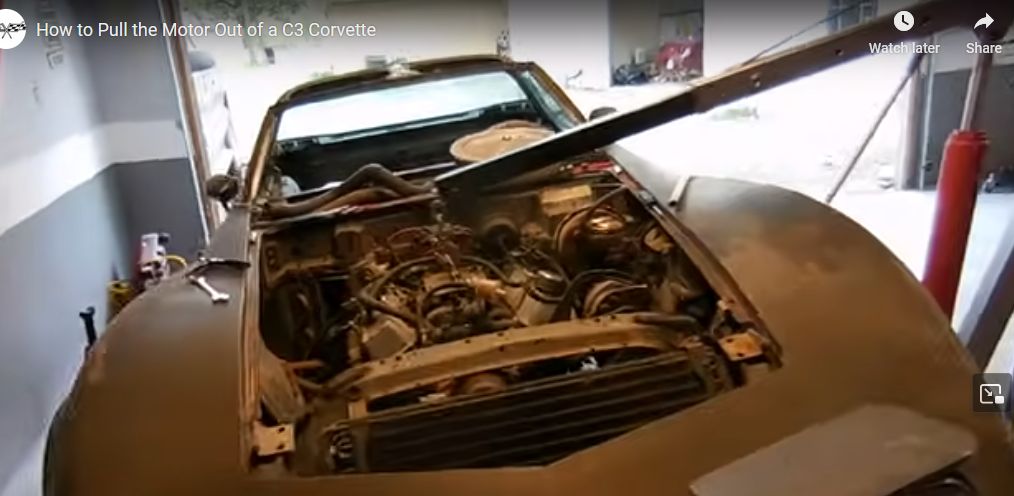
News on the Chevy front – a Caprice with a carburetted 305 has come available. If the engine has some life left in it I’ll swap it into the Chevy and then I can take my time to rebuild the original engine.

Paint redo, etc

Opulant Blue sanded with 180 grit and taped off with newsprint. The taping off is the fiddliest job, but with s little patience it gets done. At least this time I didn’t have to clear away crud and grease.

Much nicer in Richelieu Blue

Hard to get a good shot of the colour, but this is somewhat close. The real colour is a bit darker. You can see the fine metalflake in the paint.

Fill, sand and repeat…. Not my favourite old car job. Has to be done so I just get on with it. I do a bit each day and hopefully it will turn out OK. It has a major damage spot on the bottom left, a bit on the right and a long groove in the middle.

Fibreglassing and paint

Time to patch the back side of the lower door trim holes that I no longer need. I use a little brush and clean it with acetone after.

I scraped away the undercoating and cleaned with parts wash and thinners before applying the four patches and a coat of resin. When dry I’ll give the patches a second coat of resin. Probably not needed, but I’m a belt and braces kind of guy 🙂

Primed and painted with two coats of opulant blue and one of clear.

Decisions, decisions… The opulant blue is quite loud. A bright blue that will stand out. I’m not comfortable with it. I think the car will look ‘richer’ in its original Richelieu Blue which is a tad lighter than navy blue and with some violet accents.

2025 and more door work

Welcome 2025 and 365 days to get lots done!

Time for the right rear door redo. The front seat has been removed and put in storage as I had a call from Jody Nobel’s upholstery that my bucket seats, console and rear seat are done ahead of time – hooray:-)

I thought this door to be better than its mate, but it is maybe even worse! Three areas of body filler and, hard to see, but a long dent just above the large patch of filler. this is as far as I’ll take this work. Time to clean up and paint the edges first.

Hinges have been sitting in the parts washer for a few days.

Pins and spring removed for more cleaning.

Pins re-installed with chain lube. I like this stuff as it goes on loose, penetrates and then stiffens up and sticks well. Meant for motorcycle chains and it needs to stick well to stay in place. I’ve also done a final wipe with paint thinners. I’ll re-install them on the door before painting.

The tedious job of cleaning. I like to use parts wash solvent and a tooth brush to get the gunge out of all the cracks.

More door work

All painted in satin black. Looks better than it really is. I tried to feather the old paint to the bare spots, but it really didn’t work out. I’ll need to remove all the paint from this door before trying to do a final paint should I tackle it.

I was given this nice Studebaker licence topper a few years ago by a contact I had in Australia for some time. It reads “Studebaker Car Club of NSW since 1972″ NSW” NSW – New South Wales.

Door back in place without damage to the paint 🙂

Just need to put back the trim and I can get started on the other door, but for now that is all till after the Christmas season.

Merry Christmas to all and to all a Happy New Year!

More on the door.

One primer coat and two of GM opulent blue. It is a rich blue with hints of violet. Doesn’t appear to be a metallic.

The remains of the big dent filled with two part tiger hair body filler. It is a bear to sand if left to dry fully. I”m using some kind of cutoff wheel I picked up from my Dad’s shop after he passed away. I used it to remove the remains of the original repair and it did it quickly. Not so quick taking off the epoxy, but it got the job done – I used it like a big sheet of sandpaper. I didn’t want to use an electric tool as it will fill my garage with dust. So a little muscle and time and it turns out OK.,

Epoxy sanded and some spot putty out of the tube to fill in the last of the small holes.

A truly fiddly job getting the door taped off – one reason I don’t like body work. Just about ready to prime and paint. One issue I’m having is that my tape does not want to stick to the door rubbers. I coat my rubbers with silicone and that’s the problem. I don’t want to re and re the rubbers so a little patience and I was able to get some newspaper tucked in between the rubber and the body.

L48 news: I’ve got a lead of a good used high mileage 305 in a ’79 Caprice. It’s a 4 bbl 175 hp model. Would work nicely while I do over the original motor.

Primed and painted. I’ve done all around the frame even though I’ve just shown the back edge.

Second go around with the filler. I’m trying to get the door curve just right so the repair won’t show.

All primed. I’ll sand the primer when dry.

Sanding the primer revealed a dent I missed – bummer!

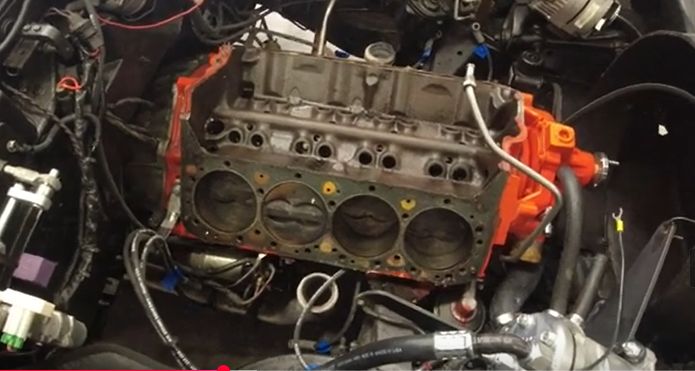
On the Chevy front – I’ve decided not to give up on my 4 bolt main low mileage block. I’ll wait until R&D engine builders are not so busy in the early summer and take it in for an evaluation. I can’t find any cracks between the main oil holes and the sides – magnaflux may find some. It will be interesting to find out just how much higher the crank will be in the block after a line bore and just how much that would affect a double roller cam setup or even a gear conversion. Piston height may be an issue, but a thicker head gasket should take care of that.

Next: more body work.