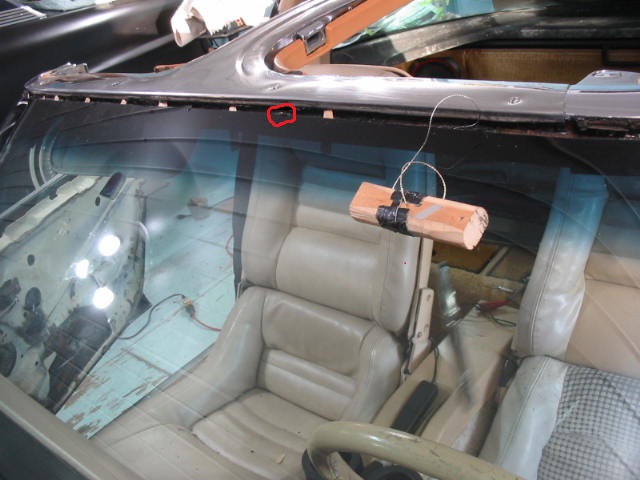
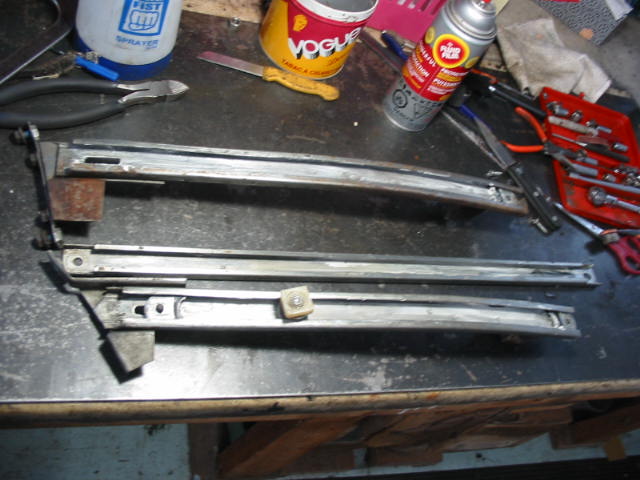
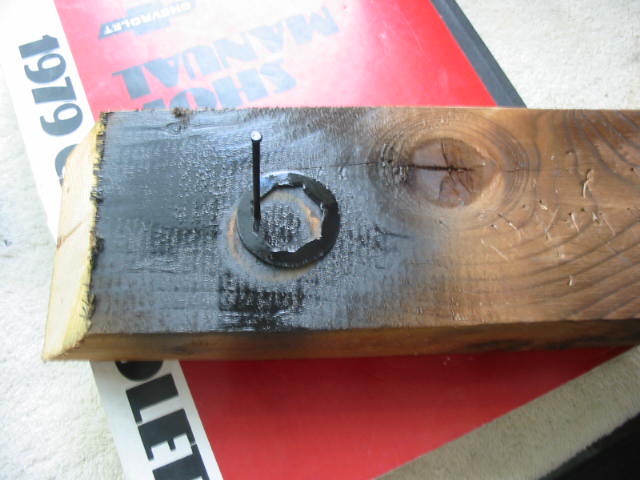
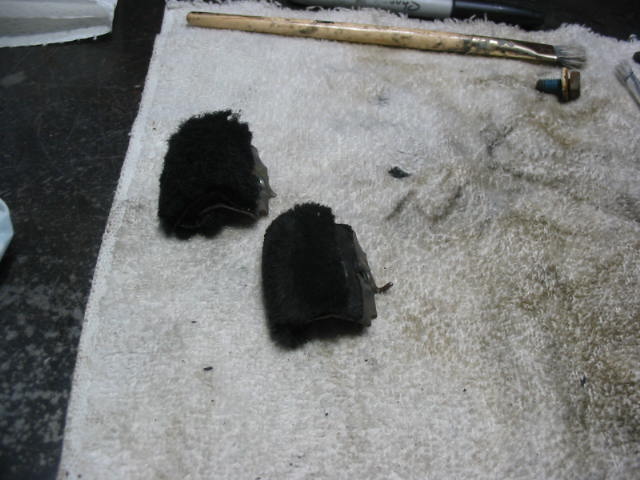
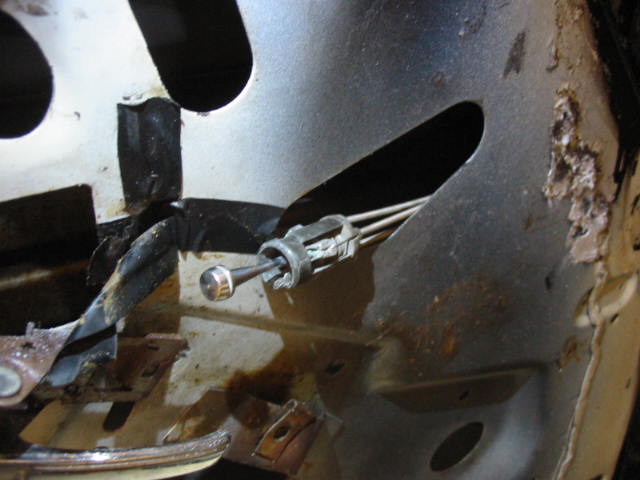
I tried various handles for the cutting wire. This worked best. The red wire cover is a spray can pipe it worked keeping the cutting wire off the dash on the inside. Also, it took awhile for me to get the hang of it all, but finally I used short pulls with just a little pressure on the wire. Some spots were tough where the seal was thicker especially going around the bottom corner on the left side.

I made up wooden wedges from shingle stock and pushed them in the cut as I went around. When I finished up around the top left corner the windshield was complete loose 🙂

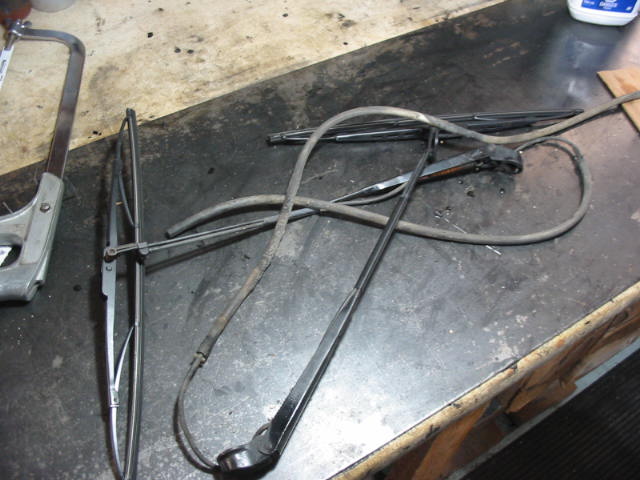
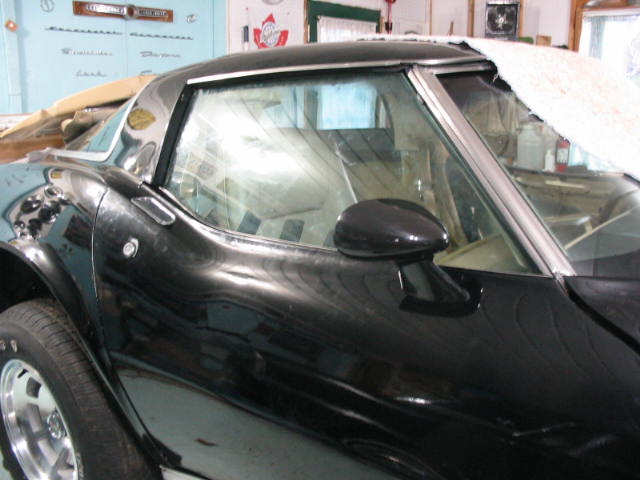
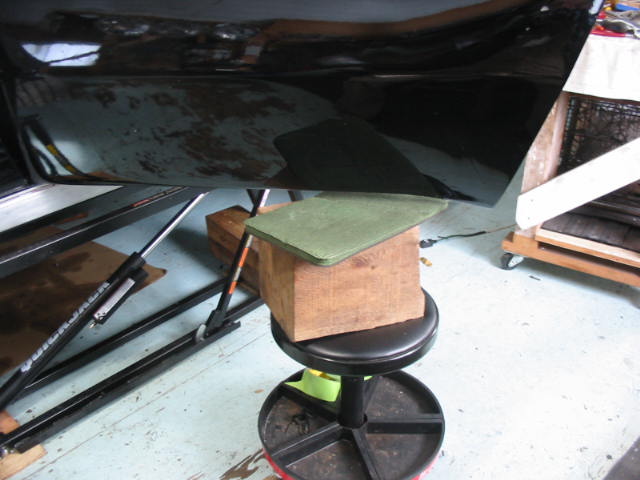
with a couple of window suction cups and help from K it was easily removed and put aside for later cleanup.

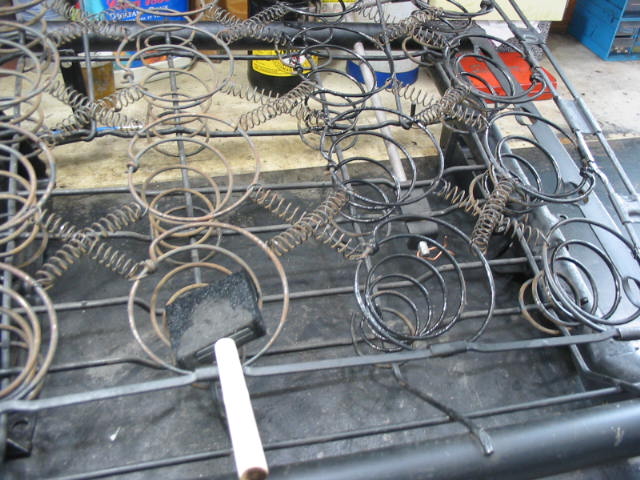
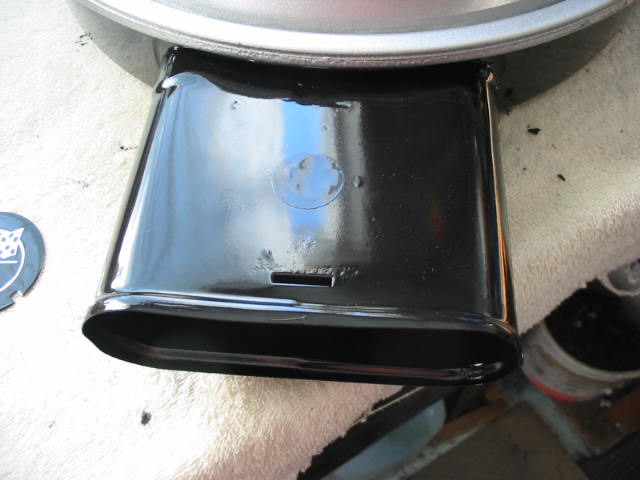
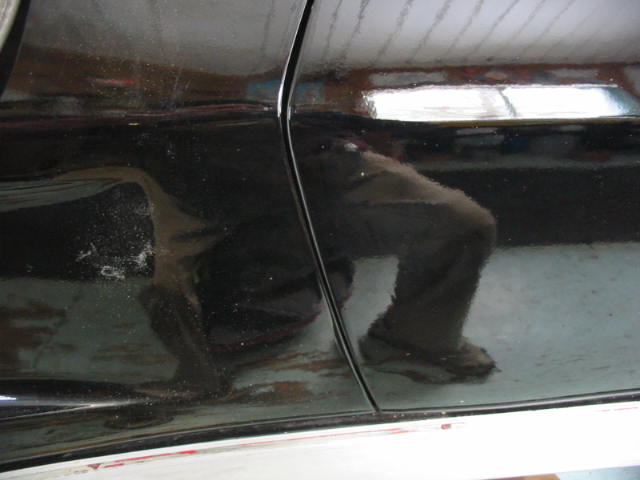
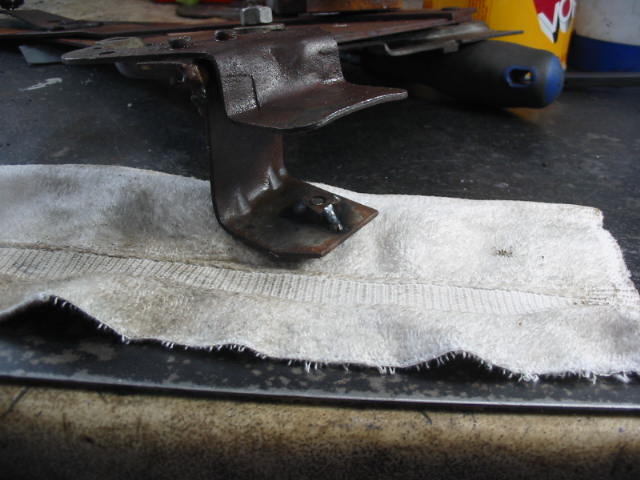
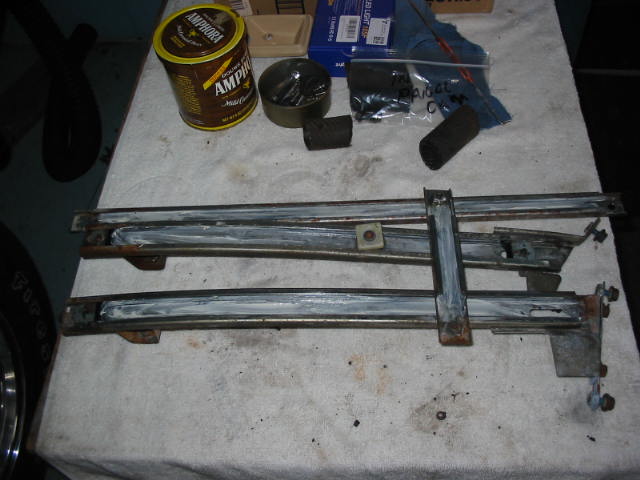
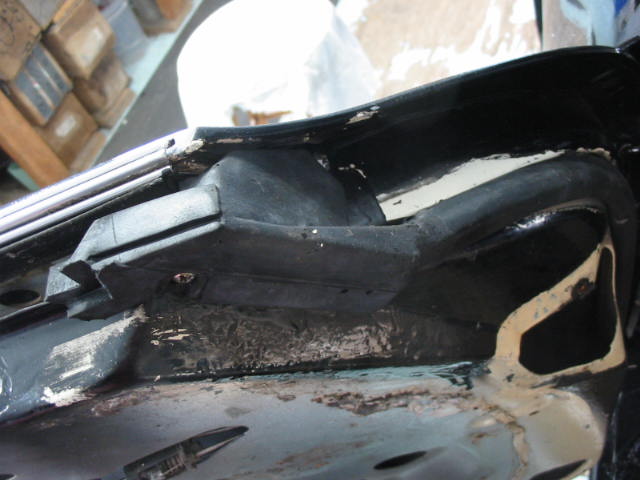
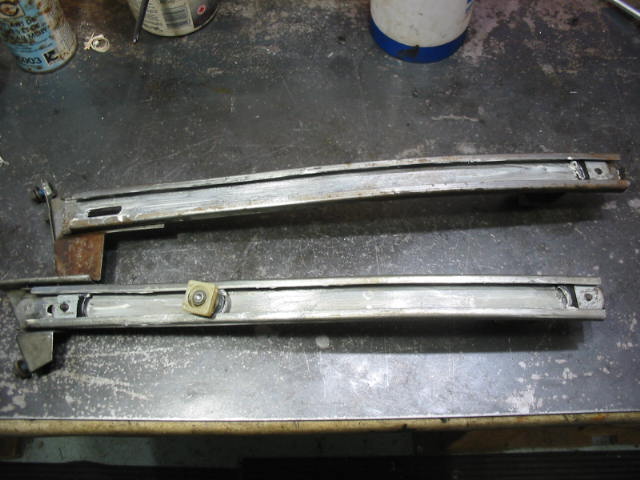
Starting the cleanup of the top sections.


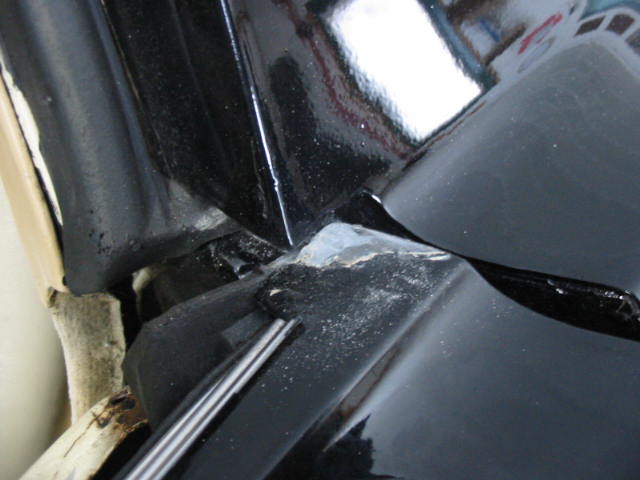
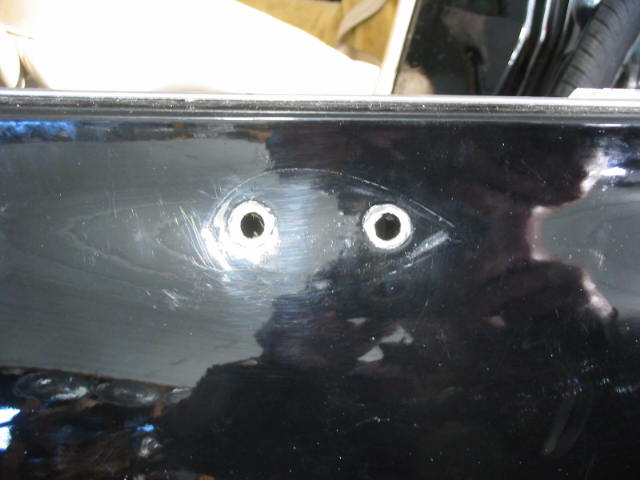
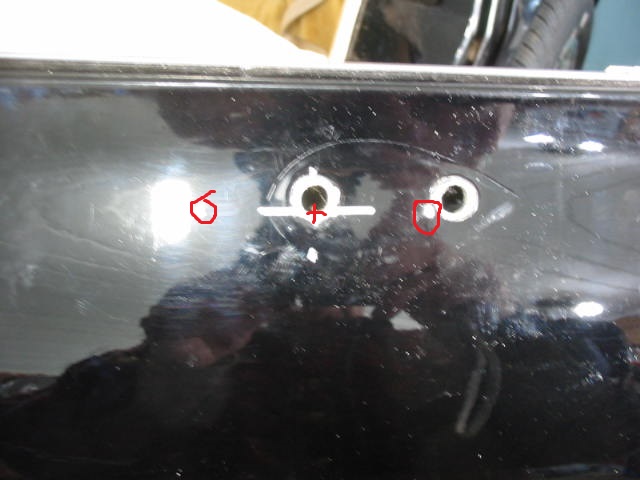
Lots of crud, old sealant and rust to remove.

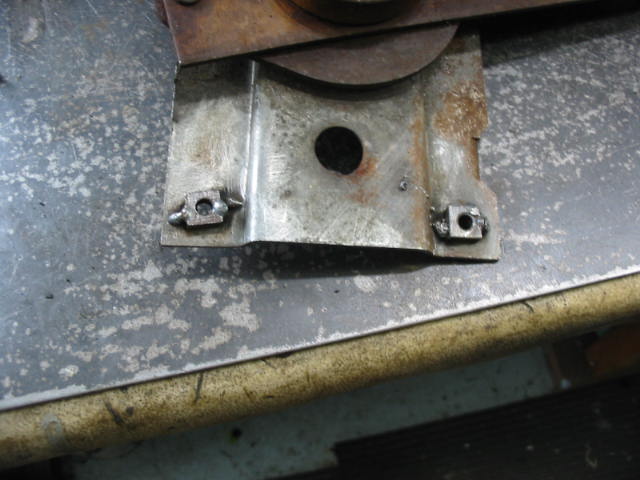
A fair amount of rust pitting, but I don’t think that will be a problem with paint and a new gasket/seal in place.

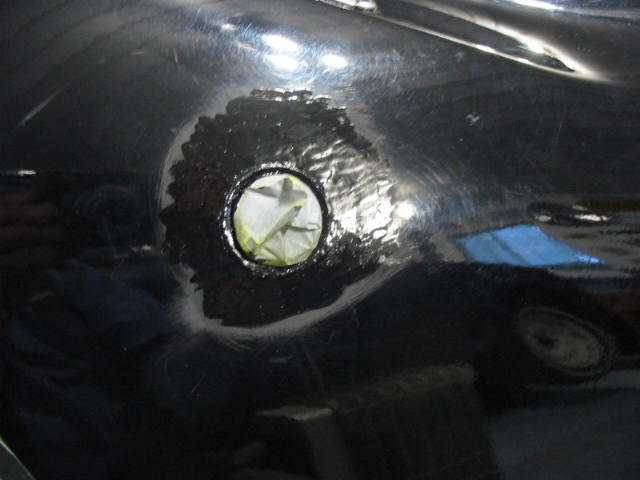
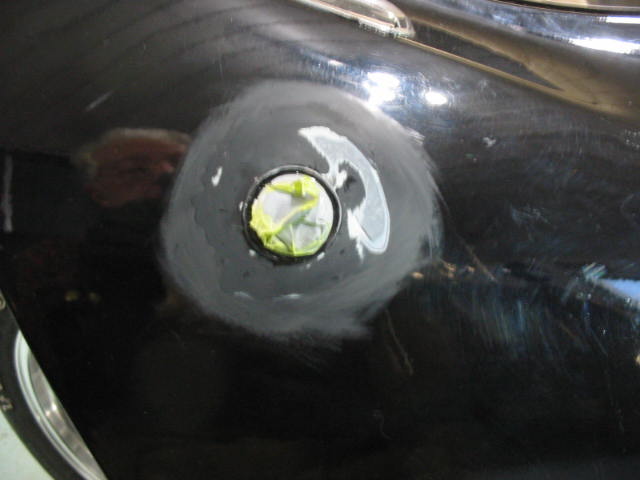
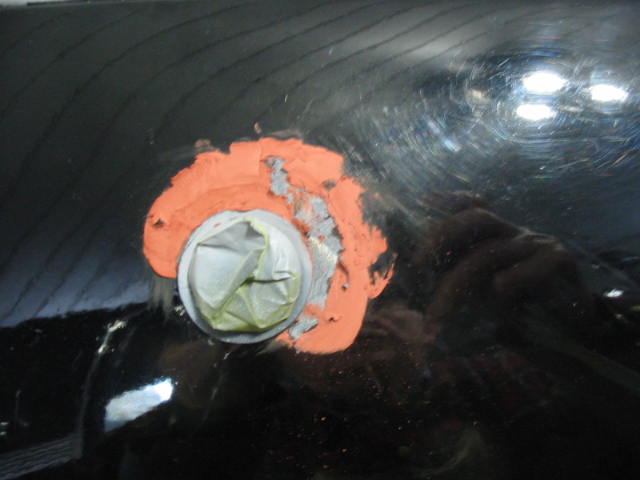
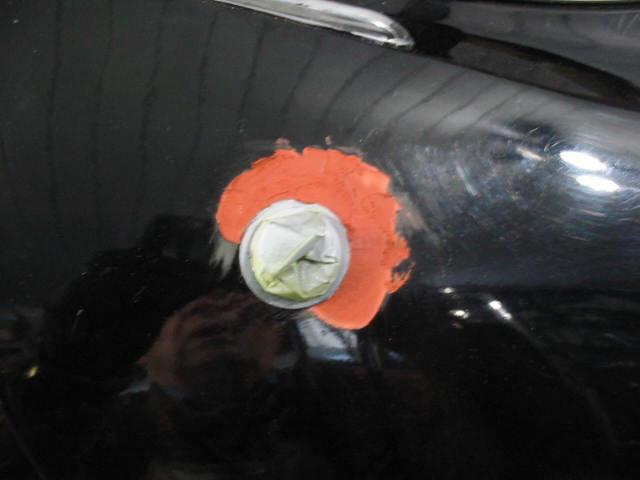
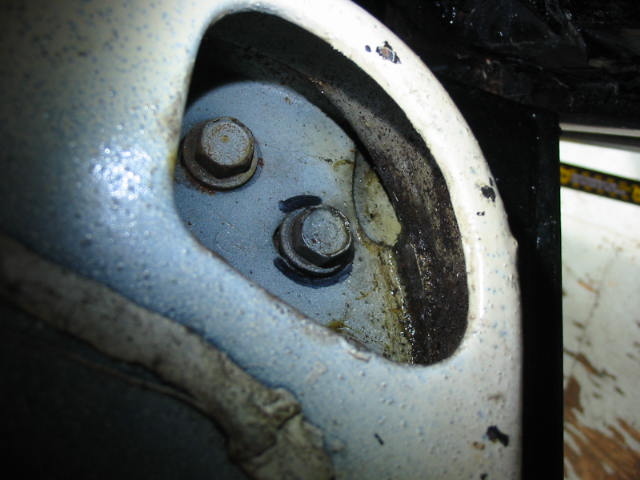
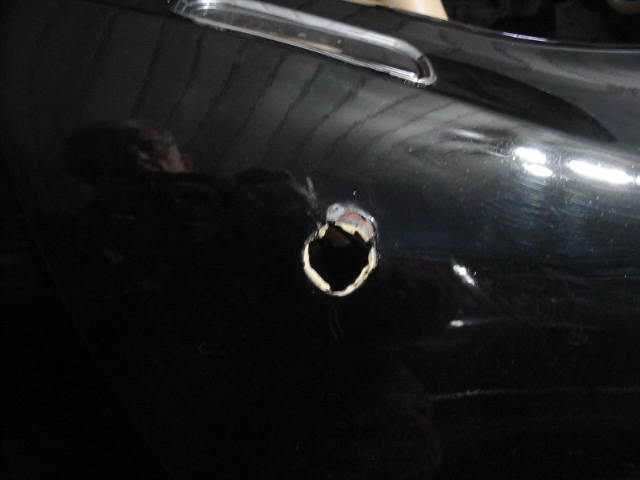
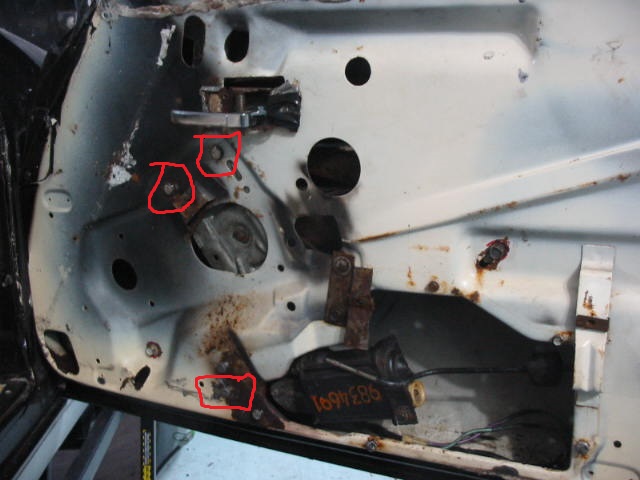
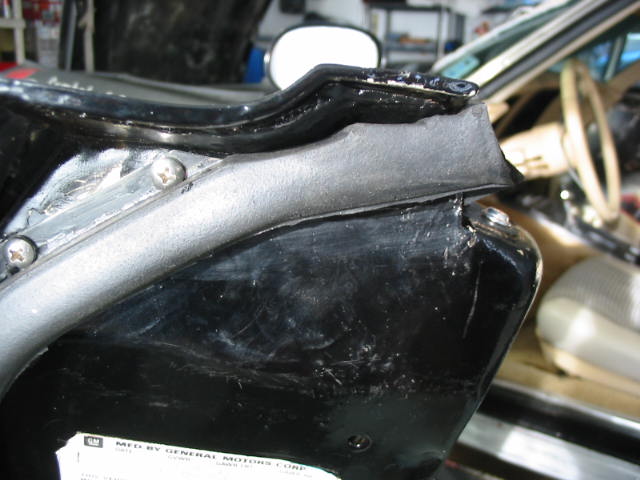
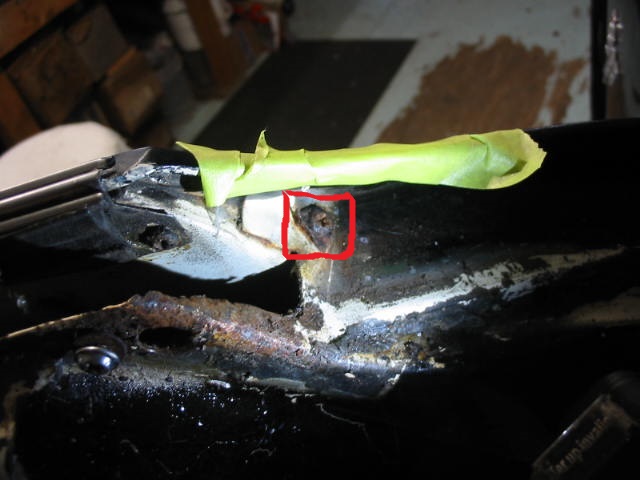
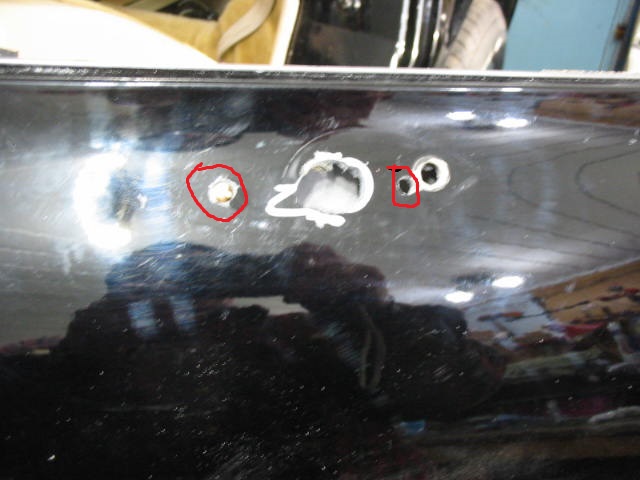
Only one nasty hole on the bottom right. Not enough to affect the strength too much, but will need to be repaired.

I used a dremel tool with a fine pointed bit to clean the hole out to good metal.

By rights a small patch should be welded in place. My welding skills are not nearly good enough for even this small job. I only weld something maybe every six months. If I was at it daily then I might be good enough.
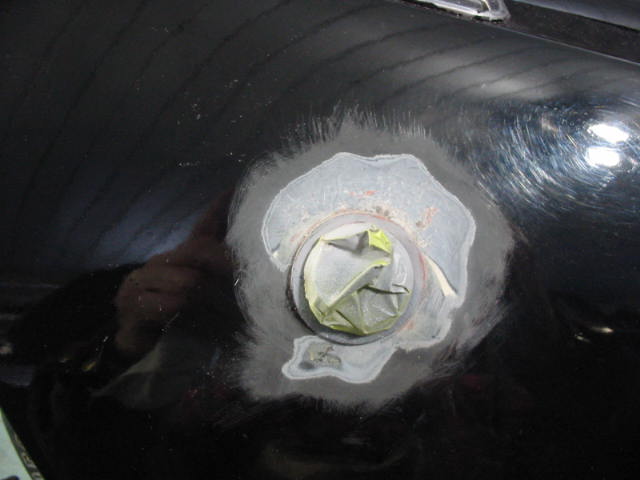
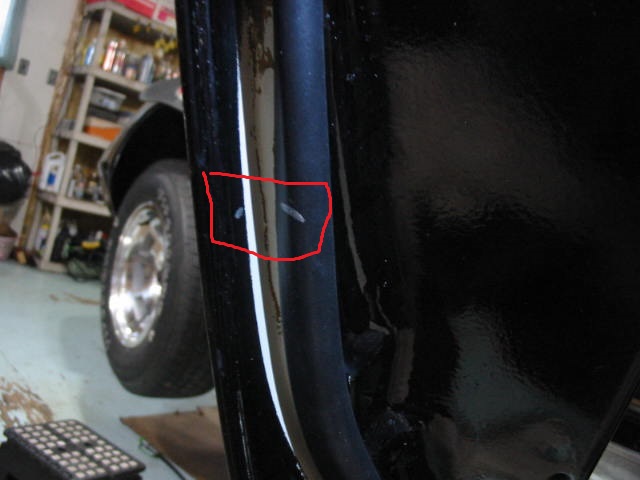
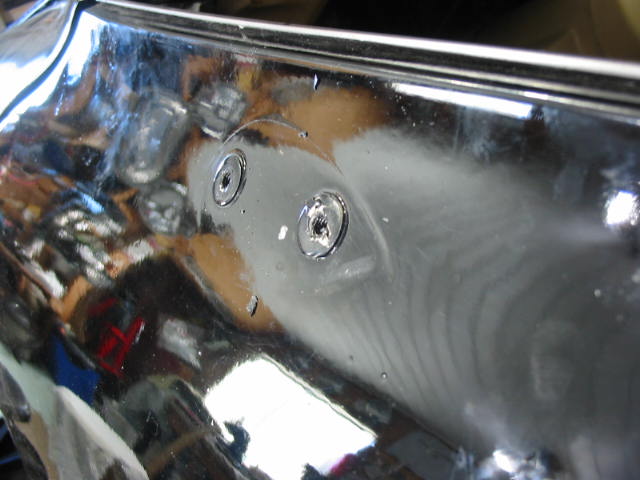
Fortunately I was able to get a piece of steel behind the opening which I held in place with recessed rivets.

Fibreglass matting has been pushed in behind the edges of the hole.
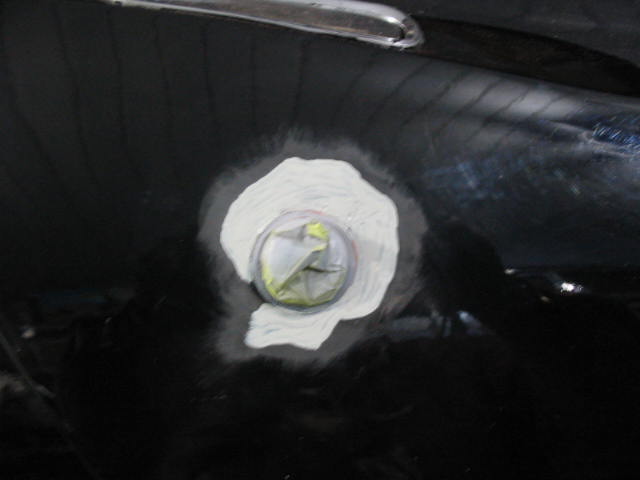
Next: Fiberglassing and final fill of the frame hole and more Cleaning.