The bottom of the drivers seat is toast. Time to visit Molond’s corvette salvage and parts yard near Bridgewater. Only about an hour and a half away.
A successful trip. Found a seat, air cleaner, door escutcheon and new rad overflow bottle cap and gear for the drivers window that doesn’t quite make it to the top.
The seat bottom cleaned up nicely. I had hoped to find an ivory seat bottom and back, but that was a bit too much to hope for. So I took this seat which is the style that I would like – vinyl with cloth inserts. This will be a good example for the upholster when the time comes.
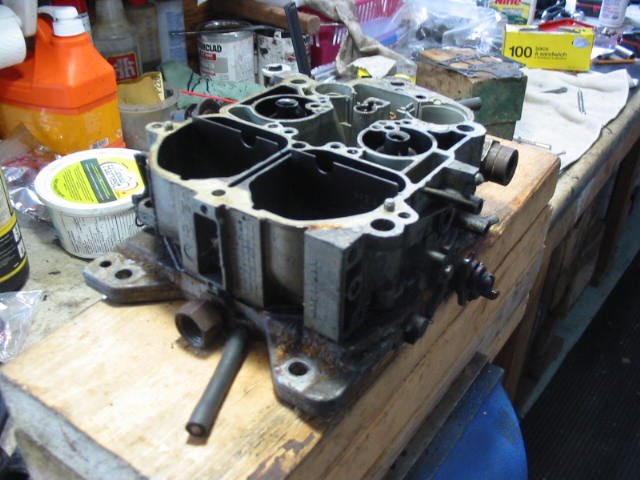
The carb base came out nice enough, but the linkages need attention. The only way to get them separated is to remove the butterflies. I’ve done it in the past, but unless I really need to I’m not going to try and remove those small screws that have been peened to stay in place and then try to get the butterflies back in their correct position. The linkage is working fine it’s just ugly.
Ditto for the choke and secondary butterflies. Not pretty. Just cleaned with a scotch brite pad. they’ll be hidden under the air cleaner 🙂
More bits and pieces that have some corrosion. I’ll just clean them up with a wire brush and leave them as is with a nice patina. This car sat, likely outside for many years and so a lot of the exposed metal under the hood corroded. Parts that I can’t clean up with a wire brush will get sandblasted and painted.
Primer coat on the base plate linkage, springs, etc – other parts are hanging to dry. I’ll give them a coat of gloss black which should look presentable even if they are a bit rough from corrosion.
I had purchased PineSol to do the job of cleaning the carb, but I read a few bad posts and decided to make a return and get some Simple Green – another cheap method to clean carbs on the web. The Simple Green cost about $22. Some folks like to use the Simple Green Pro HD. I can’t get it locally so I thought why not try the regular stuff and mix in less water.
I added a half jug – about 2 L – of hot tap water to the jug of Simple Green. I have used regular carb cleaning products in the past so it will be interesting to see how this does.
After a one hour soak I pulled this out and gave it a bit of a clean up with a tooth brush. Completely crud free and no damage to the pot metal.
The same amount of time for the carb body and with a little brushing, rinsing in clean water and a blow dry it came out quite presentable. It didn’t eat off the remains of old gaskets so that will need to be removed with a razor blade scraper. Also in some area’s the pot metal/aluminum oxidized and this, of course, remained. Not too much. so easy to clean up with a scotch bright pad. After blowing out the passages I used red Rust Check in all the internal passages and then blew that out.
I’m not convinced that Simple Green will remove any varnish build up in the internal passages. I’m going to go ahead anyway as the carb was functioning pretty good before. The major problems being the partially working choke system and the inability to adjust the idle mixture. This also gives me a chance to give all the moving parts a good lubrication.
Doesn’t look too nice, but this is how the service manual says to remove the idle mix screw plugs. Took quit a smash with a pointed drift and hammer to get them out. The manual warned that the plugs would shatter leaving parts inside. This was the case.
Sorry for the poor photo, but this is how they look. They have two flat sides and no slot for a screw driver. I don’t have the tool to turn them easily and using small needle nose pliers would be a problem.
Another poor shot – I’ve got to keep away a bit more. I’ve used a hacksaw to make slots in each one for small screwdriver. Should be OK now.
Lots of stuff to clean up besides rebuilding the carb. This is the grommet used to support the vacuum line for the Power Brakes. I gave it a good soaking with silicone to help keep it soft.
Next: more prep work before actually starting the re-build
Always problems on disassembly. One of the three choke screws refused to come out and broke off and when I tried to push the trans detent throttle cable to one side the old hard plastic broke. A new detent cable is on order and will be in today.
I won’t go into the difficulty of installing the new detent cable, but I will say – don’t forget to remove the old gasket. Also when removing the old cable it isn’t necessary to hold out the trans link as it only fall back a little bit and the new cable can be attached easily. Finally I could find nothing in the service manual about how to replace or adjust the new cable. All my info came from UTube videos!
I drilled it out best I could and then use a tap to clear up the threads. Happily the threads are good enough to take a screw. I’ll be sure and use blue thread lock and take not tighten the screw too much – just enough and the thread lock will hold it in place.
I’ve transferred the various carb shots to paper (in colour) and will keep them at hand when re-assembly begins.
Although not showing I screwed the carb to a wood block so that I could use a vice to keep it steady while I removed parts. Surprisingly most of the screws came off without a hitch.
More carb shots. Better close up of the spring positioning.
For the most part this carb had all the usual circuits albeit slightly different – especially the complex choke linkage. One other item is the thingy sticking up in the photo. It is the factory metering adjustment screw. It controls just how far the primary needles drop into the main jets and is set at it’s optimum position at the factory. I really didn’t want to remove it, but it sits in a well with a tension spring below and it might not be easy to clear that area of cleaning fluids. The photo shows the adjustment screw just about out of it’s well . Before I loosened it I took a careful measurement and found it was about .026 thousands above the carb deck surrounding it. When I put it back I”ll try and get it back to the factory setting.
Time to get the major crud from all the nooks and crannys.
Basic cleaning done. Some parts will be cleaned up using Simple Green and others will be sand blasted and painted.
I have about a week to wait so a good time to rebuild the carb.
I’ve take about a dozen photos of the old carb to help the re-install. It’s easy to forget how the hoses are routed and how the various linkages are put together.
I like to tag things as well to make re-assembly even easier. Heaven knows re-assembling carbs can be difficult, especially when doing a new carb brand- my first Quadrajet.
All apart and on the bench. Lots of crud and rust to clean away!
Hooray! my new PS cylinder arrived. Looks really good and all the attachments come with it – except for the shiny round disk which is a new end plug for the control valve.
While I wait for the tap and die to arrive I’ll move on to installing the new ignition lock. The new door locks will go in when I do the door work.
I’ve been into the steering column innards a couple of times, but it is still a bit tricky.
I try to keep all the little bits in order.
This is a Lisle puller I got from Princess Auto. A must have tool to get steering wheels off.
Next is my home-made lock plate compressor. It is needed to compress an internal spring so that the C clip locking key can be removed to get the plate out and expose the directional signal switch.
The directional signal switch in this shot is pulled up over the steering shaft to expose the ignition switch locking pin – bottom left, the darker and smaller of the two screws.
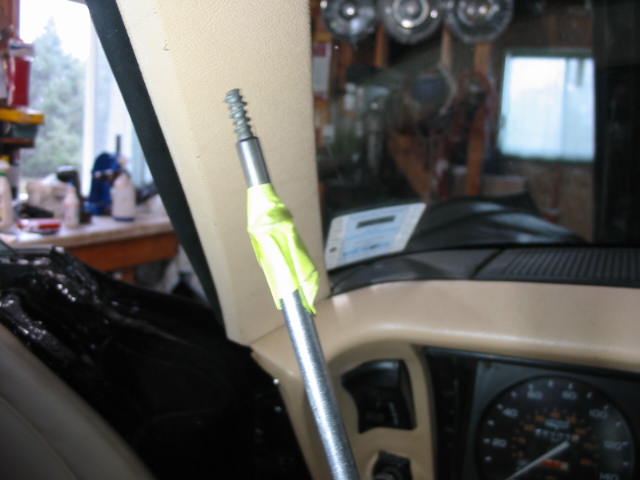
I taped the locking pin screw so as not to loose it down the steering column which would mean taking the whole column apart to get it.
Tools needed to do the job. Nothing special. I find a dental pick always useful and also a extendable magnetic pickup tool.
Putting back together is not too much of a problem. I tested the new ignition switch before reassembling the rest of the column.
New keys on the old key fob that came with the car. Oddly Ottawa was close by where I grew up and where I started my working career.
My tool kit that will be kept in the back of the Chevy. The yellow thingy is a nylon tow cable – you never know….
I had to use a gear clamp to get the boot clamp tight enough. Even so It ended up a bit crooked, but the seal should be tight enough to keep out any crud that flies up.
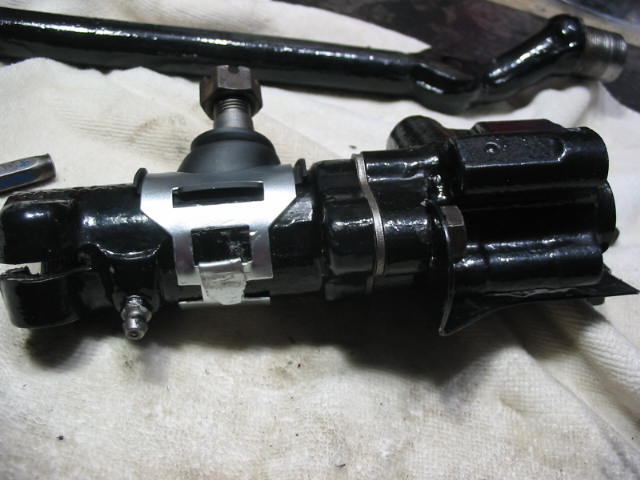
All together and ready to install on the steering link. It screwed off the link without much problem so it should go on OK. I previously marked the control body and the steering link so I can get them back together exactly as they were.
I needed to use a long drift to screw the body on and that didn’t seem right.
I removed the control valve only to find out that the steering link threads have been damaged. It wasn’t cross threaded as I screwed on the valve body a number of turns before I started to use the long drift. Something is amok in the valve body treads. Now I’ll have to find the proper tap and die to fix these threads. Not your common toolbox item. The thread size is 1-1/16″ with an 18 pitch size.
Found this tap and die on Amazon for about $75 taxes in and free shipping. Only thing is now I need to shelve the job for two or three weeks until it arrives. I checked locally but, it is not readily available, at least to the common joe with limited contacts for such equipment.
New PS pump in place. I removed the alternator and the alternator bracket (top left) which made the install much easier. First I installed the new painted bracket to the block. I then tried to install the pump, but now way could I get it in place! So I read the service manual. No help there. The said the pump could be installed with the bracket in place. In the end I had to put the bracket on the pump and then attache the bracket to the block. A bit of a pain, but with any luck I won’t have to do it again.
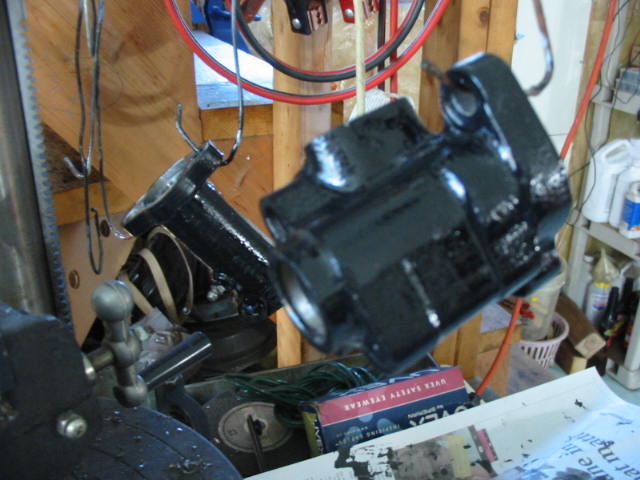
Now on to the re-assembly of the control valve body. All nice and shiny with it’s second coat in gloss black.
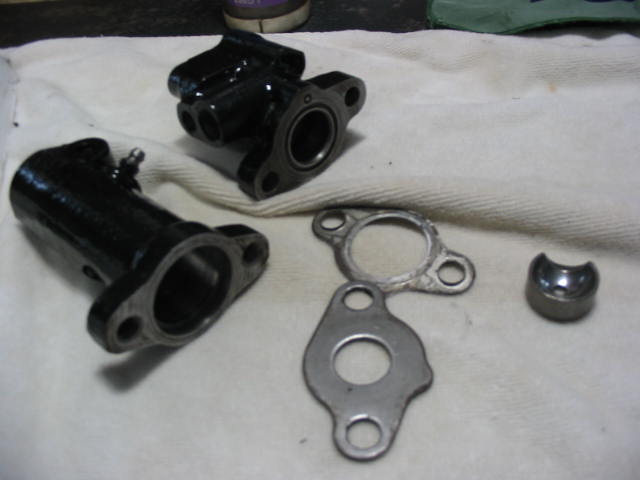
I’ll flat sand the two flanges that come together in assembly. I have a sheet of steel on my bench which is really handy with I need a dead flat surface.
All nicely sanded including the shim and plate that fit between the control body sections.
There is a first time for everything. So I was test assembling the control valve and was removing an O ring when it flipped out of my hand and fell down between me and the work bench. I must have spent a half hour scouring the area around the bench and even further thinking it could have rolled some distance. I even looked at both sides of my shoes with my feet in them. In the end I gave up as it was end-of-day and decided to look tomorrow. A final thought and I removed my shoes and son-of-a-gun wasn’t it nestled down under my arch!
New-to-me Corvette aluminum wheels on the car. Buffing turned out well.
The old wheels look quite presentable. I’ll keep them for awhile until I sure I’m happy with the aluminum jobbies. Nice 8″ X 15″ GM rally units. I’m sure someone will want them.
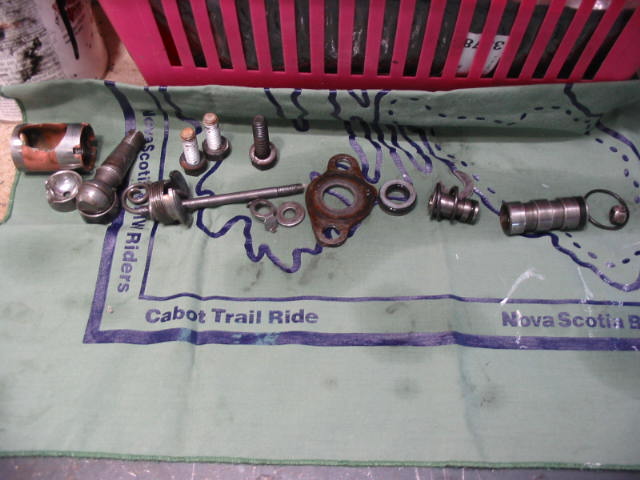
All the internals from the PS control valve in order. Soon time to re-install with a new kit.
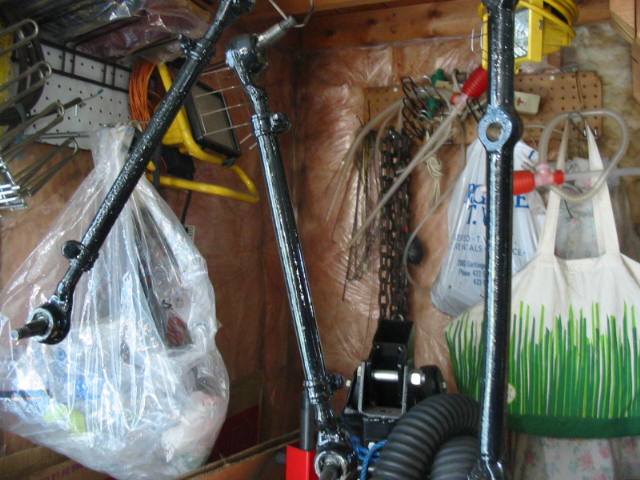
In for a penny… I decided to remove the steering links from both sides to give them a clean up and paint so all the steering will look nice. Usual problems – one cotter pin had to be drilled out and one nut had to be split.
What a difference a little primer and paint make. This is the first coat of black and it’s semi-gloss. I’ll do a final coat in gloss. Then it’s time to start the reassembly. The new hoses have arrived and I’m waiting for the new hydraulic cylinder.