
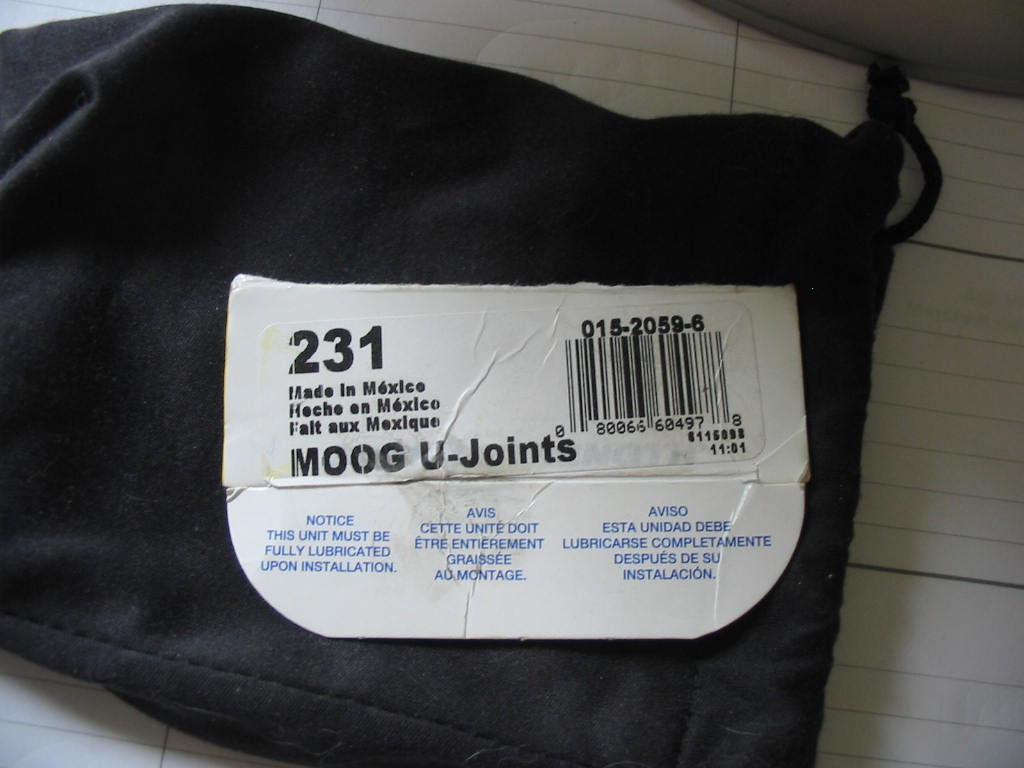
One should always read the fine print. My first time installing non-greaseable universals so I assumed that the cups were all loaded with the proper amount of grease. When I had done the job I noticed this tiny note on the universal box flap. No information slip in inside, just this little easily missed note. So no option but to remove all six universals and get them greased.
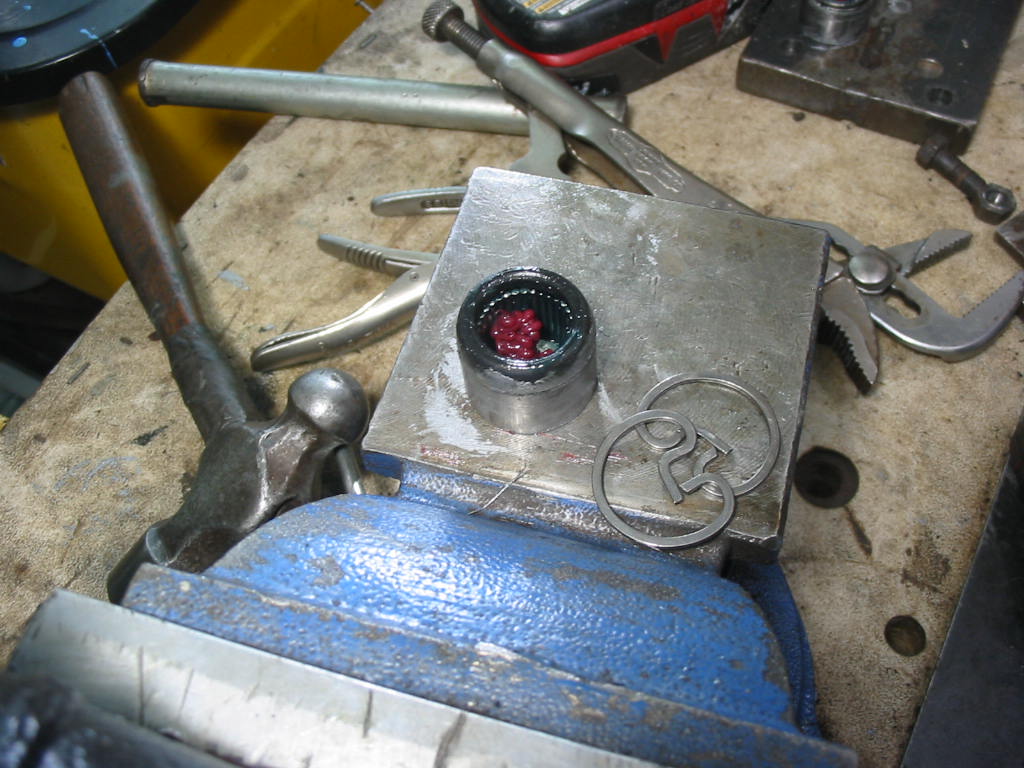
Not the easiest thing to do to get the new cups out of the yokes. The set that I had greased with anti-seize earlier came out the easiest. I’ll install them with a little grease to ease going in. I squirted one pump from the grease gun, loaded with wheel bearing grease, into each cup.

I also filled the blind holes in each cross arm. I used a needle applicator on the grease gun.

Both short shafts done. I had problems with the flanges bending – even with a 1/4″ steel plate attached – on the last install, but this time all went well after I tighten the plate to the flange good and tight. Only the main drive shaft to finish and hopefully I won’t break either universal. l broke one short shaft universal on the first install and had to buy one from CarQuest. It cost about $53 whereas the ones I purchased from Rock Auto were $35 including shipping.
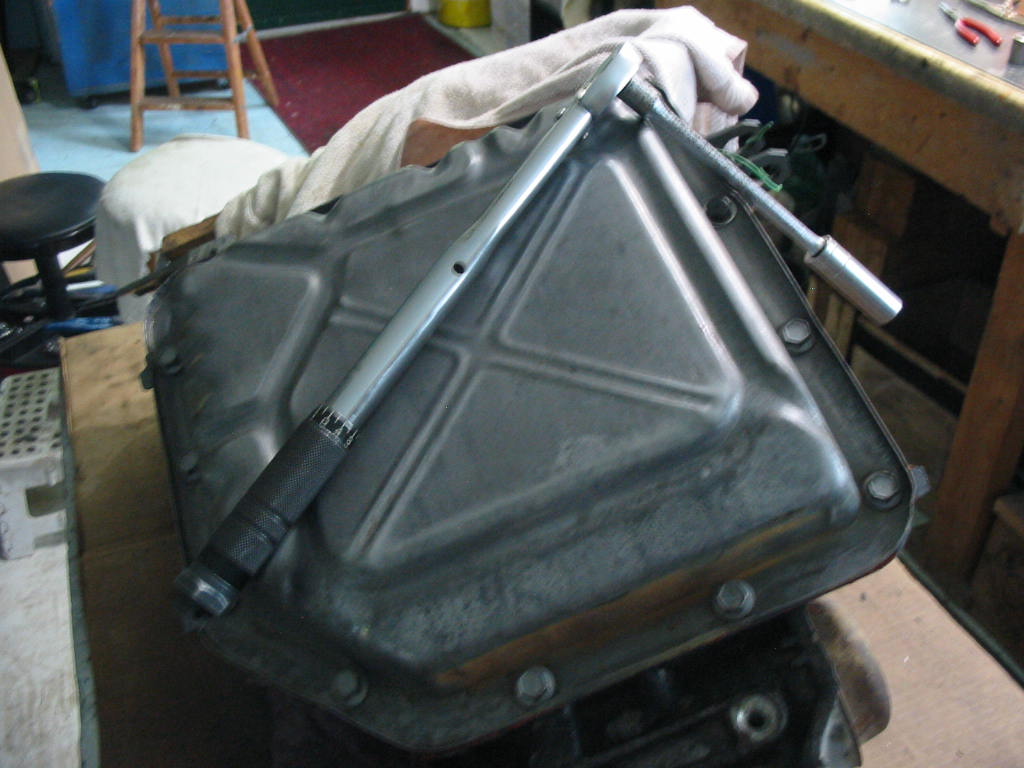
Back to the pan on the donor trans. I set the gasket in place with red gasket seal on each side – I used a small brush to apply the sealant. I then snugged the screws down. I waited a day and then torqued the screws to 150 inch Lbs per the manual.

Meanwhile a couple of parts arrived from Corvette Depot. Two new rear spindle nuts and a fitting that goes over the spindle threads. That will save the threads when I put the unit in a press to remove spindle from the spindle support.

3/4″ X 20 tap and die arrived. Cost a little over $20 from Amazon. I need these to clean up the rear spindles.

I cleaned up one spindle and the new nut spins on easily. Not so for the cap. I was a tight fit almost like a tapered plumbing fit. So I ran the tap through it and it then fit nicely on the spindle. It will protect the threads when I try to press out the bearings – much better than reversing the castle nut and threading it back on the spindle top. Supposedly you can hammer the spindle with this covering nut to drive it out of the bearings, but I prefer to press them out even if I damage the dust cover (flange plate) a bit.
Next: on to replacing the spring cushions.