
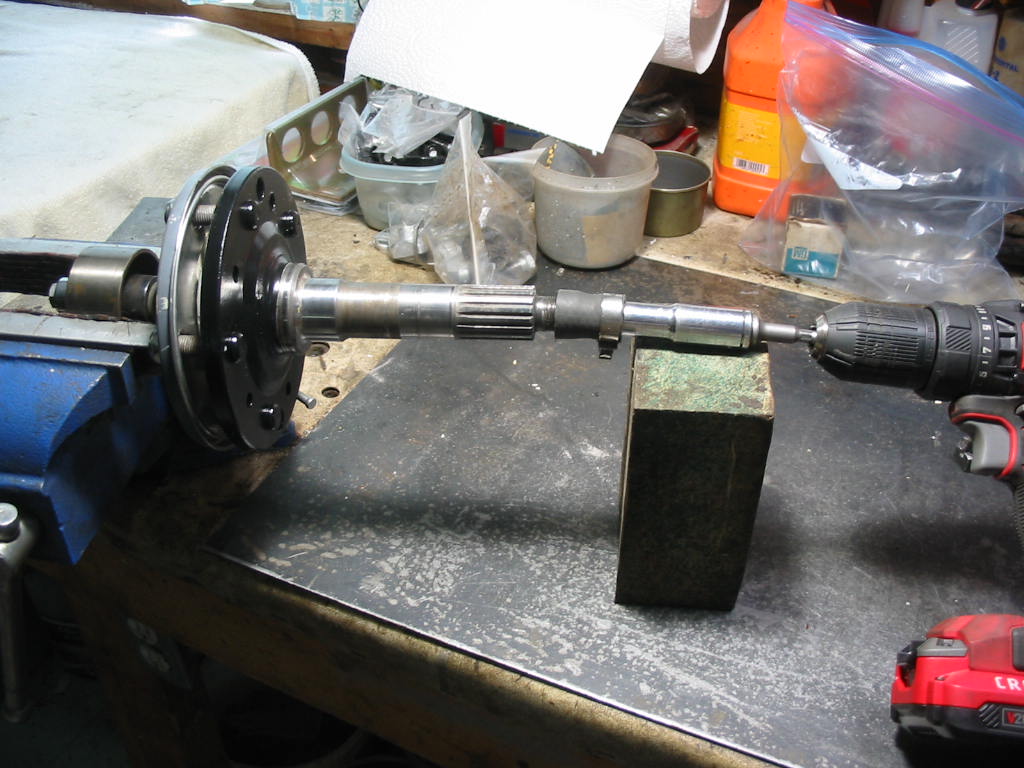
This is the rig I borrowed from a fellow C3 Corvette owner Barry Chappell. Going from the left is an idler bearing which is attached to a paint can top with holes to take the spindle studs. The spindle is attached using regular studs put on backwards to flush up against the paint can lid. The drill is attached to the spindle with a short length of coolant hose and a long 1/2″ drive socket on the other end. Then an adapter to fit sockets to a drill. I ran the drill slowly and held a wrapping of 80 grit paper on the bearing surface. I sanded a bit and then checked the fit until the bearing just fit over the spindle snugly. Caution is needed here because it is easy to turn the spindle down too much and that would result in the spindle needing replacement or a sleeve installed – both an added and unnecessary cost.
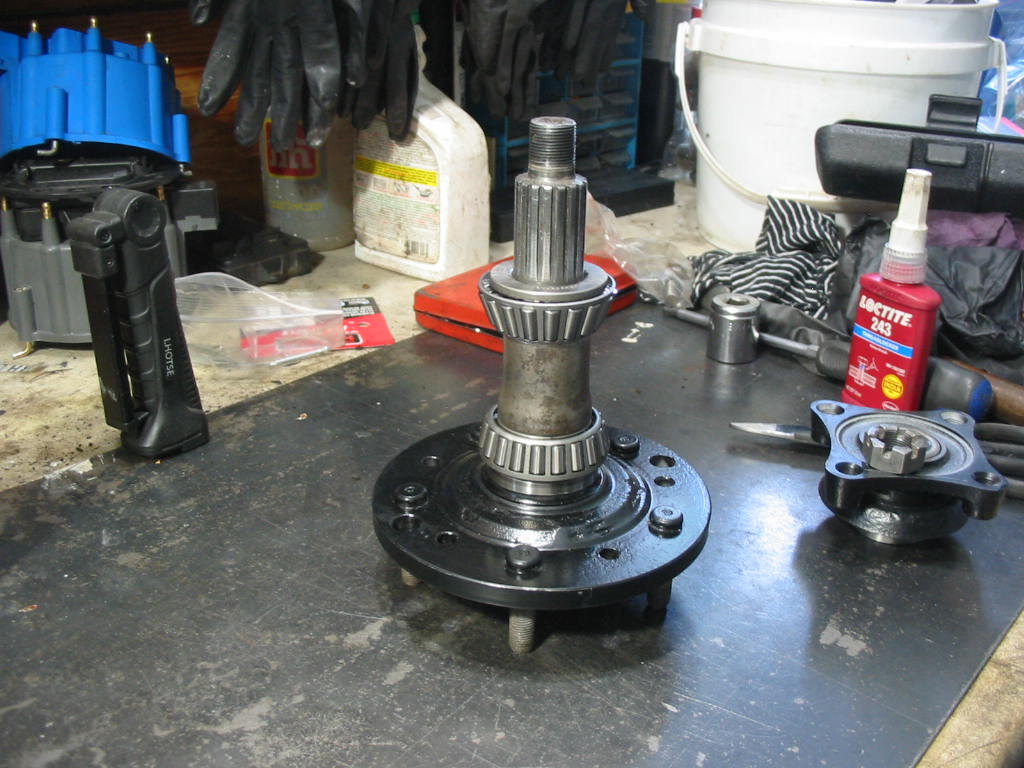
Spindles taken down and bearings slip fitted on.
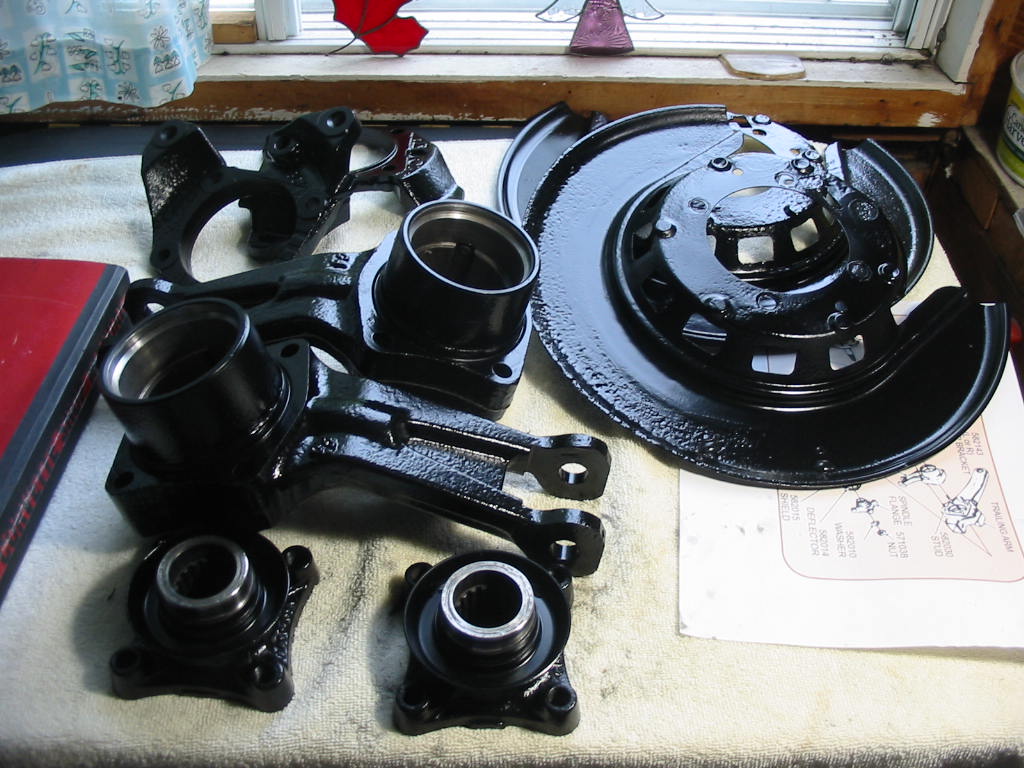
Parts with primer and two coats of semi-gloss Tremclad oil based metal paint.
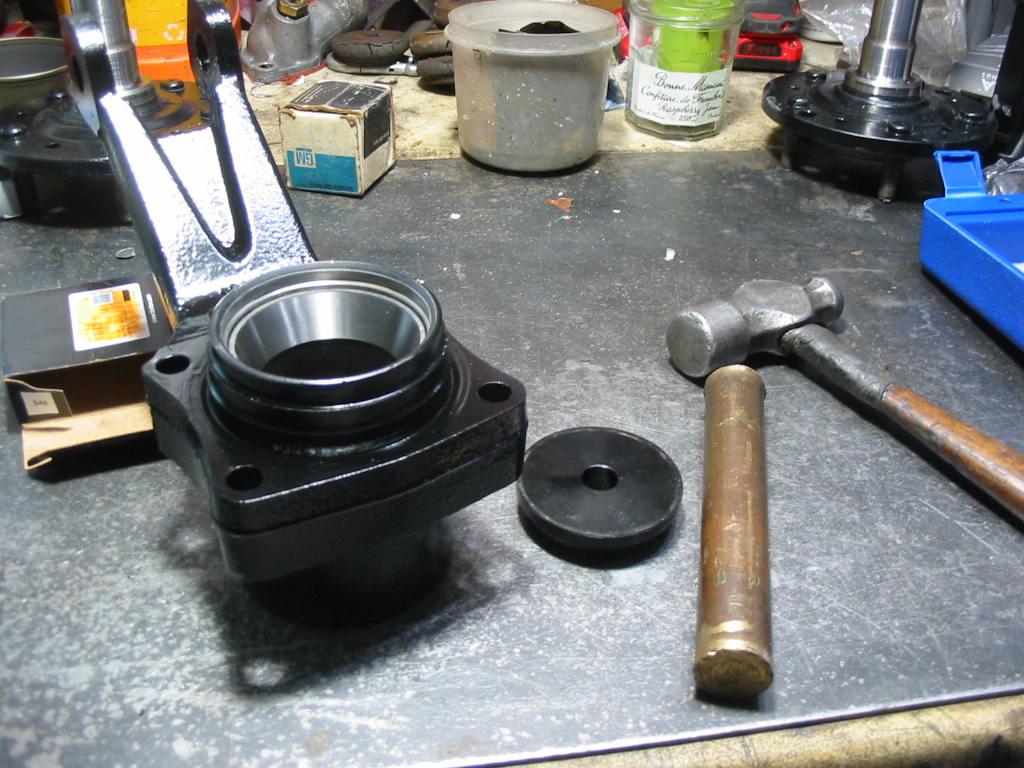
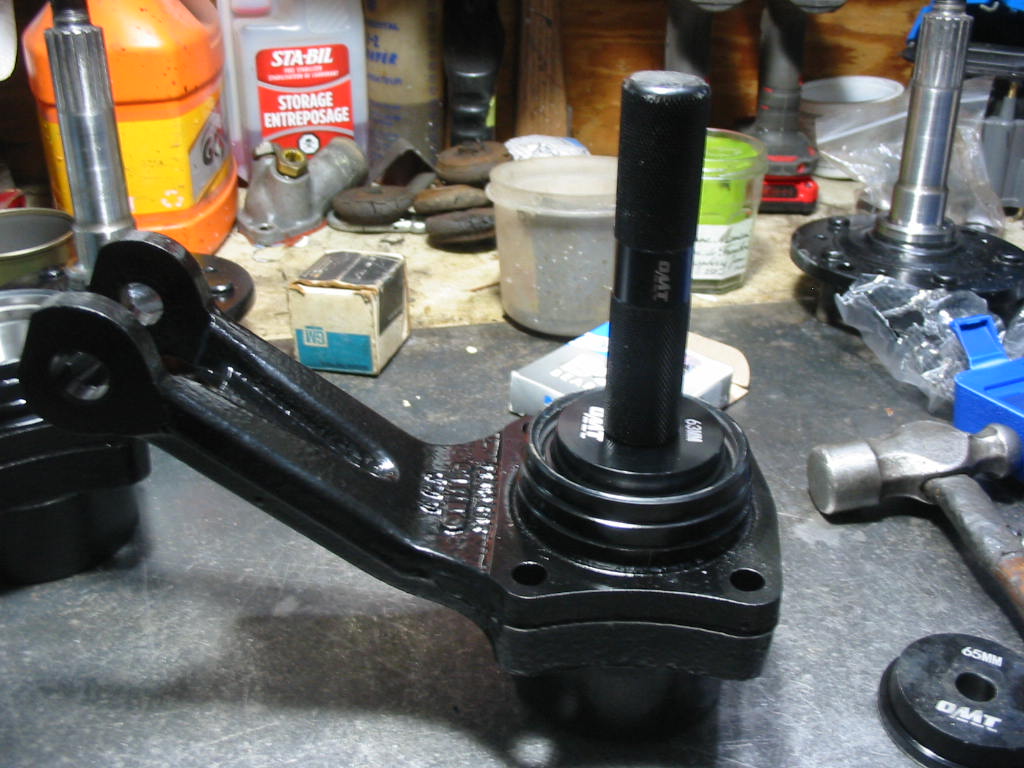
I got the races (cups) started with hammer and brass drift. I then used my bearing and seal seating tool to get them seated tightly. I picked up a seating tool awhile back, but for some reason it is metric. So I just chose one that fits flip it over and use it that way.

Friend Barry was also able to supply a selection of shims and two spacers.

It was then a matter of selecting a combination of shims and spacers that would give me a spindle play of as close to .001 as possible without going below the minimum. On one side I had to flat sand a shim and a spacer to get the play down to were I wanted.

Using my dial gauge and the bench vise I kept trying combinations of shims and spacers. I was able to get a reading of between .001 and .002 which is OK for me. The manual says it can be as high as .008, but that would be really sloppy.
Next: Start of rear suspension re-assembly.