
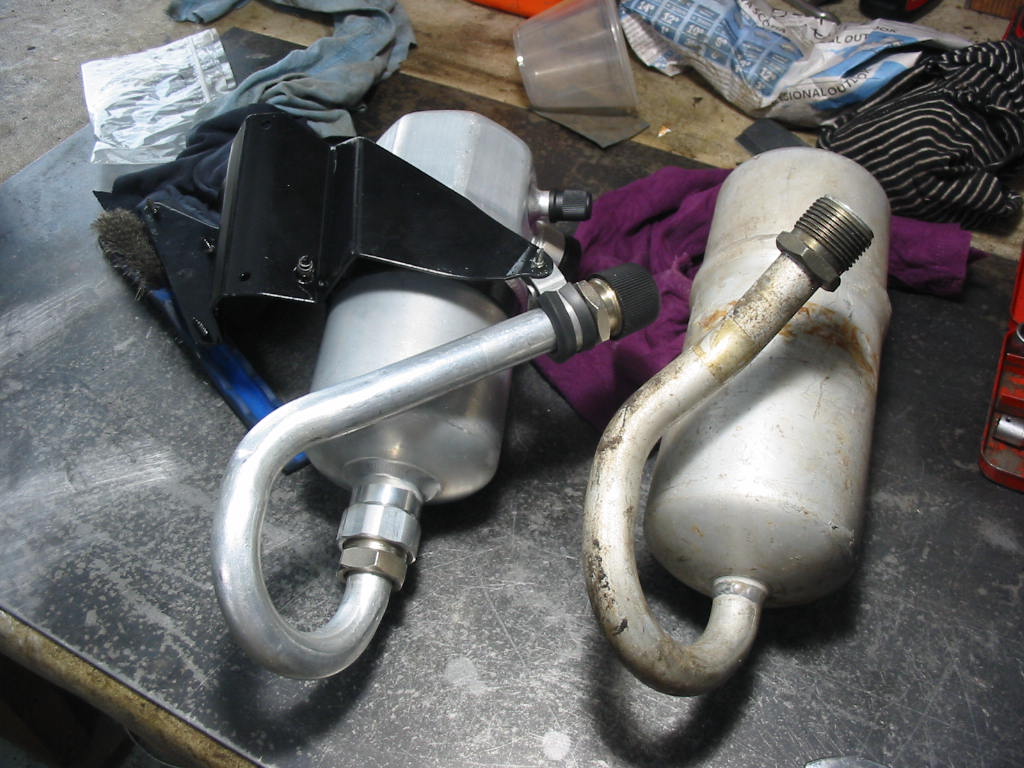
The new dryer is a multi-fit unit and has a selection of three tubes for attaching to the bottom. This one seems closest to the original, but in the end I used a different one. The mounting bracket is loosely fitted here.
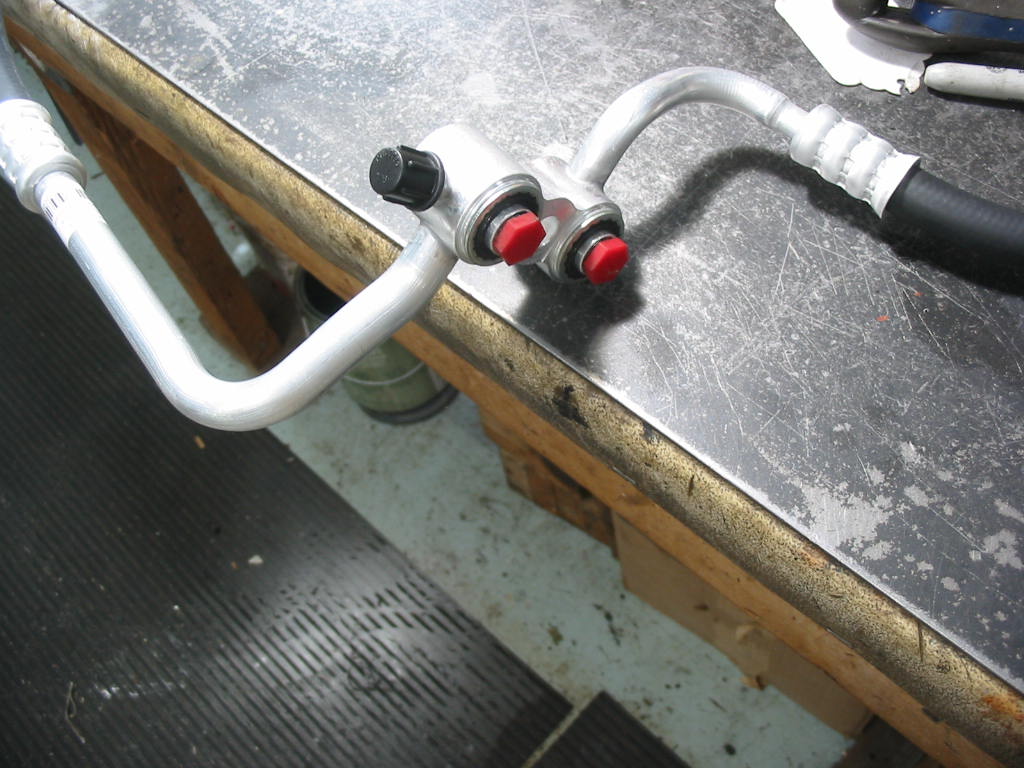
At this point in the install of the AC I’ll be attaching low pressure line to the dryer. I needed to find a couple of plugs to close off the pump connection. I need to keep the dryer as free from moisture as possible and it will be only after the engine is installed that I can finish the AC install.
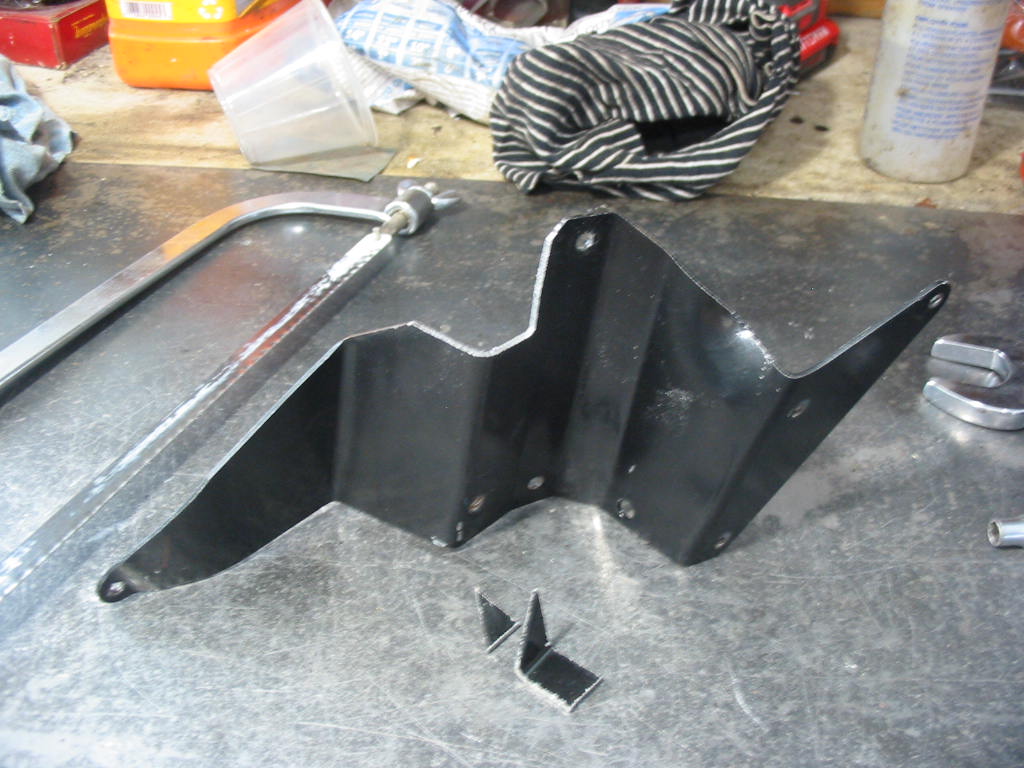
The new dryer has two ports where the old one only had one. The second port gets in the way of the mounting bracket so I had do do a bit of a mod to the bracket to get it to fit.
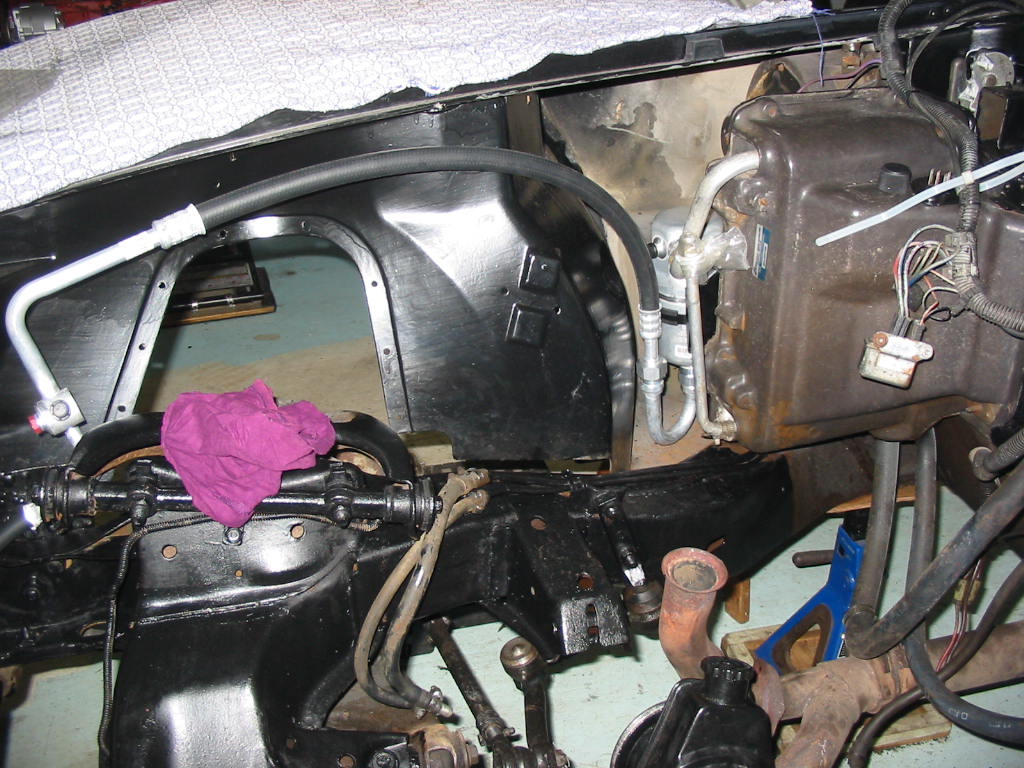
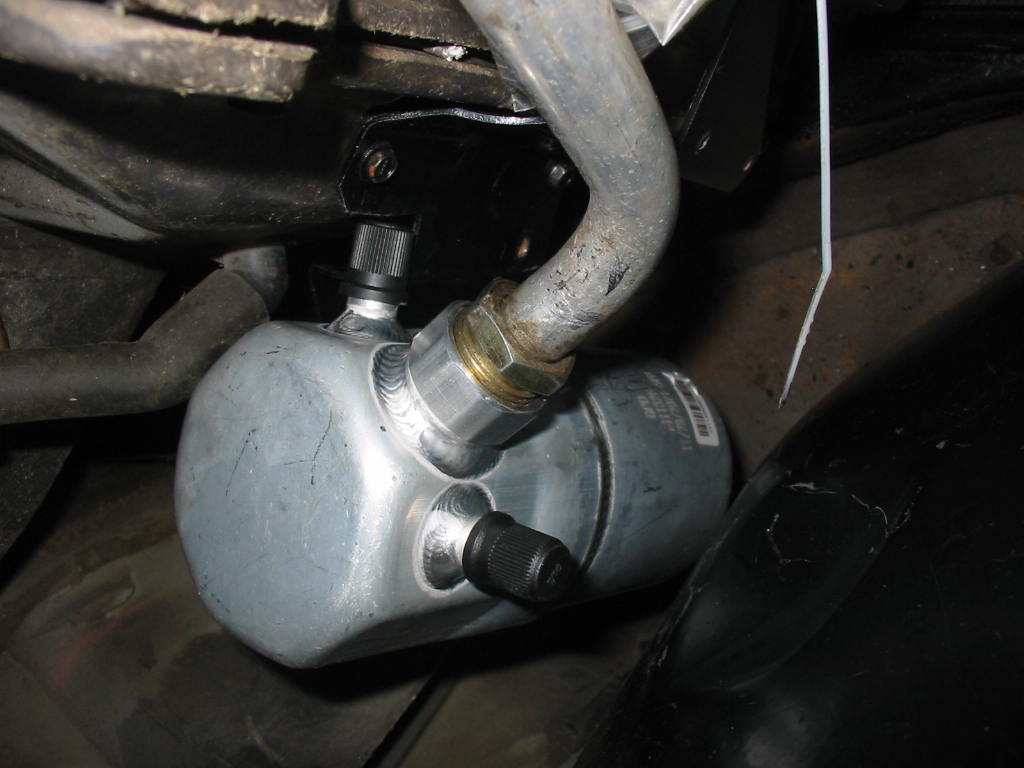
Dryer in place. I have used a short ‘U’ shaped tube on the bottom and ran the hose from there. The original setup had the hose wrapping around the back of the dryer.
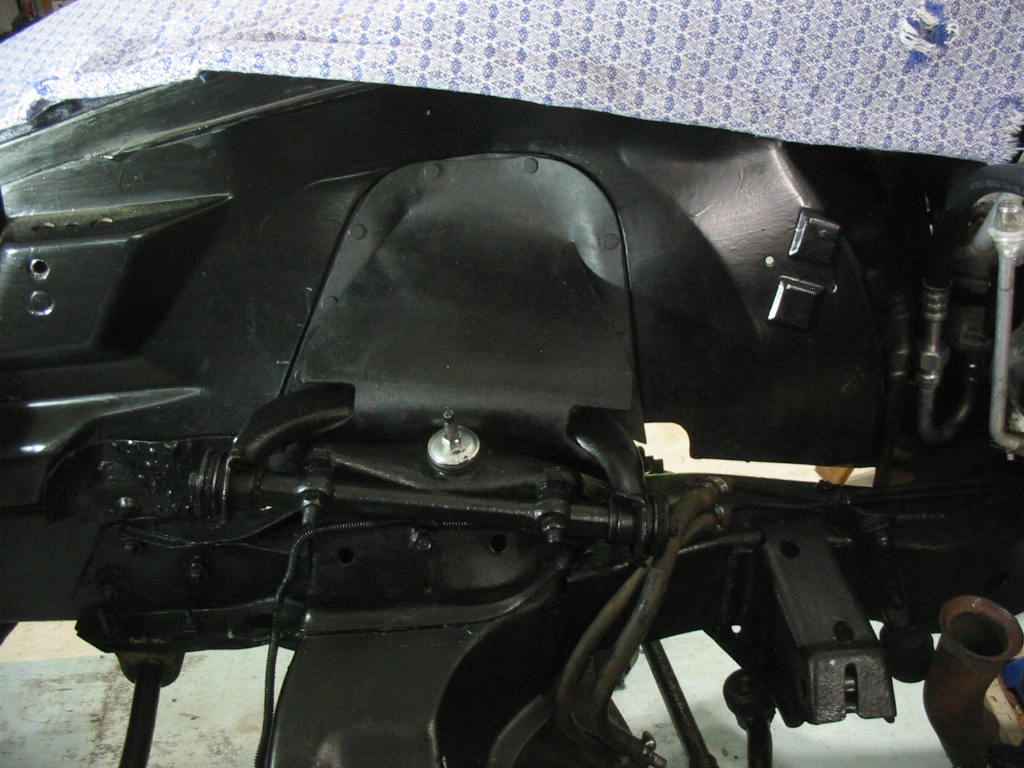
New splash shields in place with new push rivets – lookin’ a whole lot better.
Next: a new air dam and checking the rear wheel rotor run-out.