
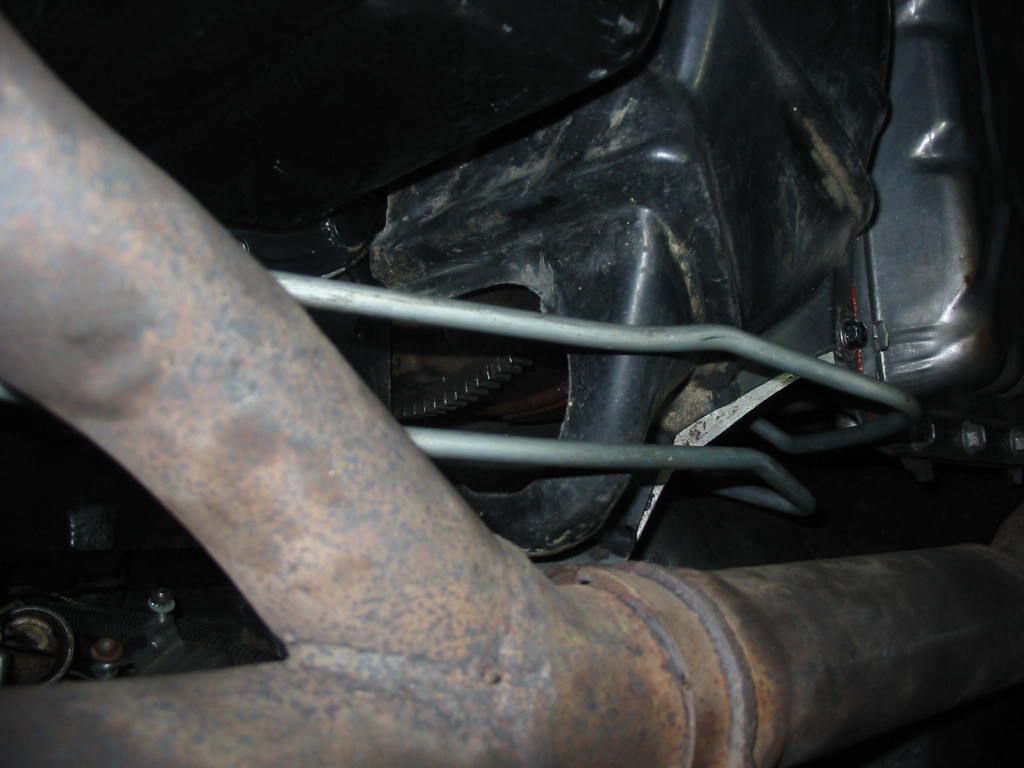
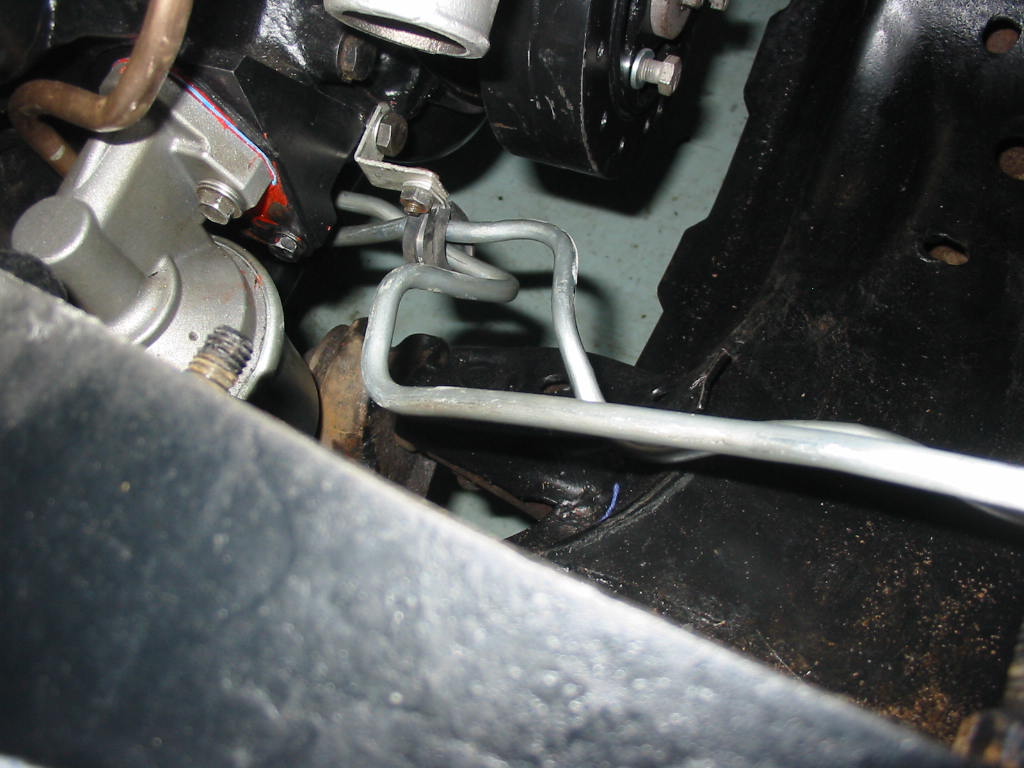
Installing the two transmission cooler lines. The lines come pre-bent, but I didn’t find that they fit all that well. I had to do a lot of bending to get them in place. It is a bit of a nightmare to get them connected to the trans. I used fingers, a bent wrench and a 1/2″ crow’s foot to get them on and tightened. It’s the only crow’s foot I have and it was absolutely necessary to get the fittings tight.
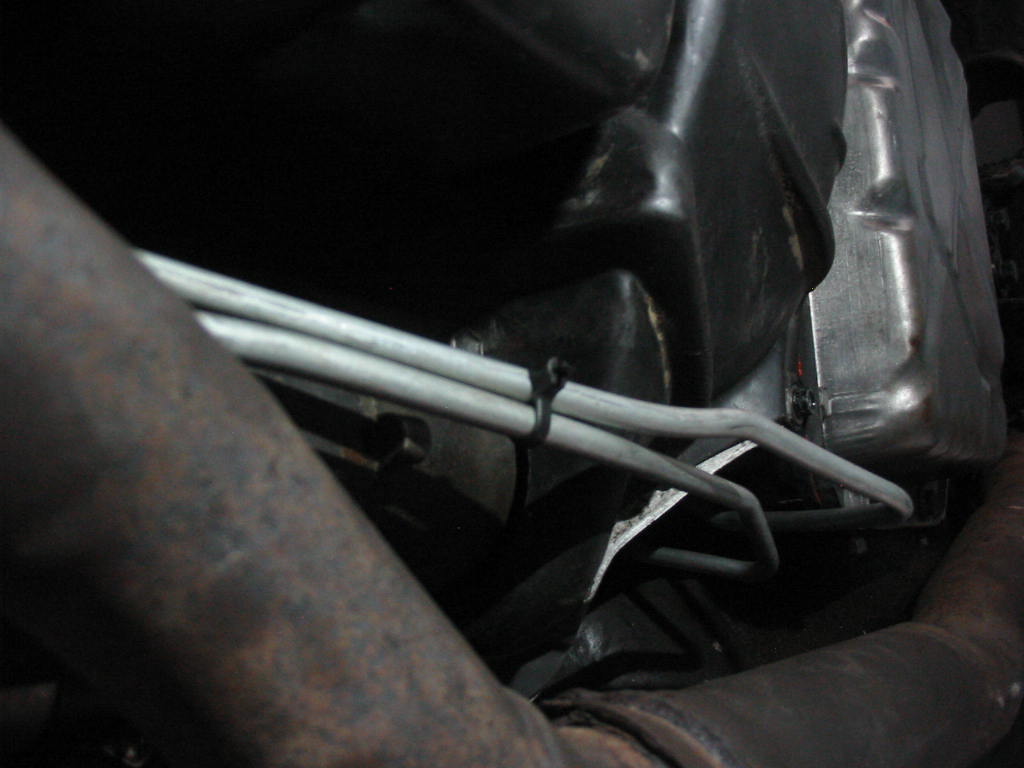
The original Chevy motor has a special clip welded to the pan that holds the trans lines. There was none on the 305 So I used a couple of cable ties and a generic bracket to keep them steady.
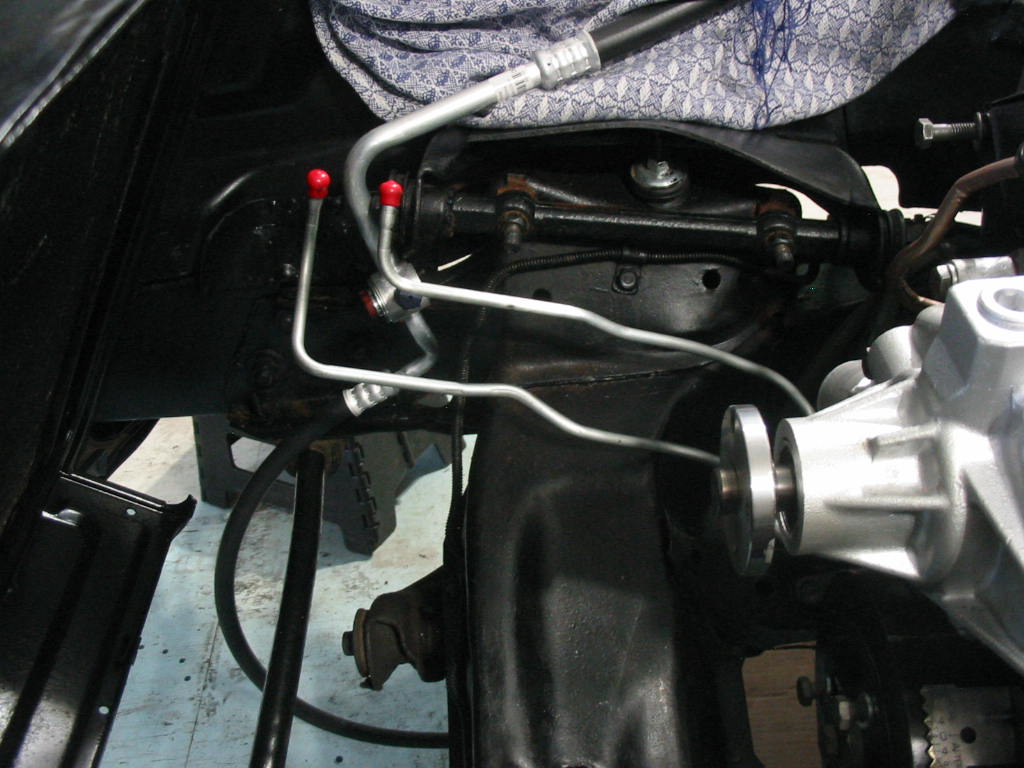
The pipes are generally in the right location, but there will still need to be some bending to get them placed right.
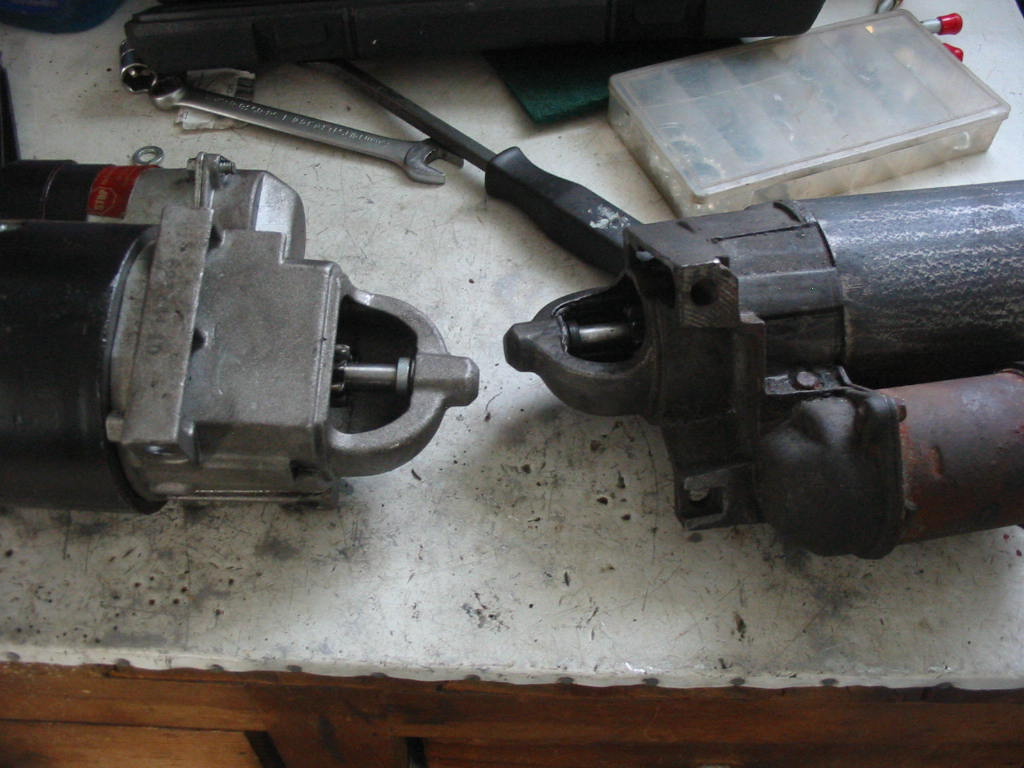
I attempted to fit the new starter from the original Chevy engine (left) only to find out it wouldn’t fit. The old starter from the 305 donor works but the solenoid got damaged when it was removed.
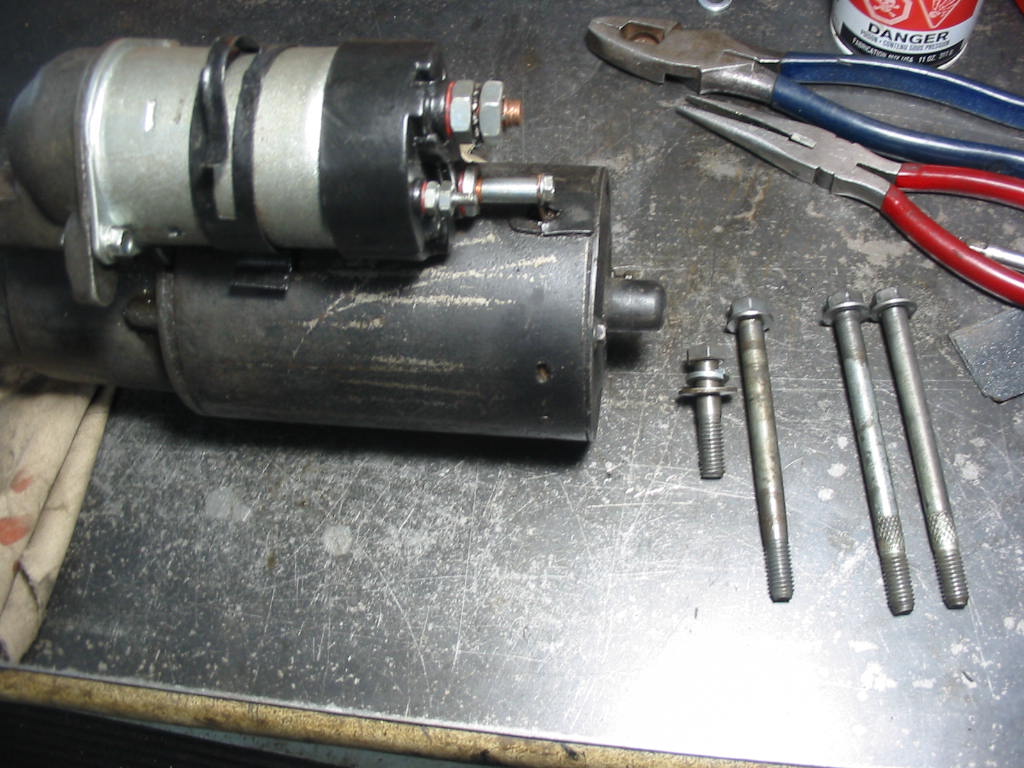
Fortunately the solenoid from the newer starter fitted the old 305 starter. Instead of two long bolts the 305 starter takes a short and long bolt (left). The newer starter bolts are also a bit longer.
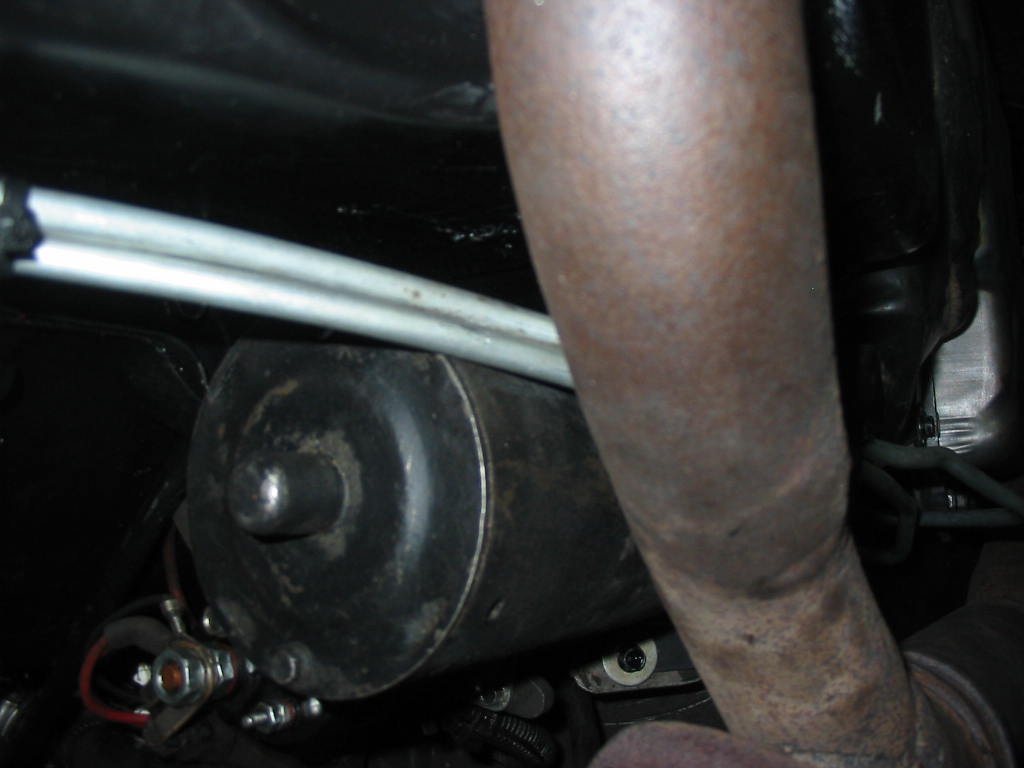
Starter in place with two mounting bolts. All it needs now is the support bracket from the back of the starter to the block. A tight fit, but just enough room to slip it in between the block, exhaust pipe and trans lines.
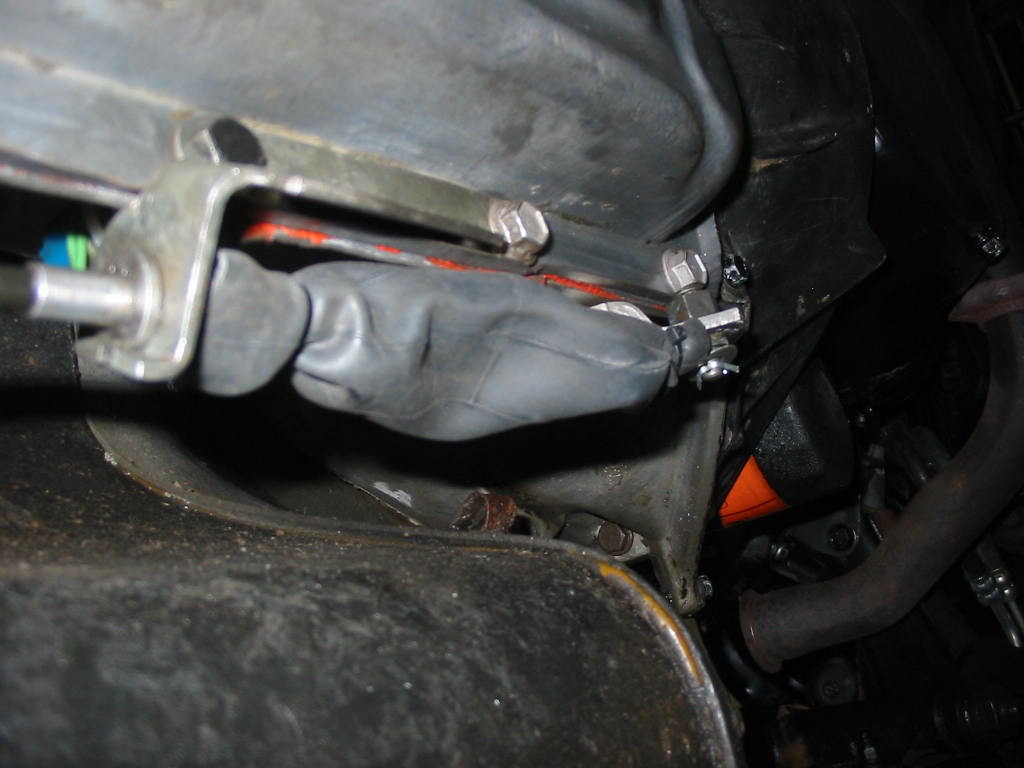
Next job was to connect the shift cable to the trans. The original rubber cover was rotted out. I couldn’t find a vendor that sells new ones. I would need to buy a whole new cable setup to get the rubber! So instead I used a length of bicycle inner tube. I put the shift in park which moved the cable to it’s full length and then cut a length of tubing that was a bit longer and fastened it on with cable ties.Seems to work OK and it will keep road grit out of the cable housing. Note the photo is looking up at the bottom of the trans.

The new left manifold has arrived from Rock Auto. It has steel plugs in the air induction openings. The manifold finish is not as smooth as the original, but it doesn’t have as many bumps in the casting so looks nicer that way.
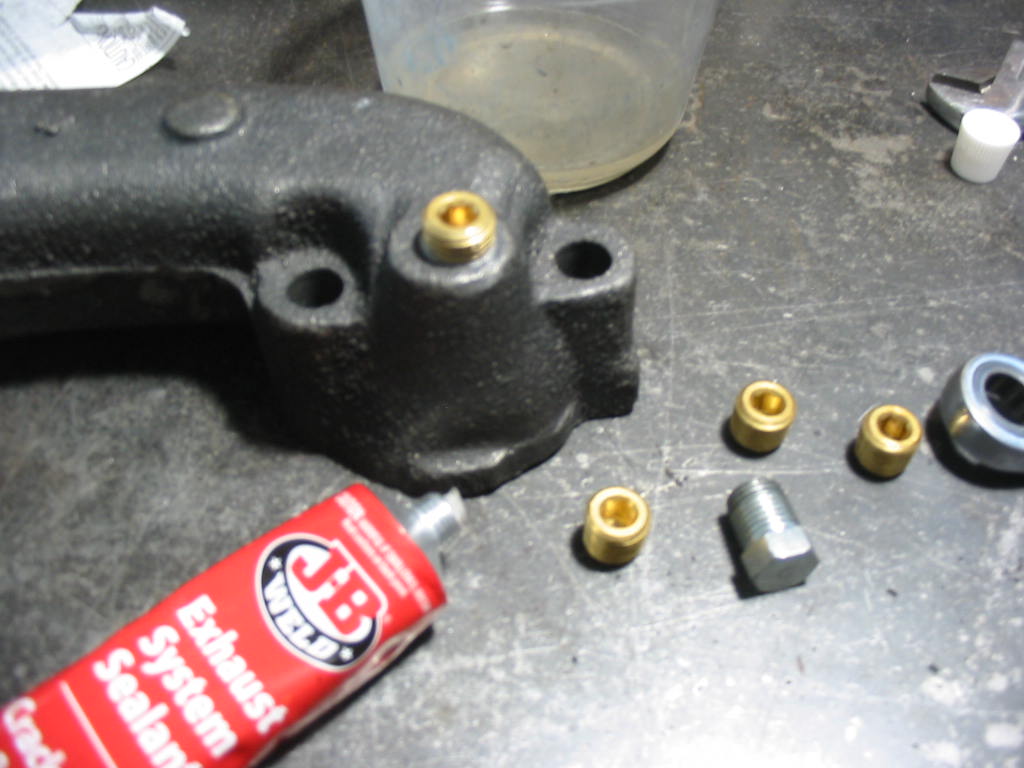
I’m replacing the steel plugs with brass ones. I’ve added a bit of exhaust system sealant to ensure a good seal. The brass will be easier to cut off than the steel.
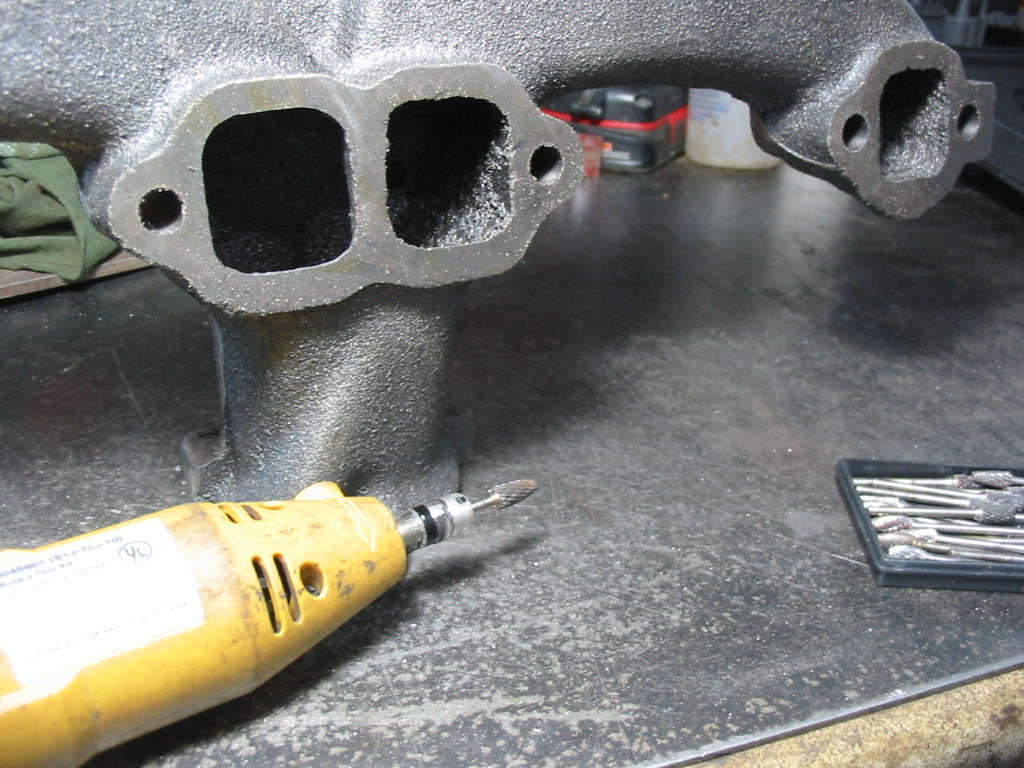
Final job before sandblasting and paint is de-burring the exhaust ports and other bits left off from the manufacturing process.
Next: on towards getting the engine started