
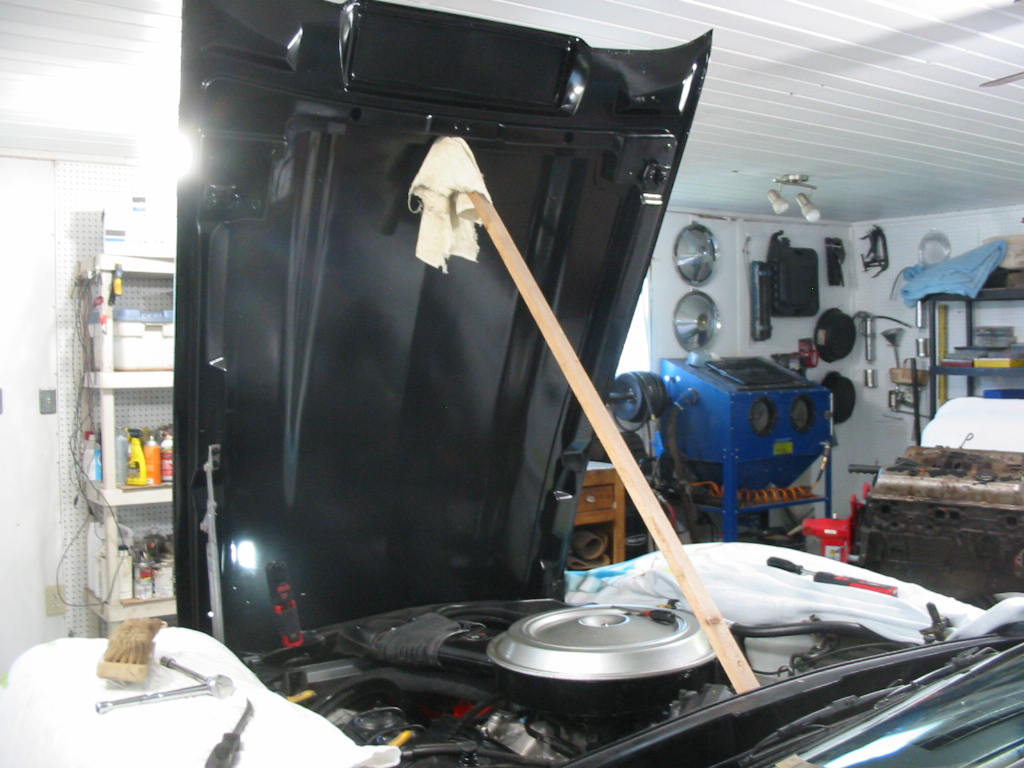
Getting the newly painted hood back in place. I had to use this setup to allow the hood support on the left side to be loose so that I could adjust the left side hinge. After some fiddling I was able to get the hood fitted OK.
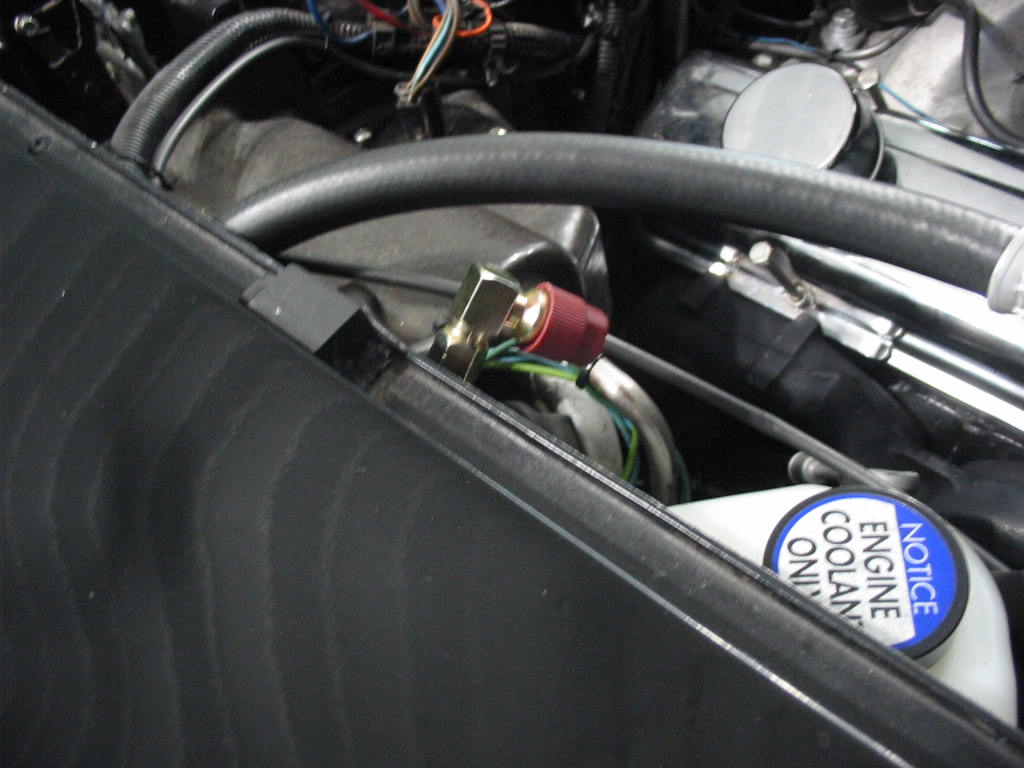
Then I tried to close the hood, but of course the new high pressure 90 degree AC fitting wouldn’t work.
Even with a straight R12 to R134A adapter the hood still wouldn’t close.
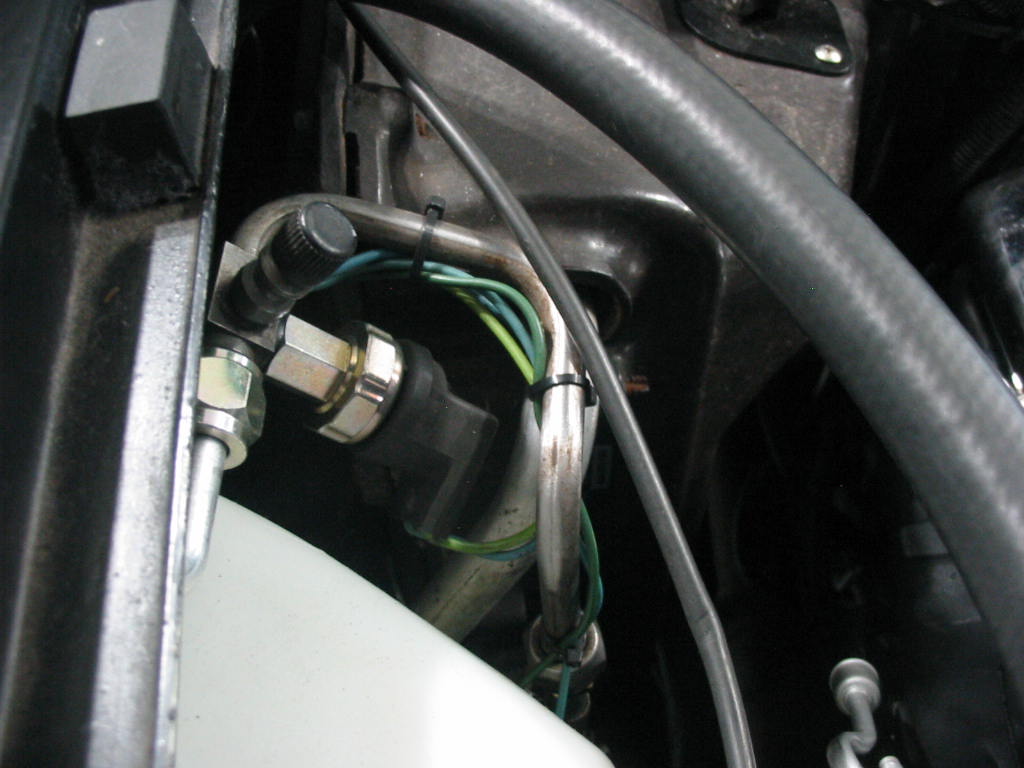
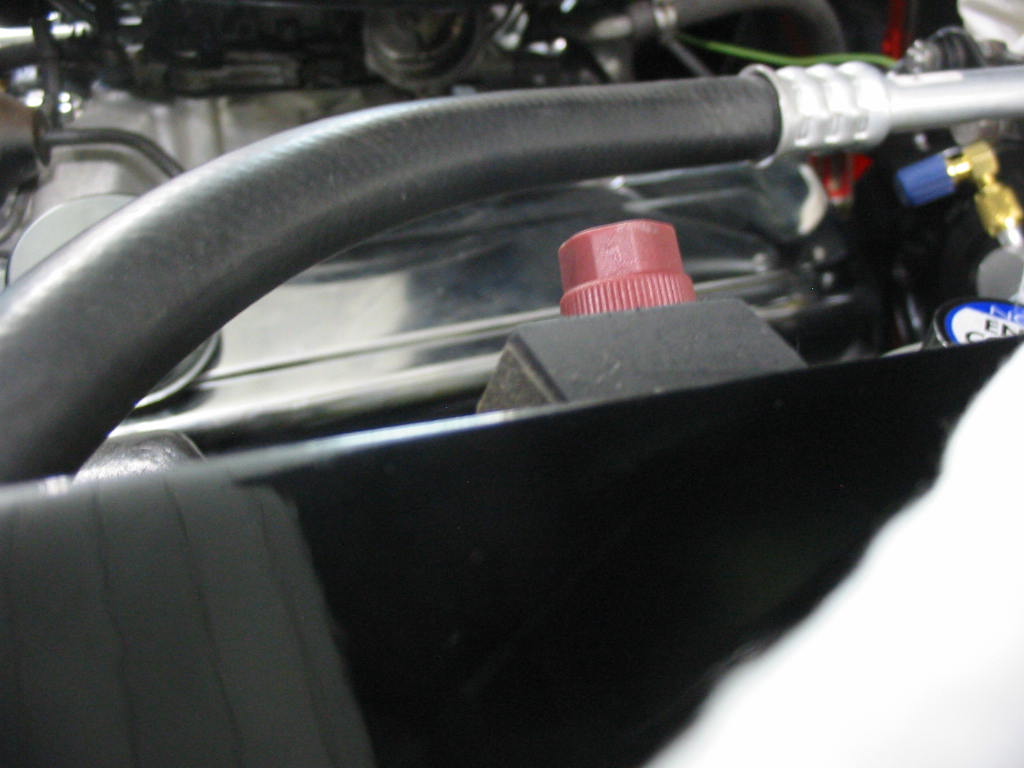
In the end I had to leave the original R12 fitting in place without the R134A adapter. I just put a schrader valve in the fitting and will put on the adapter when I need to charge the system.
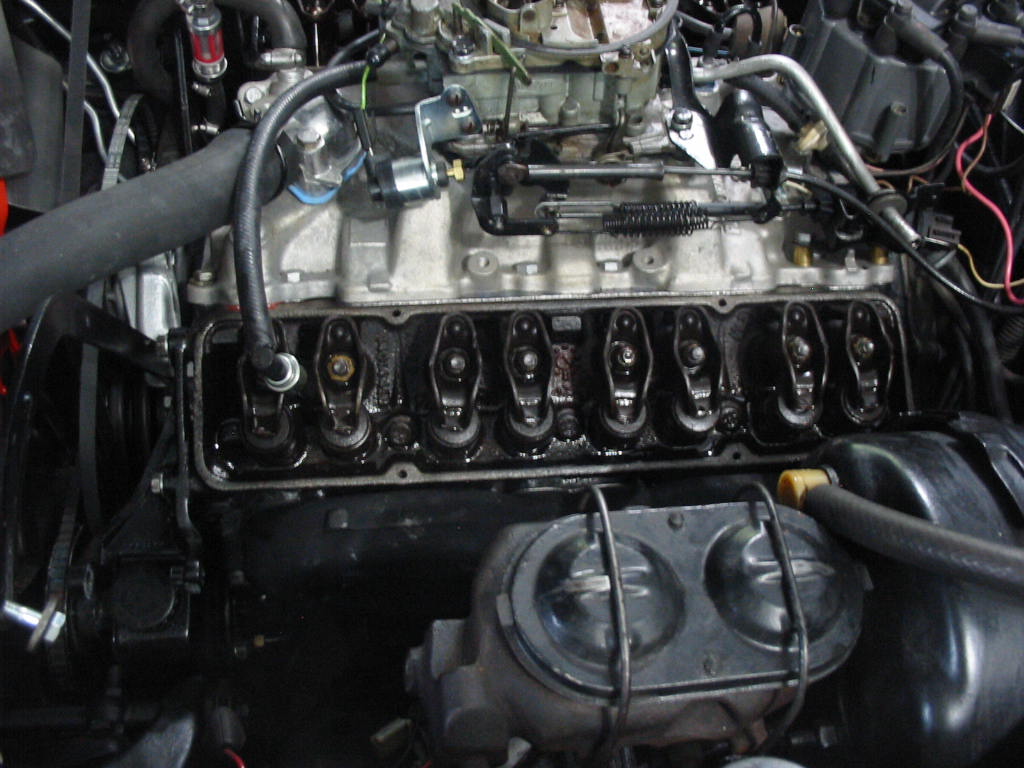
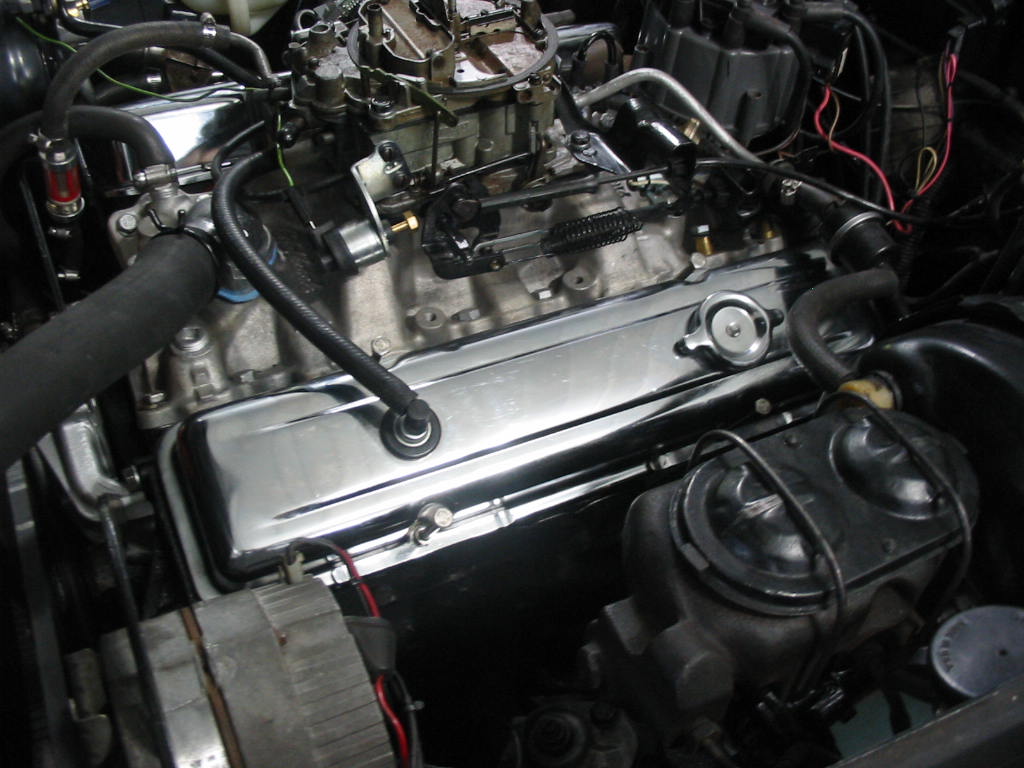
First test drive and I have a bad valve cover leak on the right side. Not so much on the left, but a bit.
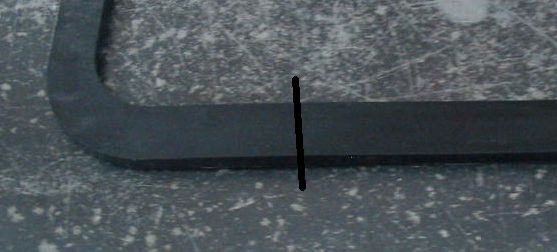
I installed a new set of Rubber gaskets thinking they were the best. Looking closely at the gasket ends I noticed that the gasket was not seating on about 2″ on either end – the black line was about as far as the gasket seated on the block. I don’t like to over-tighten the valve covers; I just tighten the screws as much as I can with a screwdriver handle and socket. I also use spreaders on each screw to distribute the pressure better.
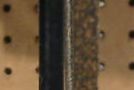
Hard to see, but I’ve laid the rubber gasket beside new cork composite gasket (FelPro VS12869AC). The cork is noticeably thicker (7/32″). I had no leaks with the old cork units. So I have bought a new set from Car Quest is $35 – available from Rock Auto for $15 plus shipping which will be a better deal if shipping a few parts at once.
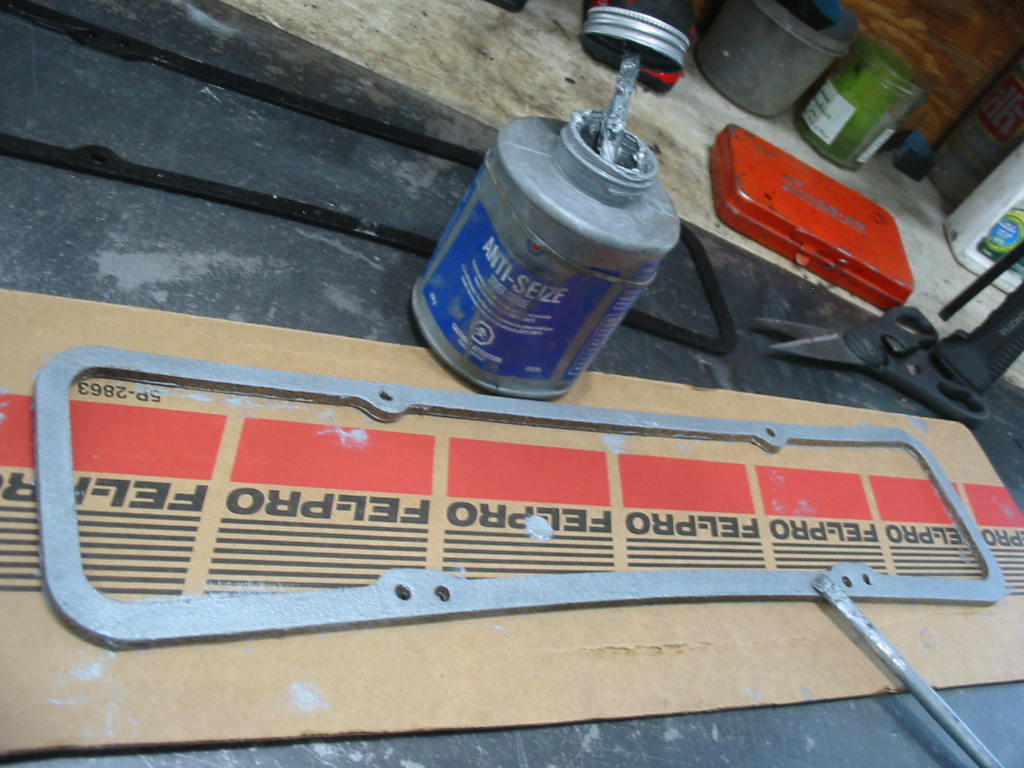
I like to coat my cork gaskets with a thin coat of aluminum anti-seize paste. Helps to save them if I have to take off a valve cover.
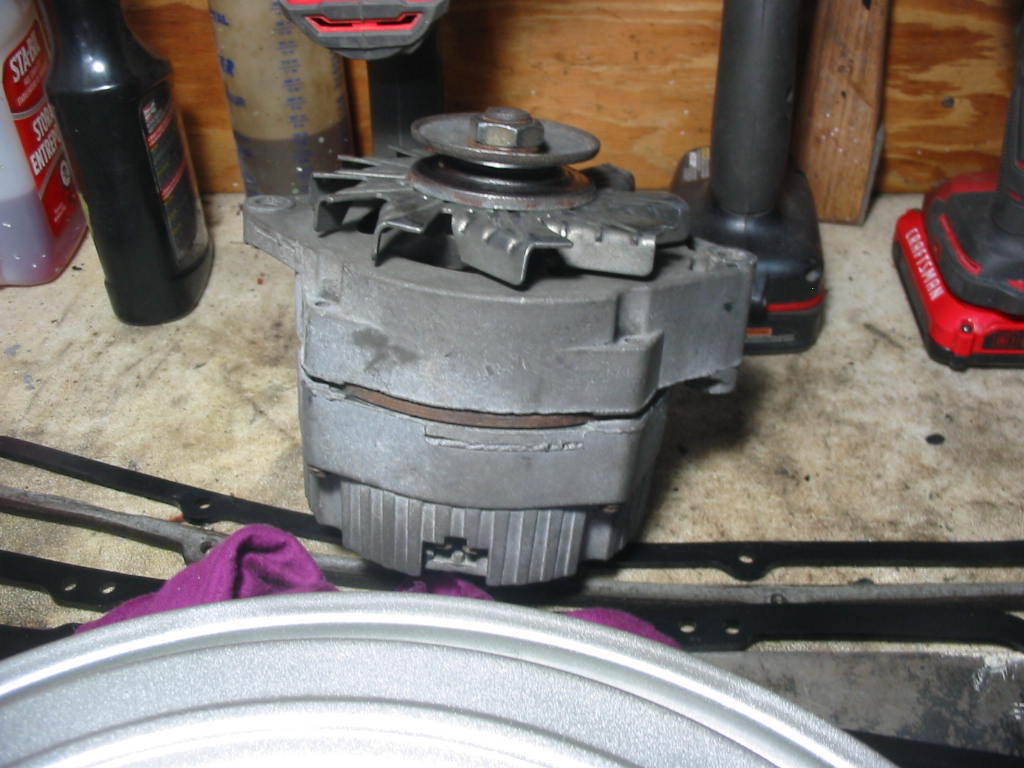
The charging (Generator) light came on a couple of times during the test run. I took it to my car bud Don and he was able to test it out and fix a couple of problems – rust and maybe a bad diode block.
Alternator and valve covers back in place. Almost ready for another test run.
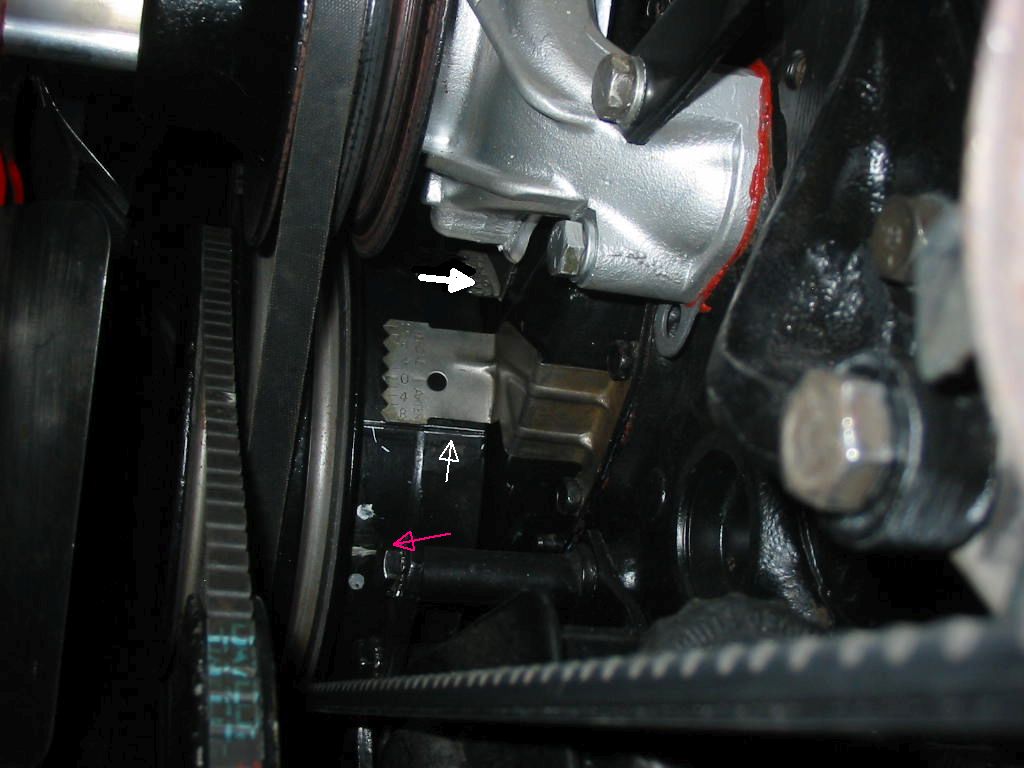
One last thing before doing another test run. The engine seemed sluggish on takeoff so I’m going to check the timing again. I have marked the original timing mark (thin white arrow) and will attempt to check it against the original timing tab (thick white arrow) just to be sure I have set the temporary timing mark (red arrow) correctly and that I have 8-10 degrees initial advance.
Next: a bit of good news on the transmission.