
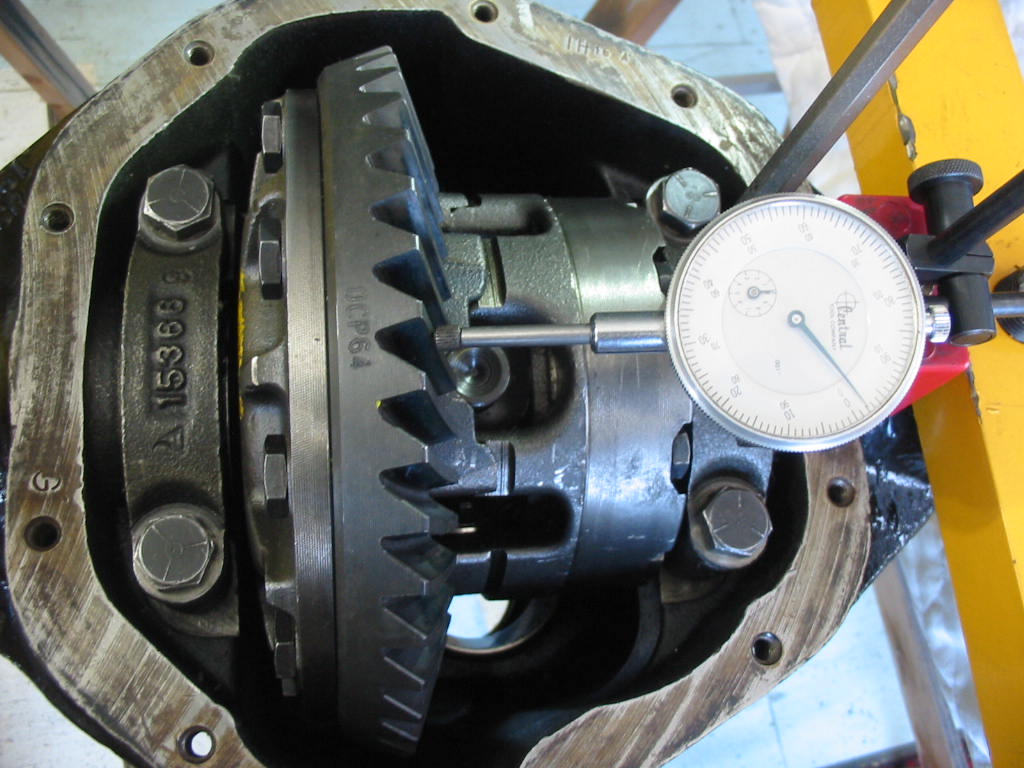
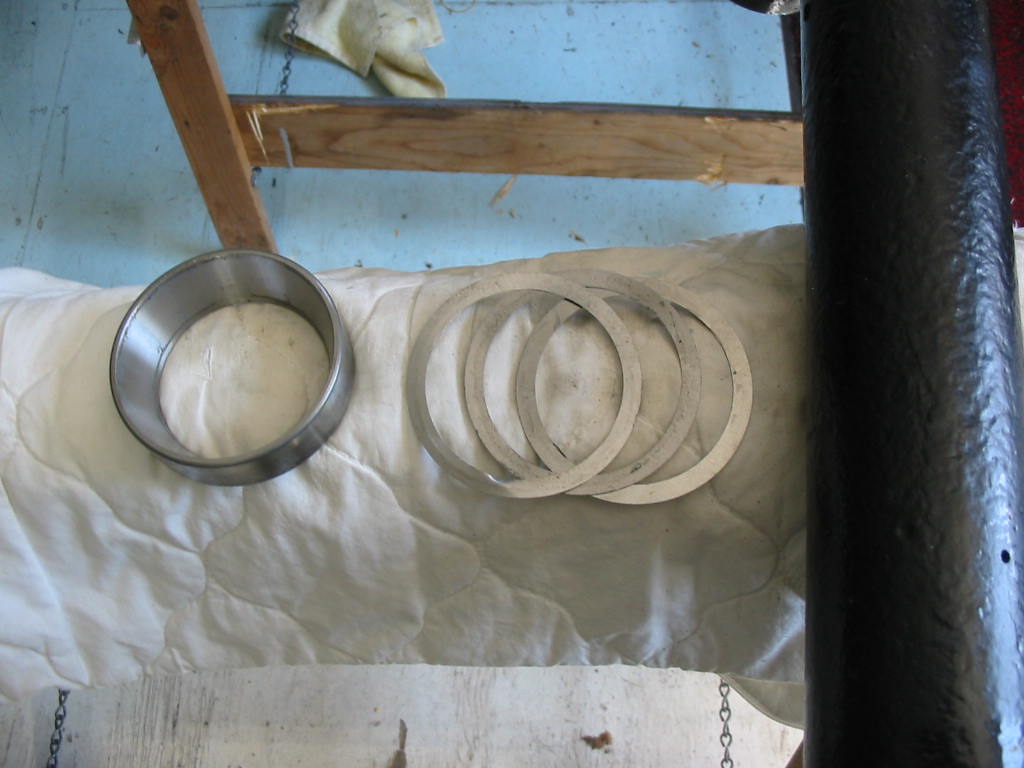
I knew that the gear and pinon turned easily when the whole unit was towards the left. So removed .005 from the left bearing and put it on the right. The unit is shy on shims and so slips in and out of the housing fairly easily. This done and the gear and pinion rotate easily. The gauge tells me that I have about .004 of clearance. I decided to added .002 to both sides before any further tests. With the shims added the unit still slipped in, but with a little more effort. A quick check of the wear pattern showed it was about right. So I decided to add .004 to each side for the bearing pre-load as directed by the Studebaker manual.
Before I installed the unit with its side bearing pre-load shims I removed the pinion and prepped it for its final install. I had earlier added some shims to the pinion to move the it further into the gear.
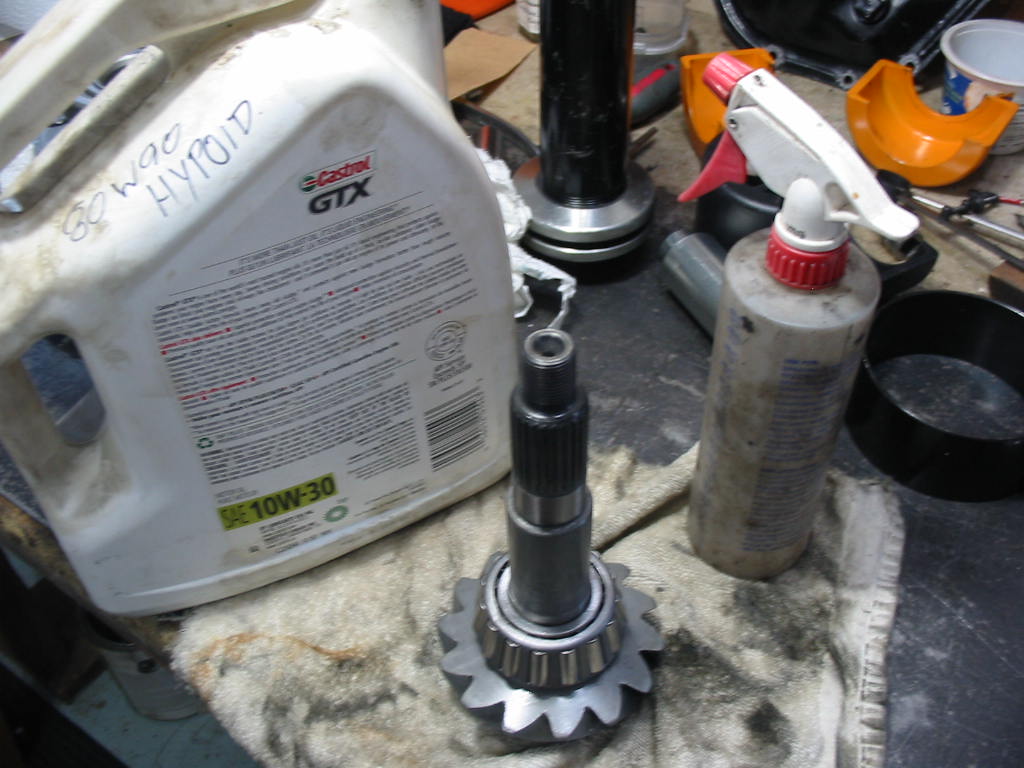
During all this work bits of crud and metal may have gotten into the bearings. I sprayed a lot of clean parts cleaner into the pinion bearings and the carrier bearings and then blew them out with compressed air. I then gave the bearings and races a smear of hypoid gear oil.
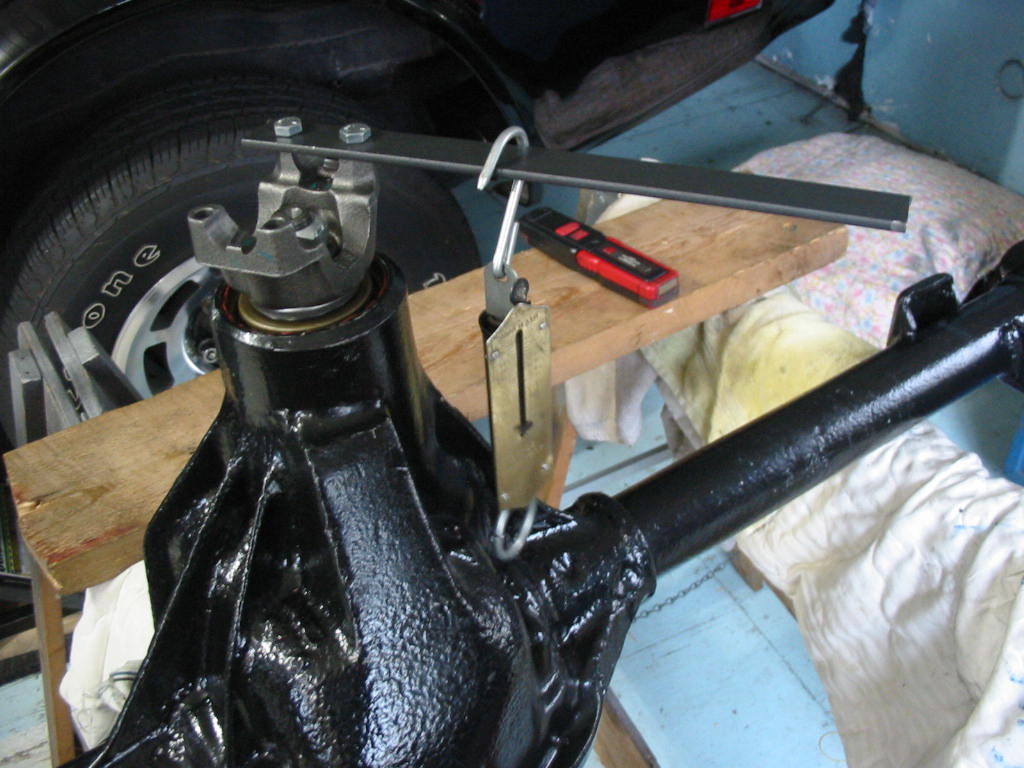
The manual says the preload for the pinion is between 12 and 20’# at about a foot from the pinion yoke. I’m using a spring scale to do the test. Not perfect, but should be close enough. I tightened the pinion bearing nut just enough so that I had a tad over the 12’# (which equals one foot pound weight). I then installed the TT unit with it’s preload shims. I had to use the differential spreader tool this time to get the unit in place.
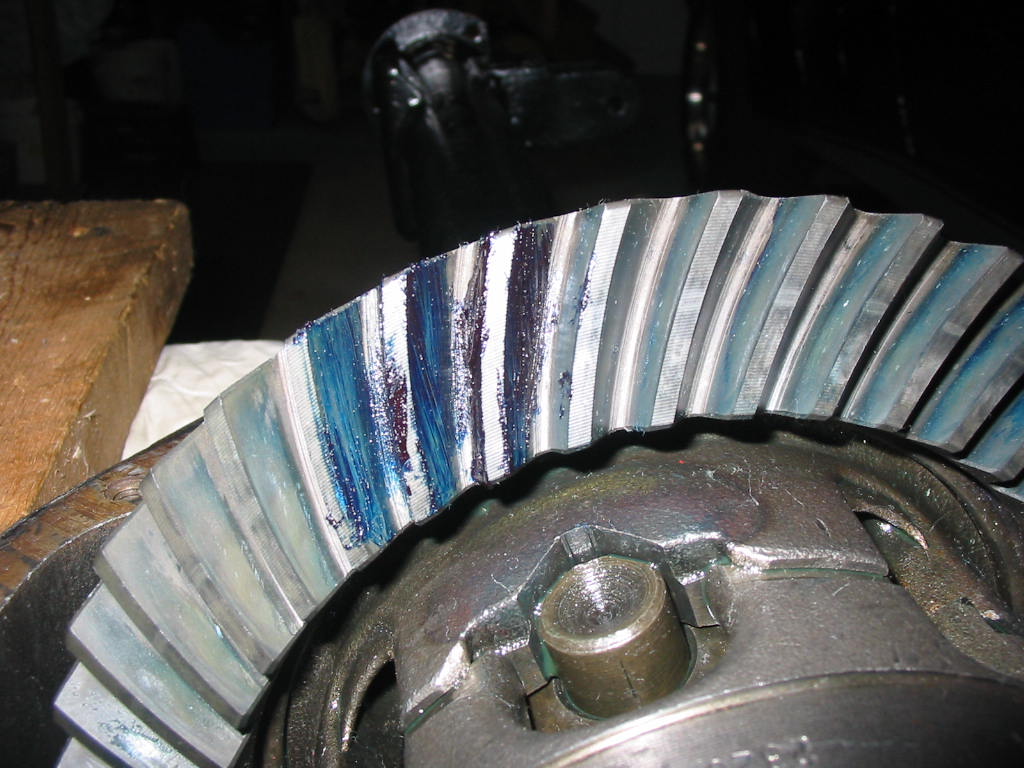
With the TT unit back in place I smeared four of the teeth with prussian blue and spun the unit a number of times using my drill on the pinion nut.
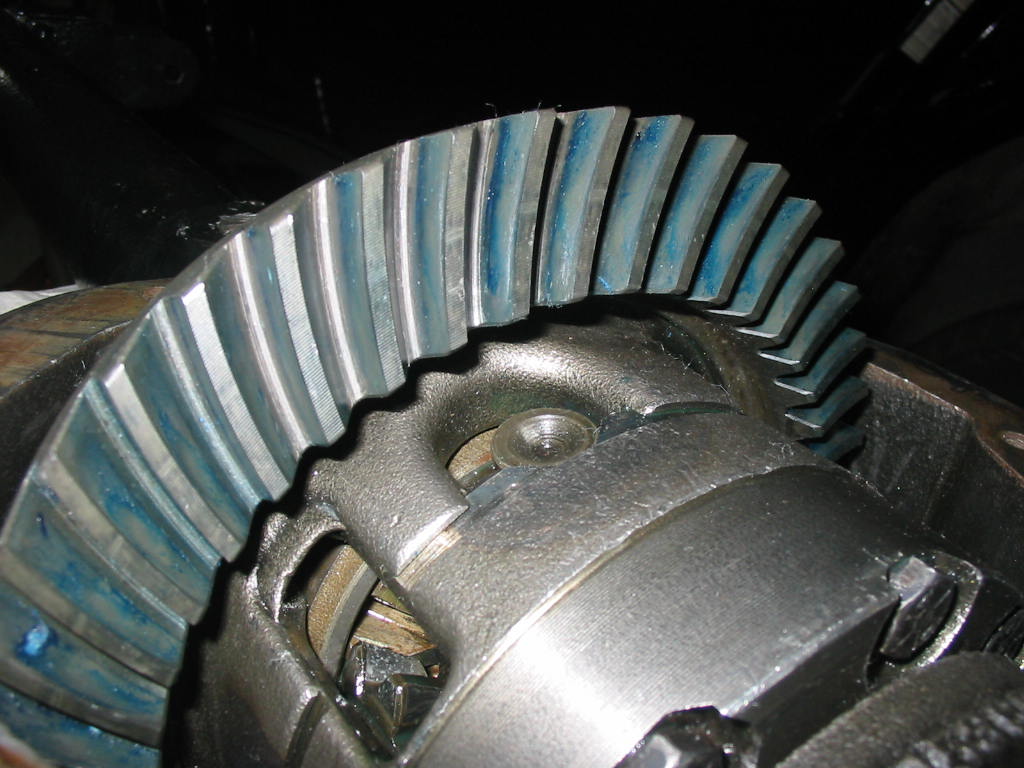
I then checked the wear pattern and it seems good – somewhat in the centre of the tooth and a little down from the top – hooray! I then spun the unit backwards and checked the coasting wear pattern. It was down a bit more on the tooth and a little closer to the tooth toe (inside of the teeth) which the manuals say is acceptable. When spinning the unit I held a gloved had on the unit to give it some drag to show the wear pattern better.
I thought I had a cover gasket, but I don’t so it will be a couple of days before I can close it up. Still waiting on the seats for the Chevy, but I’m hopeful they will arrive before the end of the month.
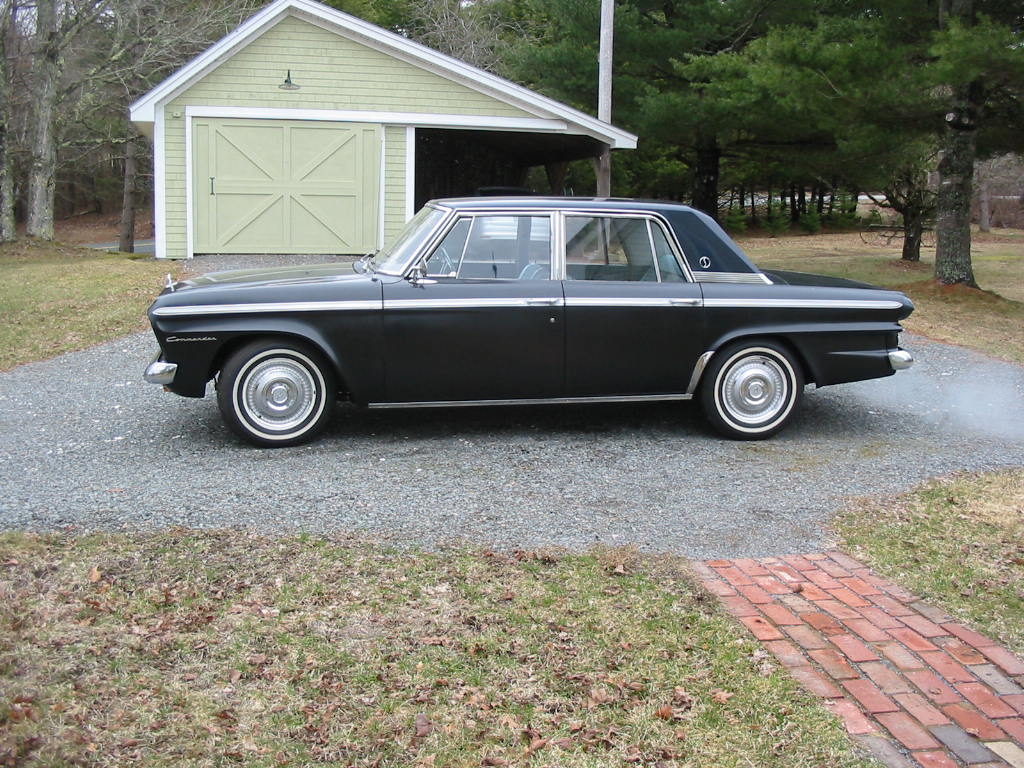
Meanwhile, driving season is just about here and today the roads were clear of salt so I took the ’66 out for it’s initial spin to make sure everything is working OK. All’s good so I’ve got collector car to drive on a nice day. I added the stainless trim under the doors and the rock guards in front of the rear wheels this year. That’s about it for trim. Just need a nice paint job to finish the project:-)