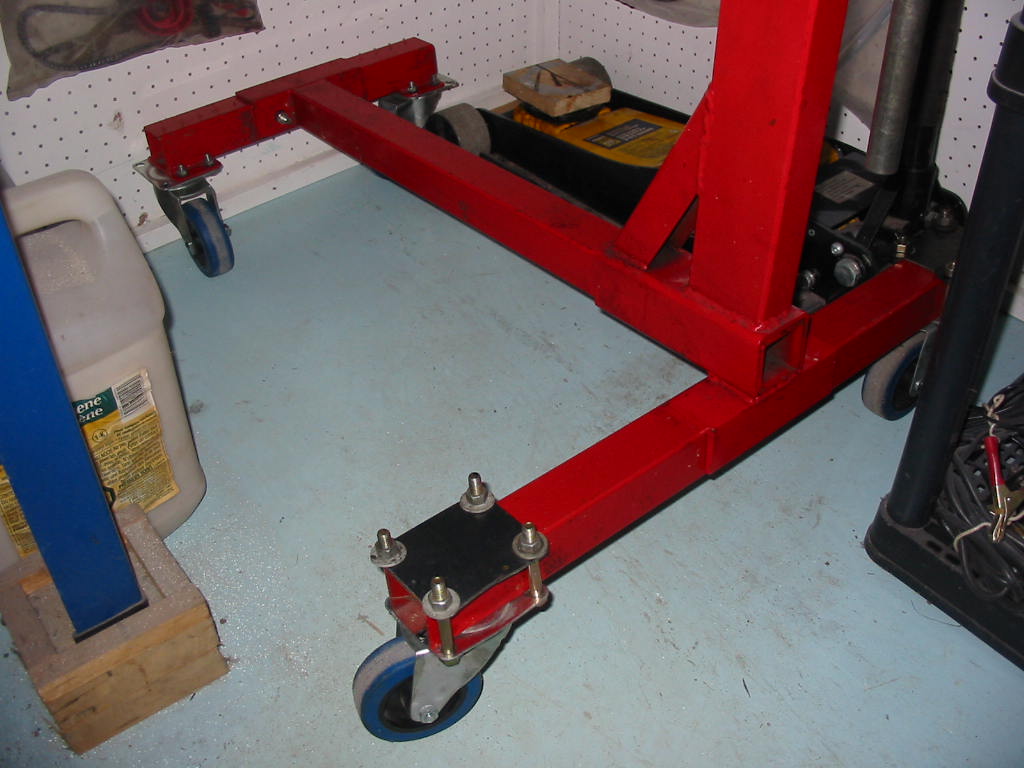
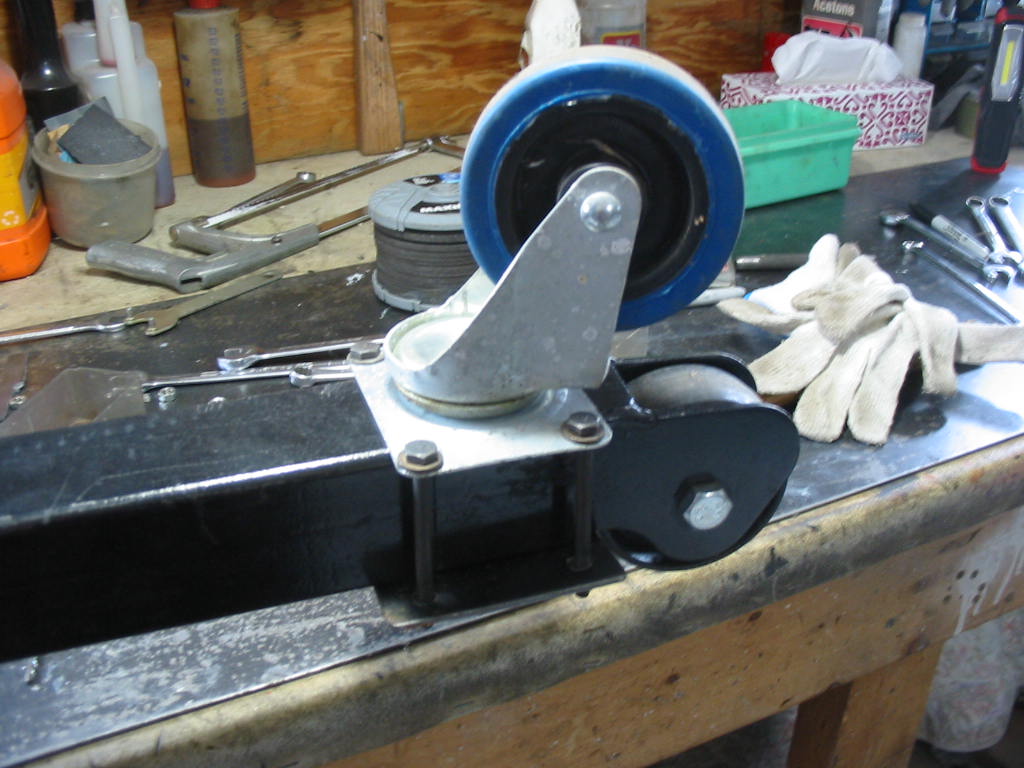
A little rig I set up some time ago to hold transmissions to ease withdrawal and installs. There is a pin on the bottom of the plate that fits in the jack’s mounting pad pin hole once the pad is removed. I’ll also put a sheet of rubber on the place to reduce the metal to meta contact which would be slippery – especially if it gets oily.
I’ll use this to support the trans while I remove the engine. The engine and trans are only supported by the front engine mounts and one at the rear of the trans.

The engine is set back away from the front of the car. In the end I had to remove the bumper so the engine hoist could be positioned over the centre of the engine – it just made it, whew!
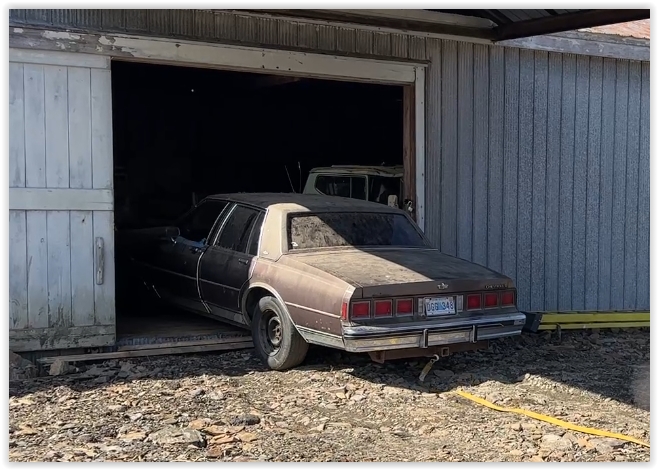
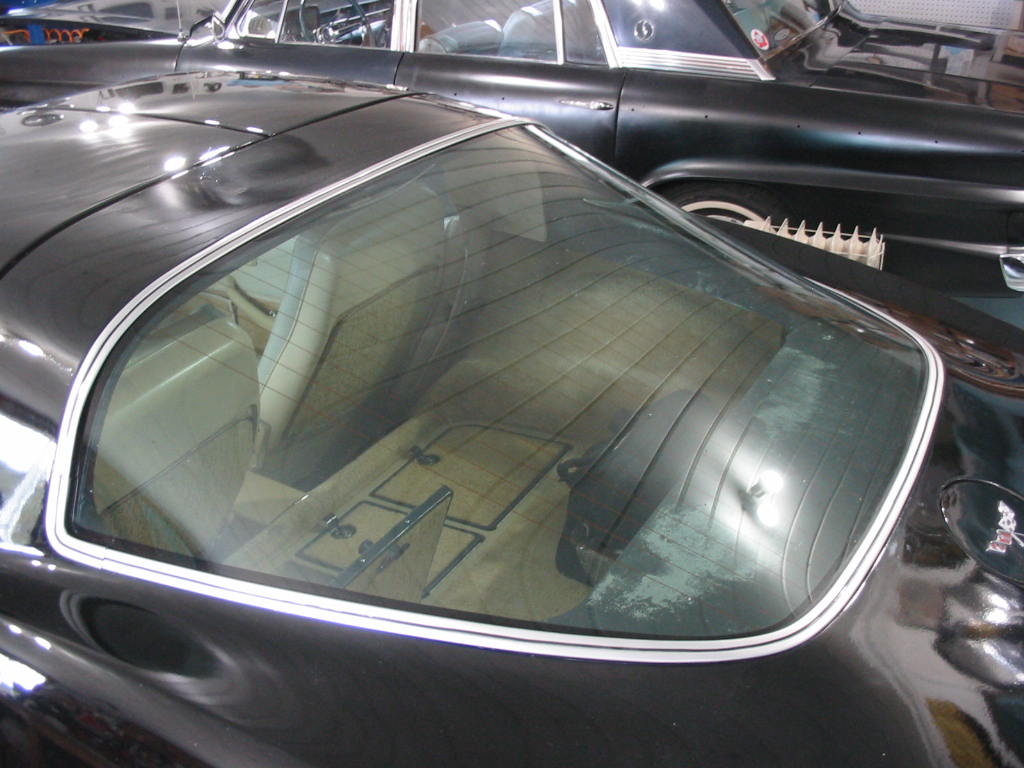
I’ve removed the grille, headlight surrounds, etc for the former owner in case he wishes to do up a wall display.
The last part of the prep was to remove the four remaining blots securing the trans to the engine block.

I took the weight off the engine and removed both front mount bolts. I then raised the engine until it cleared the engine brackets on the frame – raising the trans supporting jack at the same time. I wiggled the engine a bit and a crack appeared between the trans and the engine. I then used a long pry bar to gently separate the trans from the block.

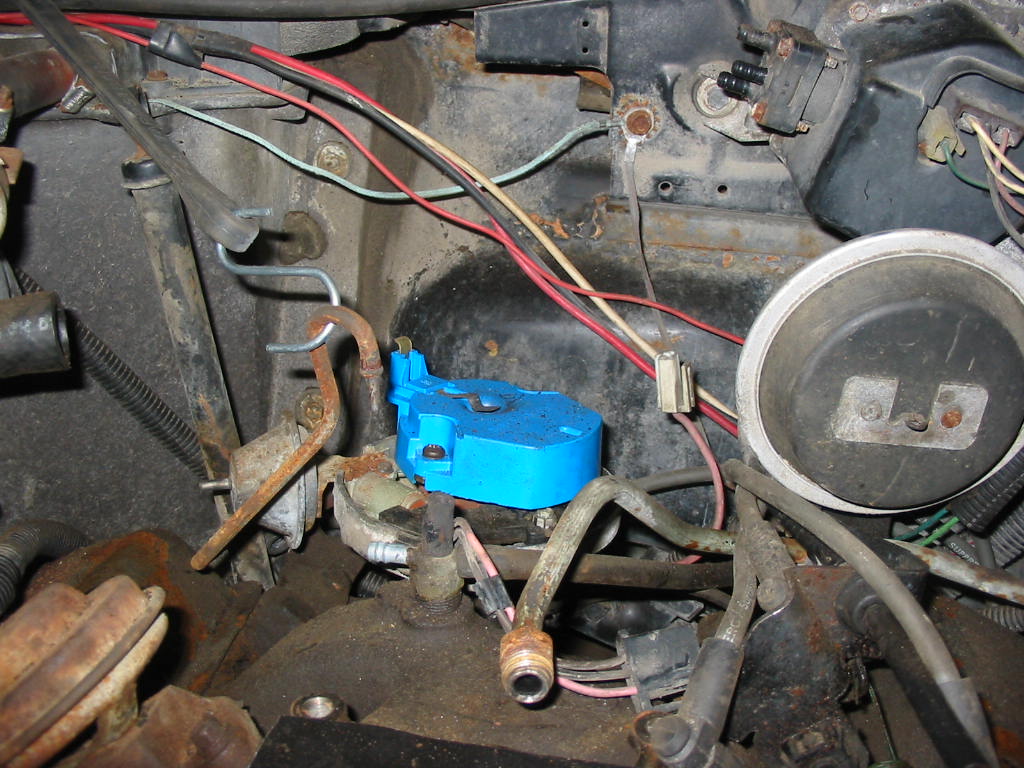
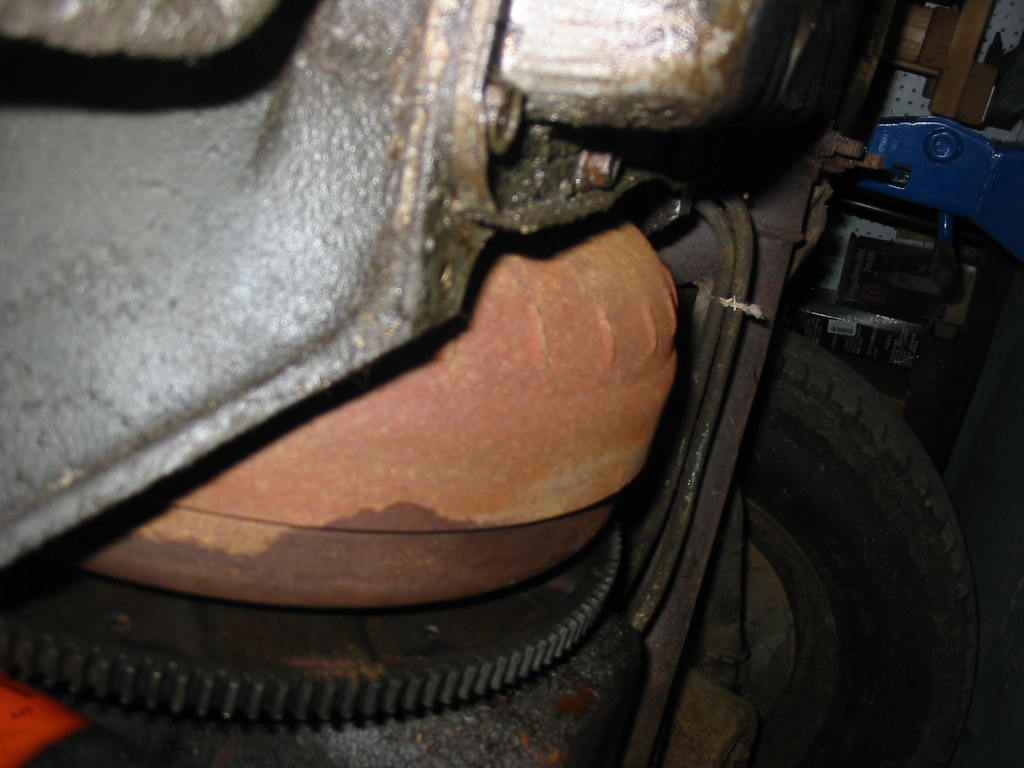
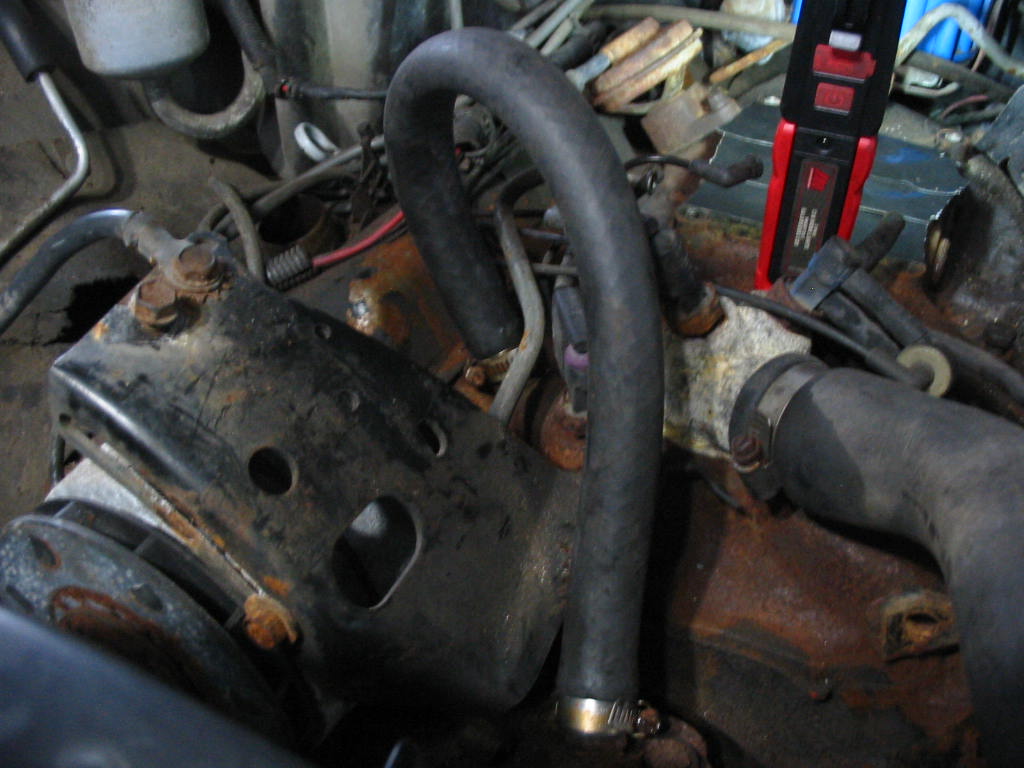
Up, up and away – the engine is out. the only hitches were the trans vacuum line which got snagged and also the trans lines which had a bracket on the block close to the pan and hidden behind the right engine mount. Fortunately I didn’t move the engine too much before realizing the problem so the lines didn’t get damaged.

Out and resting on t he floor. Tomorrow I’ll get it on the engine stand and start the trans removal.

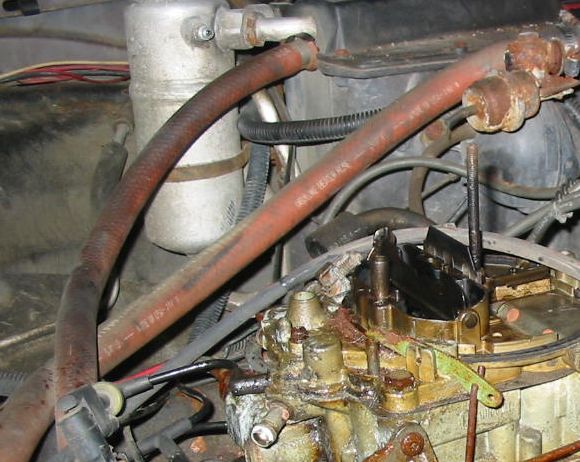
A brace to keep the torque converter in place during removal. Only needed to disconnect the cooling lines, filler tube and shift mechanism to be ready for removal. I’ll jack the car up good and high, put it on jack stands and then pull the trans out the front.

Trans out and waiting for me to make a dolly for it so I can move it around easily. It is a TurboHydro 350. I was hoping for a 700R4 overdrive or even a 2004R – earlier overdrives that swap into a ’79 Corvette.

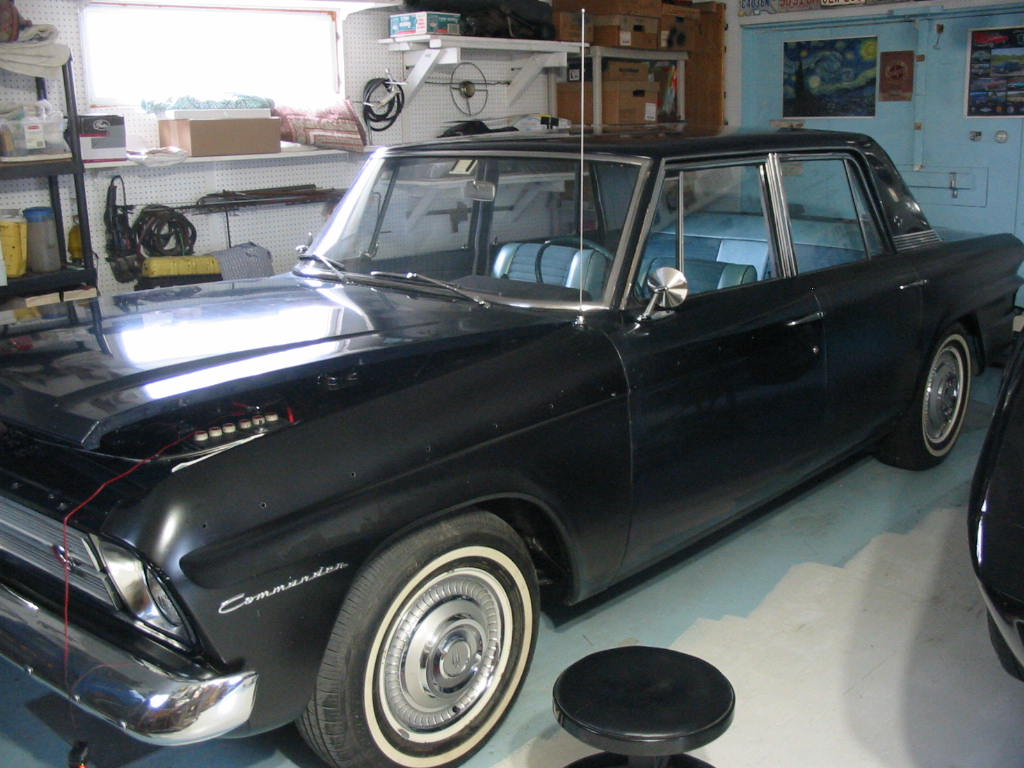
All ready to be tucked away. I may or may not use it. It is the same as in the my Chevy so I might have it rebuilt and then installed with the original engine after I have it rebuilt. But I may opt to put in an automatic overdrive unit like the GM 200 4R or the 700 R4. The 200 4R is the same size as the TH350 above and so is easy to install. The 700 R4 is a bit longer and the driveshaft will need to be shortened and the rear cross-member changed. Lots of fun to look forward to in the months to come:-)
Next: 305 engine prep