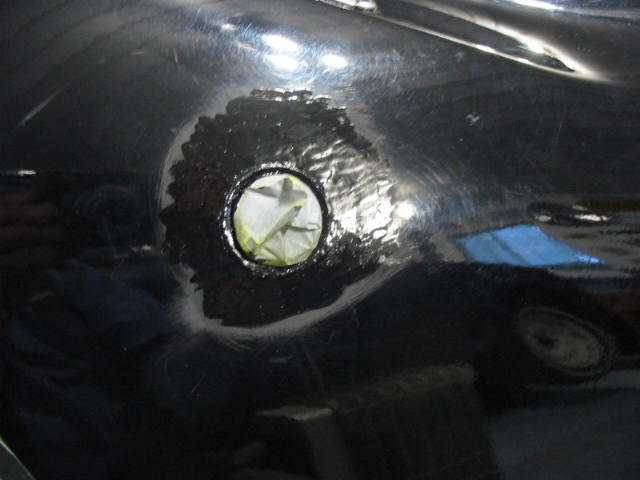
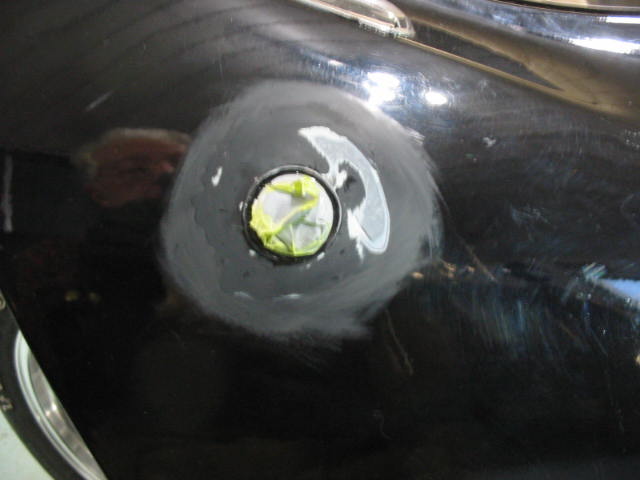
I’ve sanded down the paint around the passenger door lock with 2000 grit wet sandpaper. Only as much as I had to – I didn’t want to go past the paint into the primer. So far so good.

A careful buffing with Turtle rubbing compound using a drill and sponge wheel, and a coat of Mothers cleaner wax and it is quite presentable on a quick look. The Tremclad gloss black didn’t buff up a well as the surrounding enamel so on some angles the edge can be seen. It will be OK until it is time to paint the whole car then the lock hole can be properly repaired. Another option would be to buy a used door and have it painted. Engine work needs to be done before that happens.

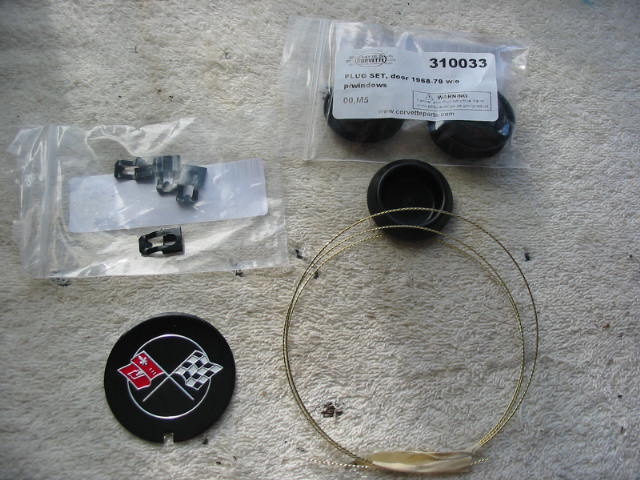
Back to the doors. I had the window adjusted pretty well before I started the windshield. So I more or less just had to replace the door panel including a new door handle escutcheon which I picked up from Moland’s Corvettes and painted a light fawn colour.

The drivers door was a bit of a bear to adjust. It ended up at the max height at the rear before it would fit properly. Not a lot of adjustment front and back, tilt and up and down. In this case it was maxed out at the back and pretty well on the tilt.

I have installed sport mirrors and the left is adjustable. This is the escutcheon for the door panel.
Next: installing the remote escutcheon on the door panel and then the panel on the door.