
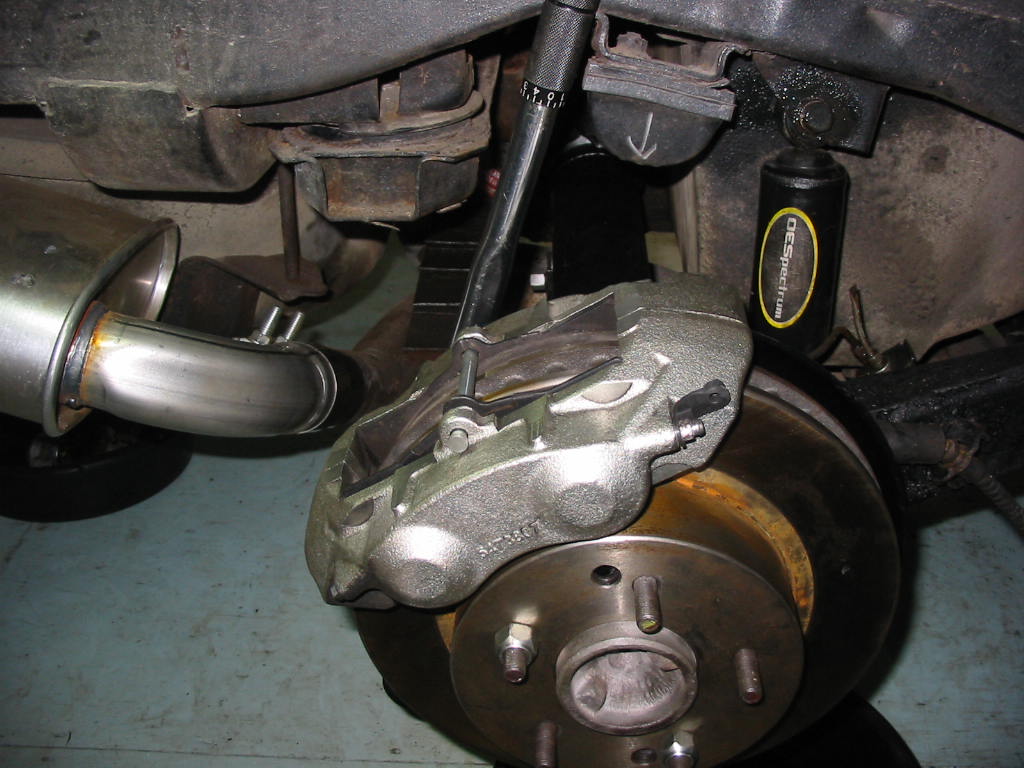
Calipers back on. A bit of a grunt to get the bolts torqued using the inch lb wrench as the longer Ft Lb tool won’t fit. The ‘bride’ helped me to bleed all four calipers working from the longest line to the shortest. I wasn’t happy with the amount of air coming from the rear calipers so I redid them and sure enough I got lots of air out to the left rear unit.
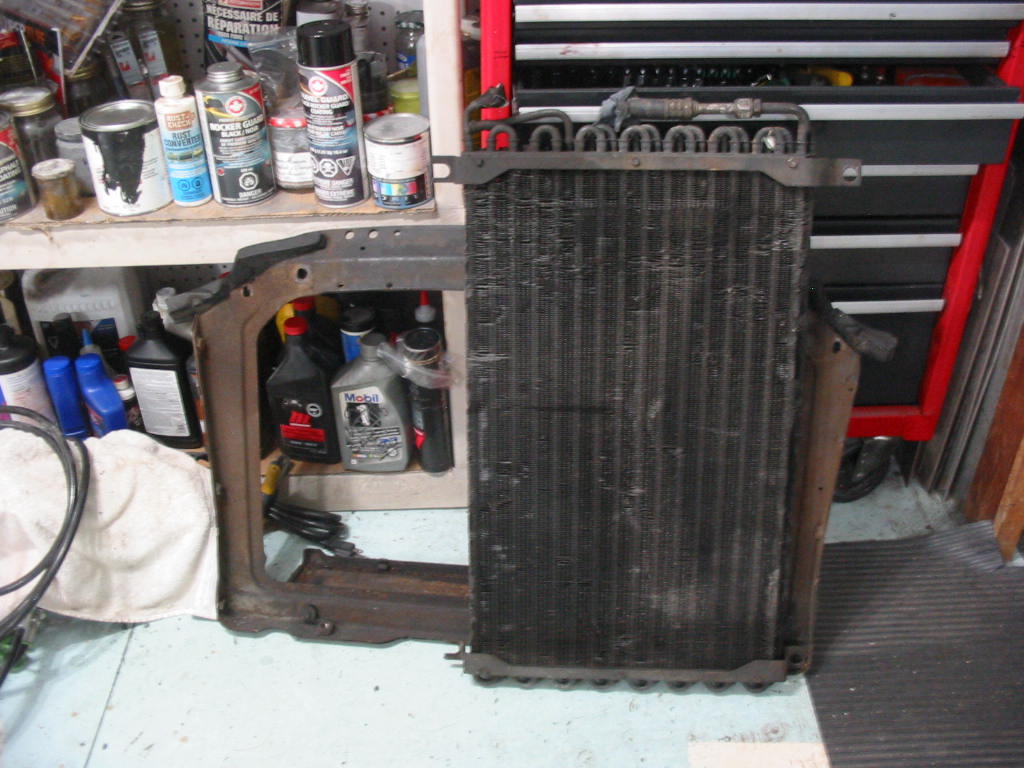
I’ve removed the AC condenser and the rad frame. My ceiling isn’t so high at about 8′ so I want as much room as I possible to get the engine/trans unit into the car. This will also make it easier to clean and paint the rad frame and the front of the engine bay.
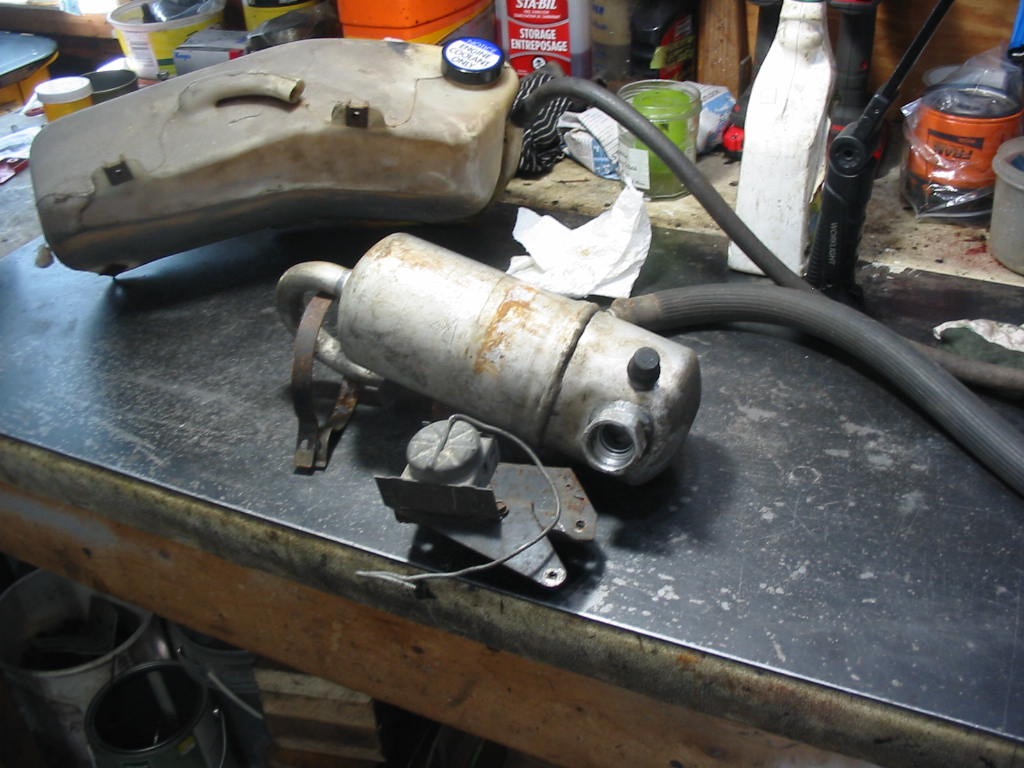
AC dryer, frame and thermostatic switch. A beggar to get out even with the recovery tank removed.
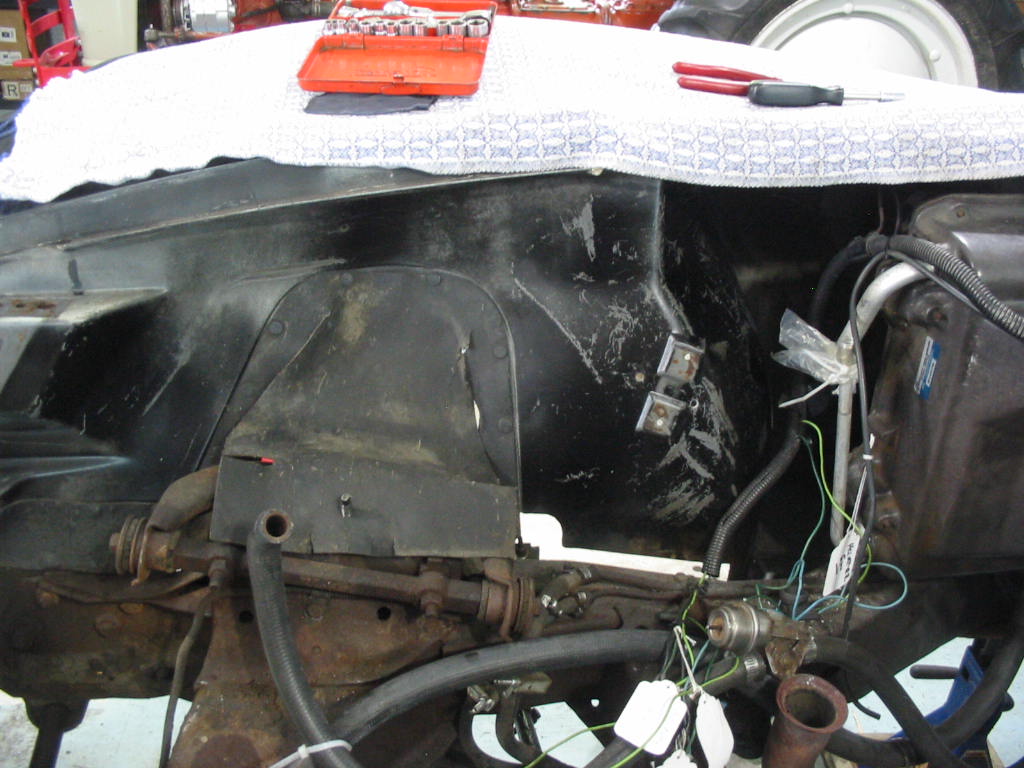
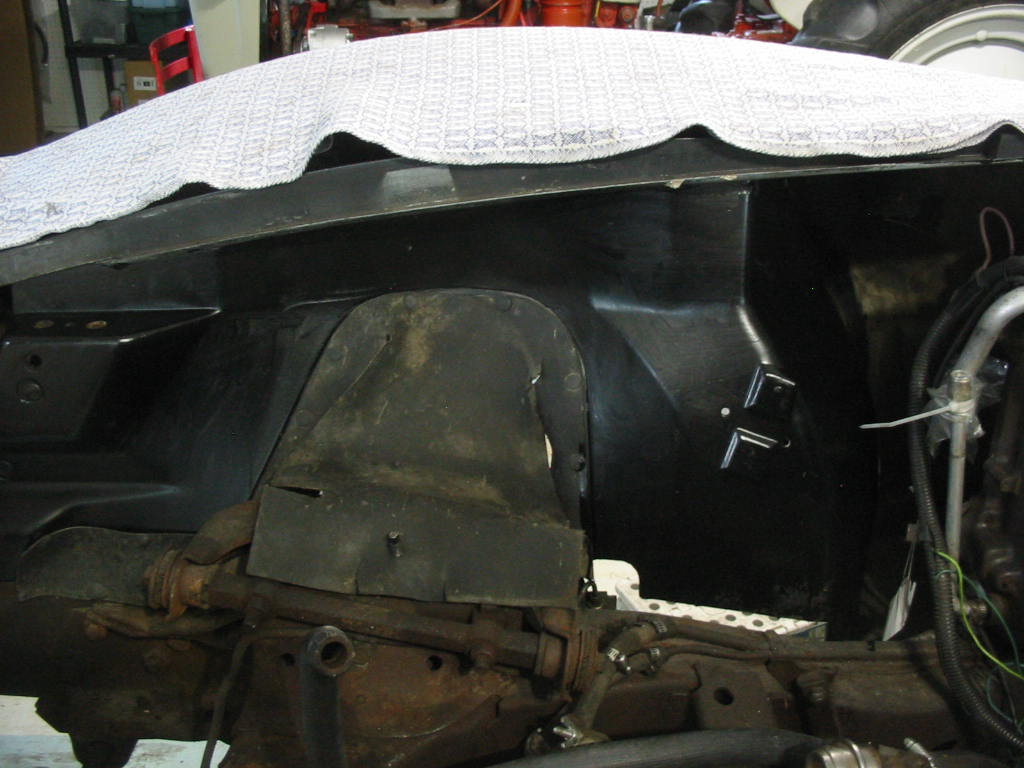
On to cleaning the fender apron before I install the new AC dryer and components. Came out not too bad with a coat of Tremclad semi-gloss paint. The A arm opening cover is sort of OK on the passenger side, but the one on the drivers side is toast so I will have to order a couple in with the plastic rivets to hold them in place.
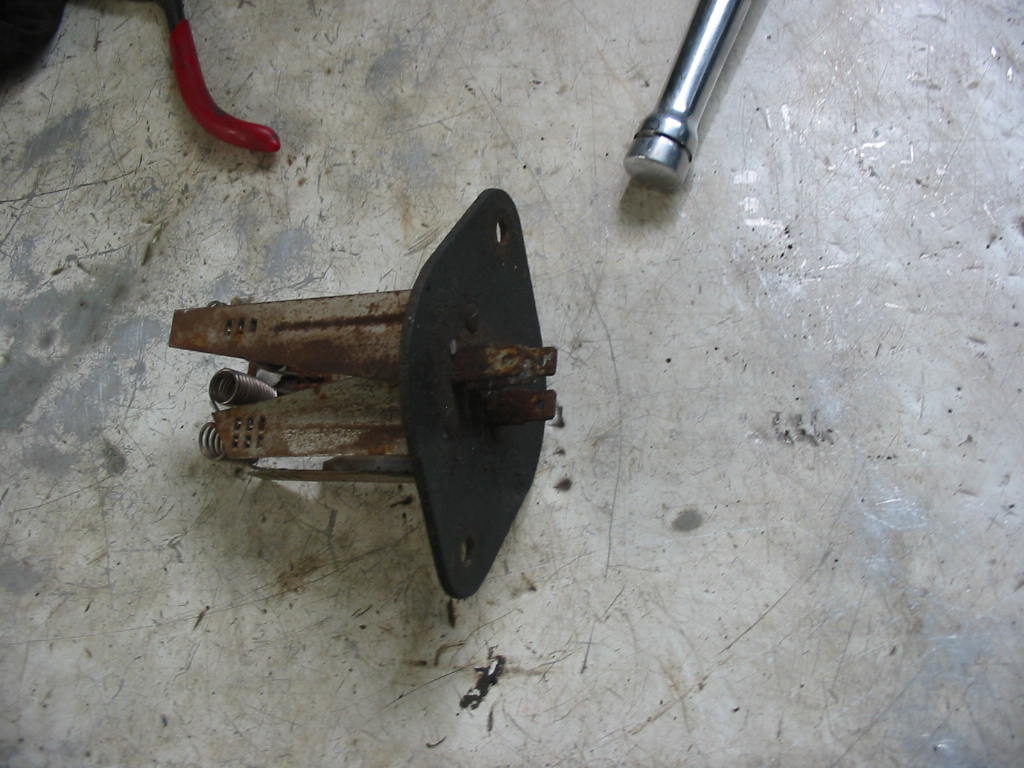
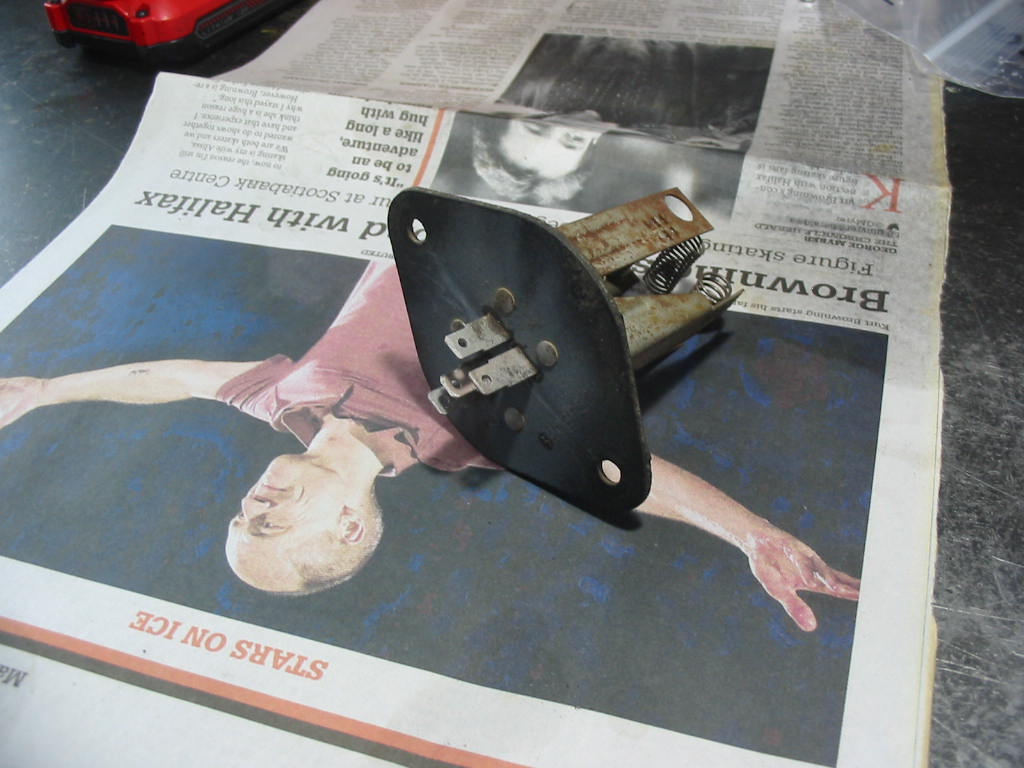
More bits and bobs to clean up. This sensor sits inside the Heat/AC box.
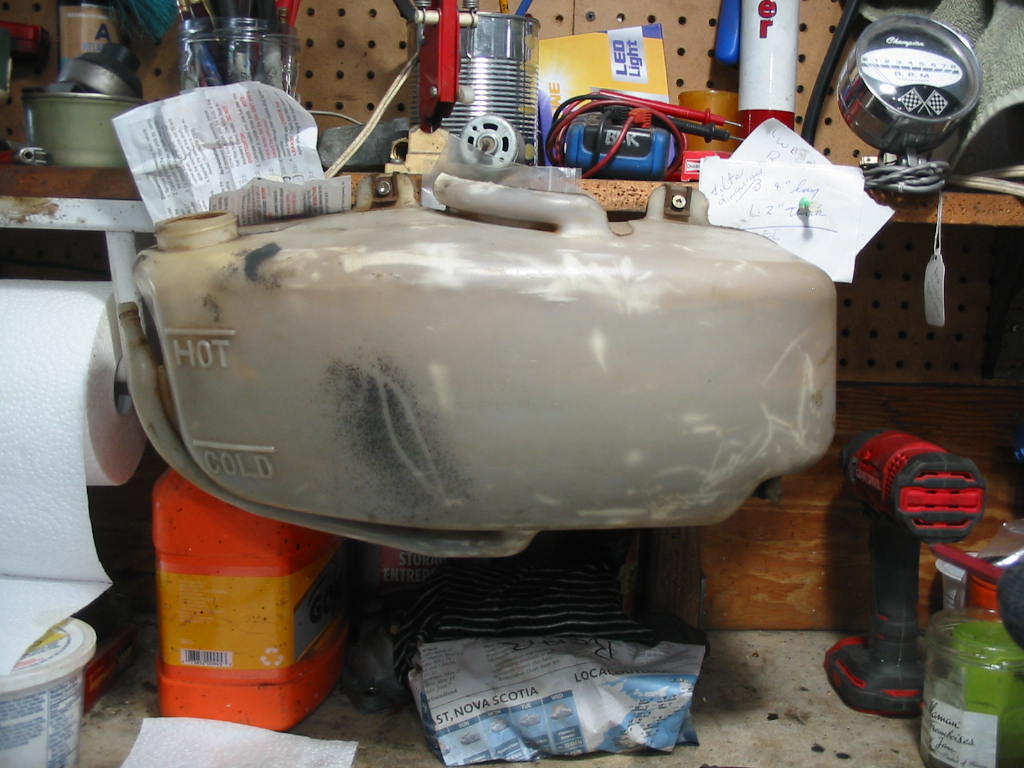
I found a strip of dried up epoxy on the bottom of the recovery tank so I put in some water and sure enough there it is weeping through the plastic seam in the bottom. New ones are available from Northern Corvette for about $50 so I’ve got one on order.
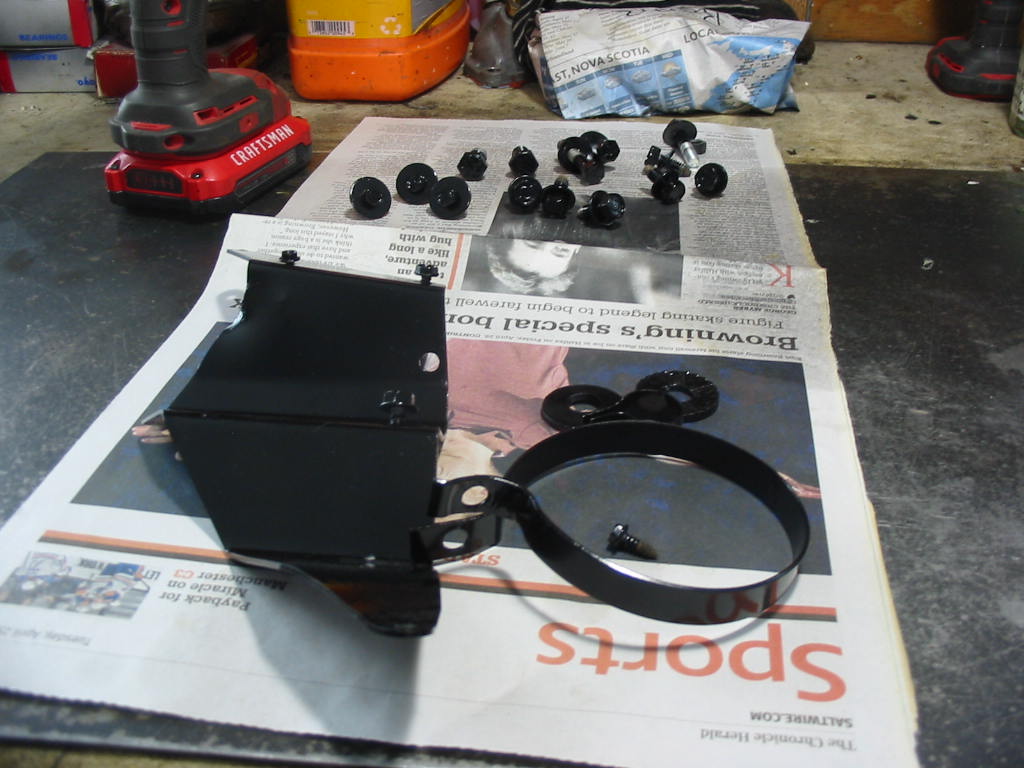
Some of the bits needing paint. I give them a coat of Tremclad rust primer and then two coats of semi-gloss black. Nice a warm upstairs in the garage so it’s good for painting. These are AC brackets and screws for the rad frame and AC condenser.
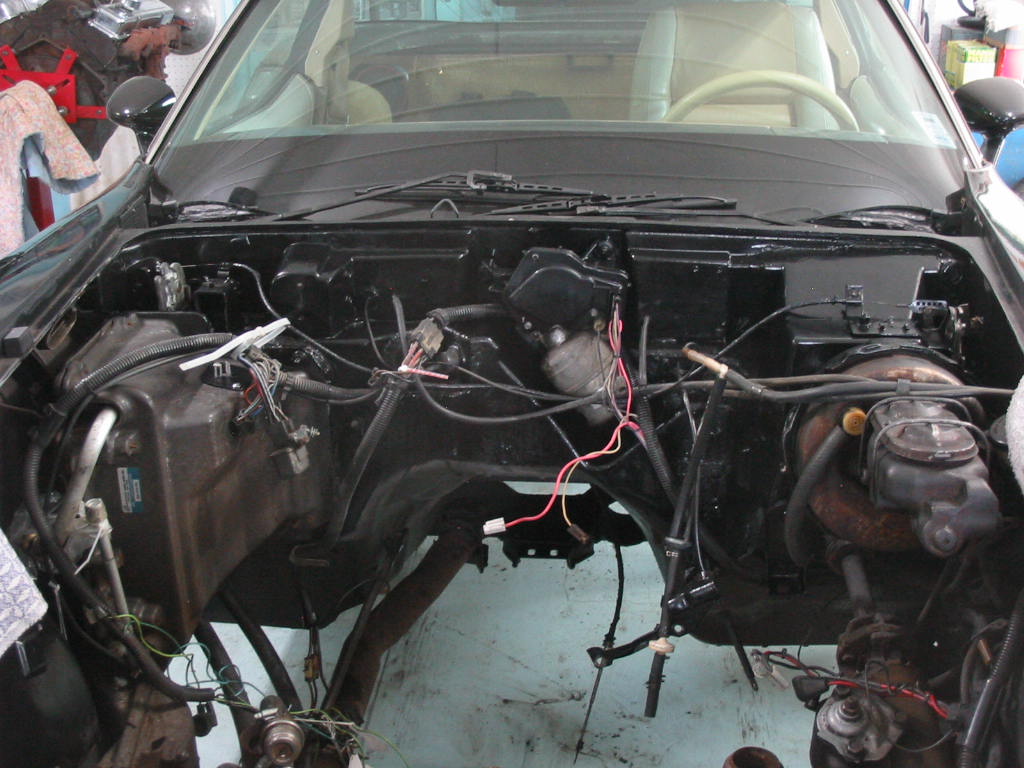
A bit of a bother cleaning the firewall and then giving it a coat of paint. Just have the left side to do then I can go on the the frame cleanup.
Next: more engine bay prep.