

Using my bearing packing tool. Works well. The extra grease inside the bearing centre after the packing I used to smear on the outside and on the bearing cup (race). I’m using wheel bearing grease rather that a chassis general purpose lubricant.
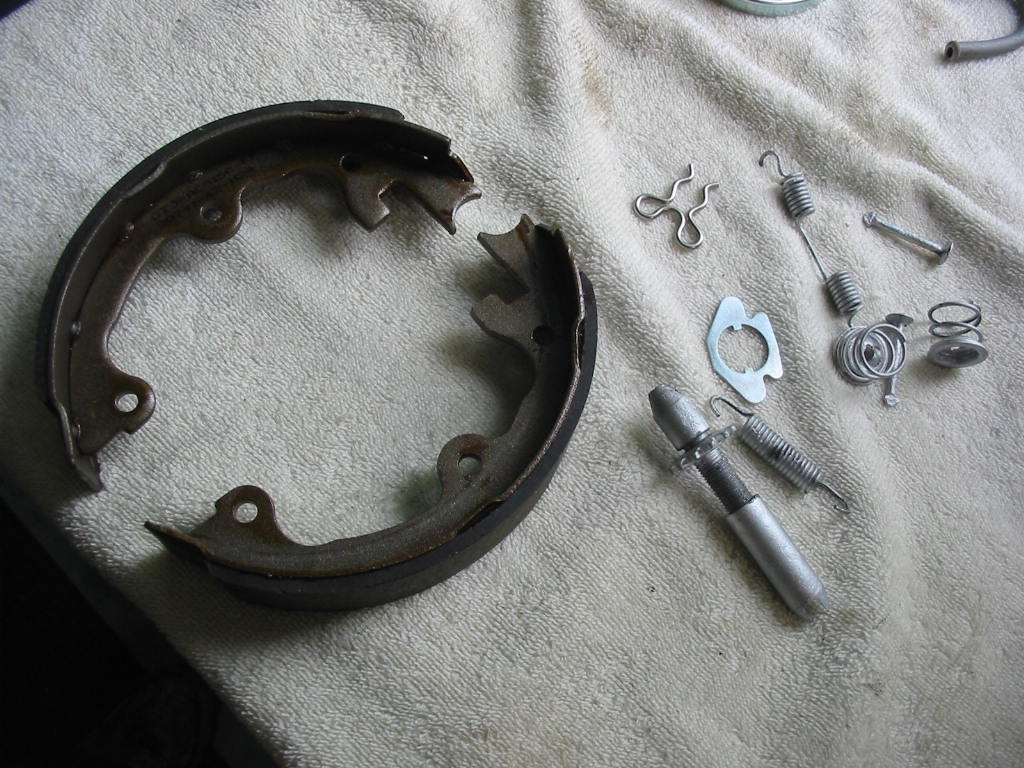
New parking brake shoes and new and old (cleaned and painted) parts ready to go on.
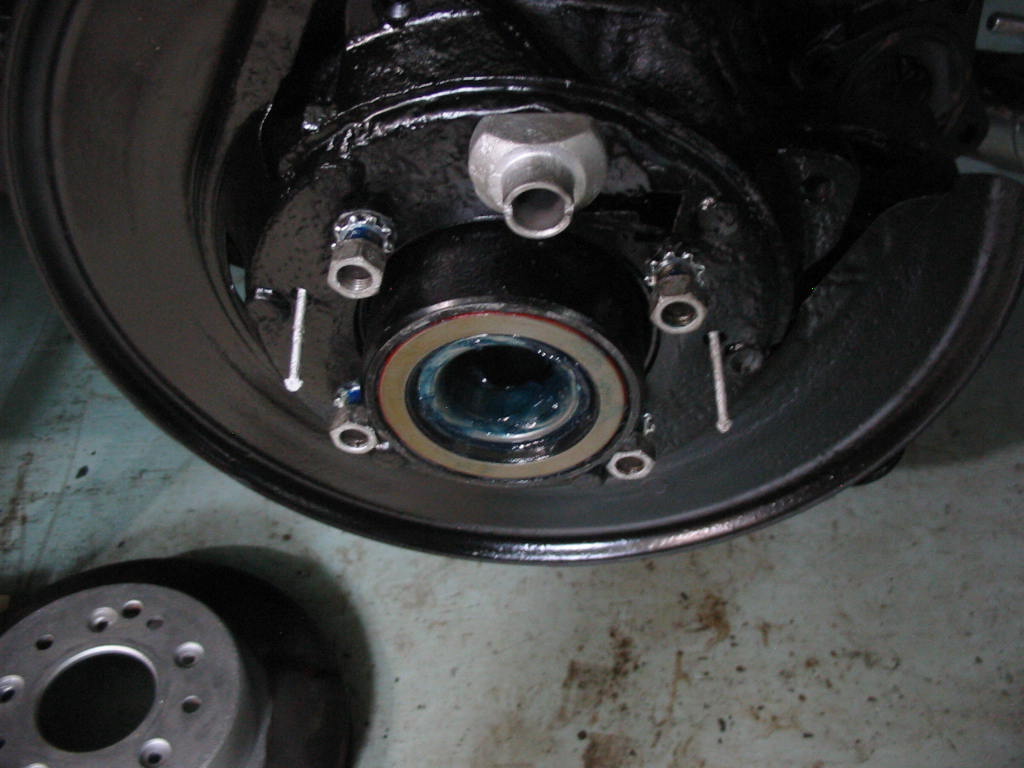
The parking brake shoe retainer pins need to go on BEFORE the backing plate is installed. So I had to pull the plate and re-torque down the nuts with more blue lock tight.
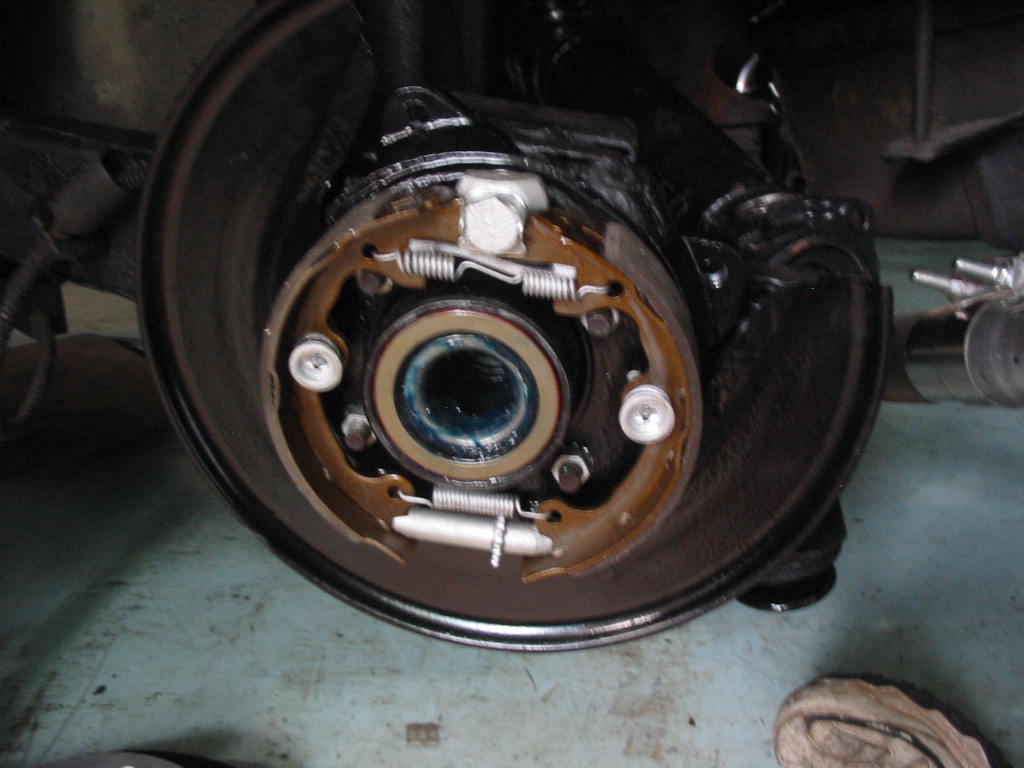
Left side parking brake in place. So much easier to put on without the spindle in place. The outer bearing and seal are also in place at this point.
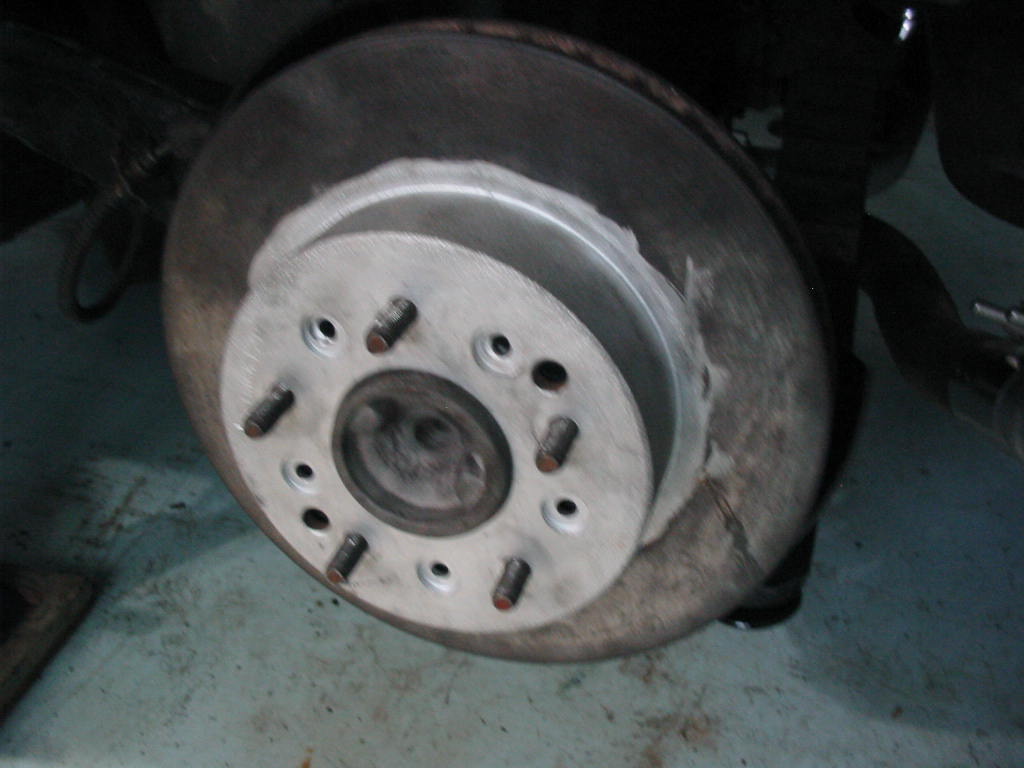
Rotors back on. Always fun adjusting the parking brake pads through the tiny hole in the rotor!
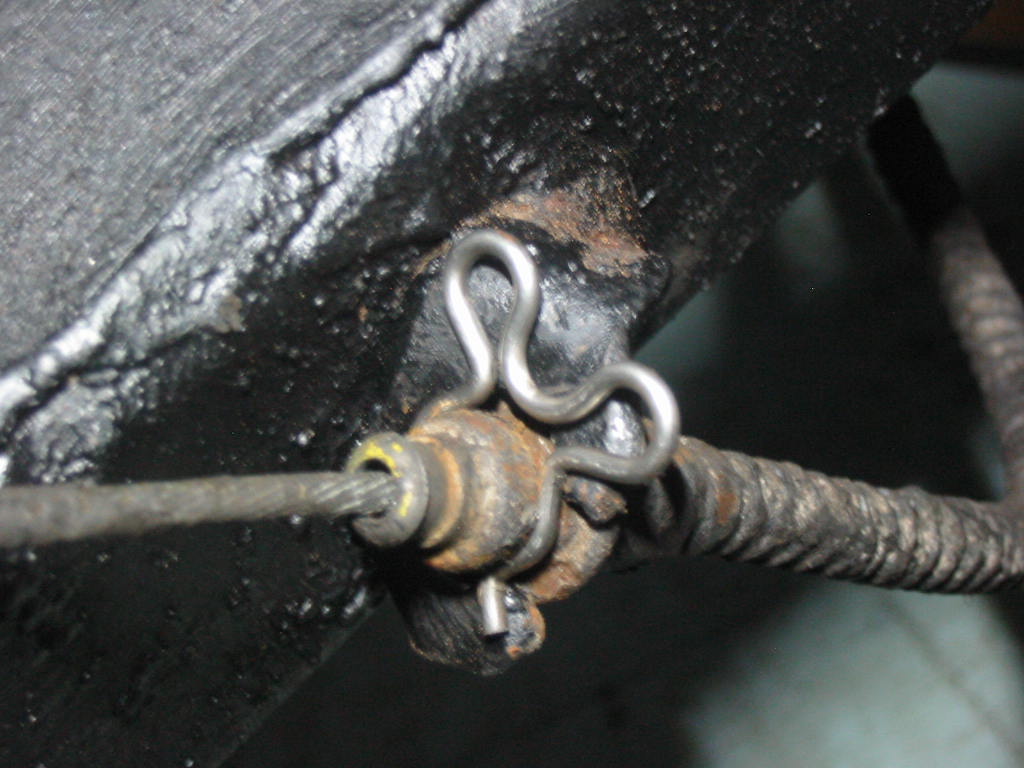
Not happy with the replacement parking brake cable clips. I’m looking for a set of the usual U shaped clips for brake lines that might fit more securely.
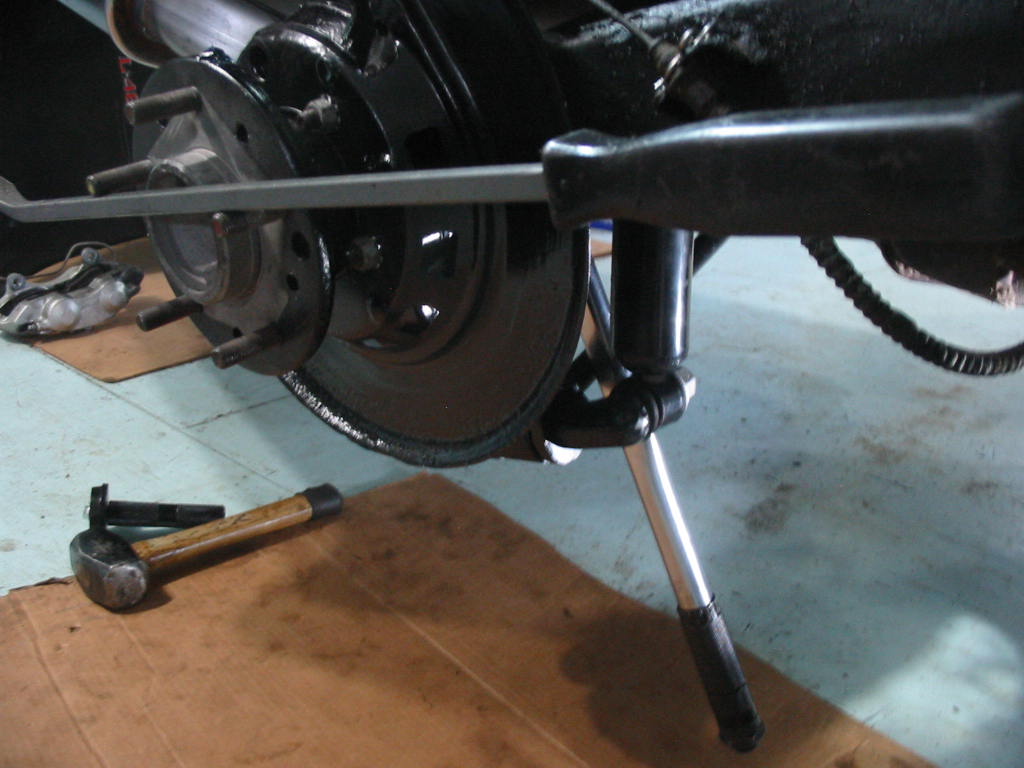
Tightening up the spindle bolt is a challenge. In the end I attached the torque wrench and let it rest against the strut. I then used a pry bar to turn the spindle until the torque wrench clicked. The spindle nut was ‘lubricated’ (hard to keep it clean when slipping it by the greased bearings) so I only torqued to 80 Ft-lbs rather than 100. I have a chart that specifies the torque for bolts dry and lubricated. I figure 80 lubed is as good as 100 dry. I then tightened a bit more until the cotter pin hole appeared.
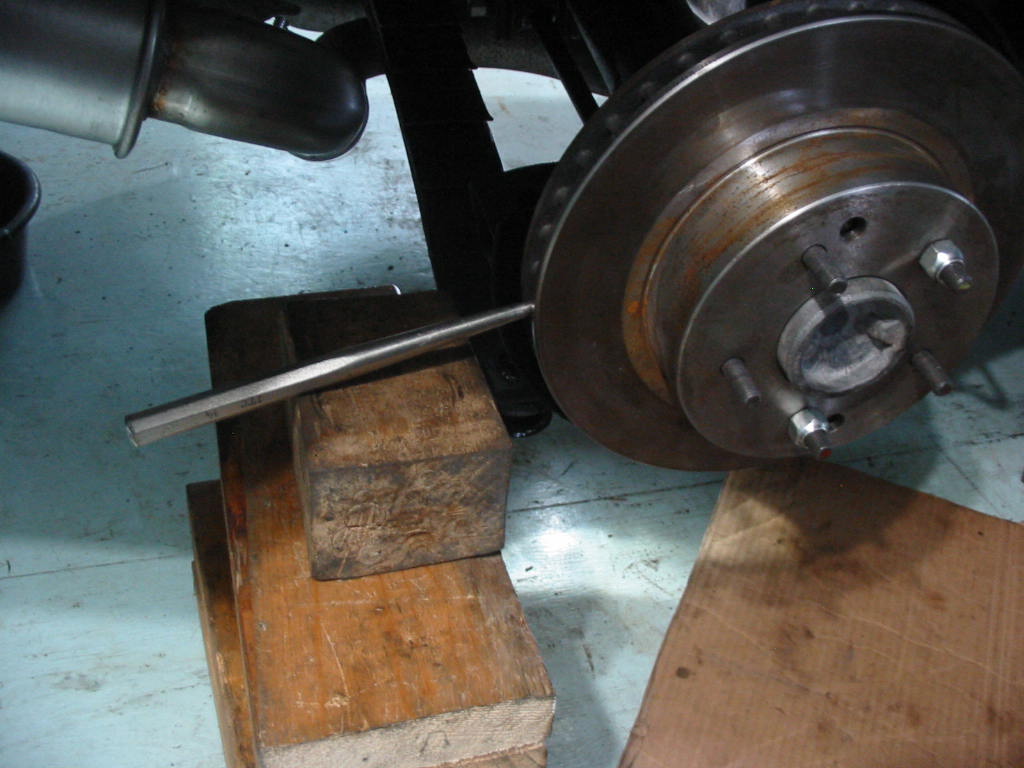
This is how I held the rotor and spindle in place while I torqued the four axle shaft flange bolts to the spindle. I used blue lock tight and 75 ft lbs so they are likely a bit tighter than spec as the blue will act somewhat as a lubricant.
Next: calipers to go on then final tightening of the strut bolts.