

Before I attempted to start the engine I squirted lots of oil over the valve rockers. I noted that the engine didn’t have a lot of oil around the rockers when I started it originally. I did clean a number of the lifters and then primed the engine with a drill and oil pump tool so I’m hoping that it will oil better. I’ll check it again later once it has run some.
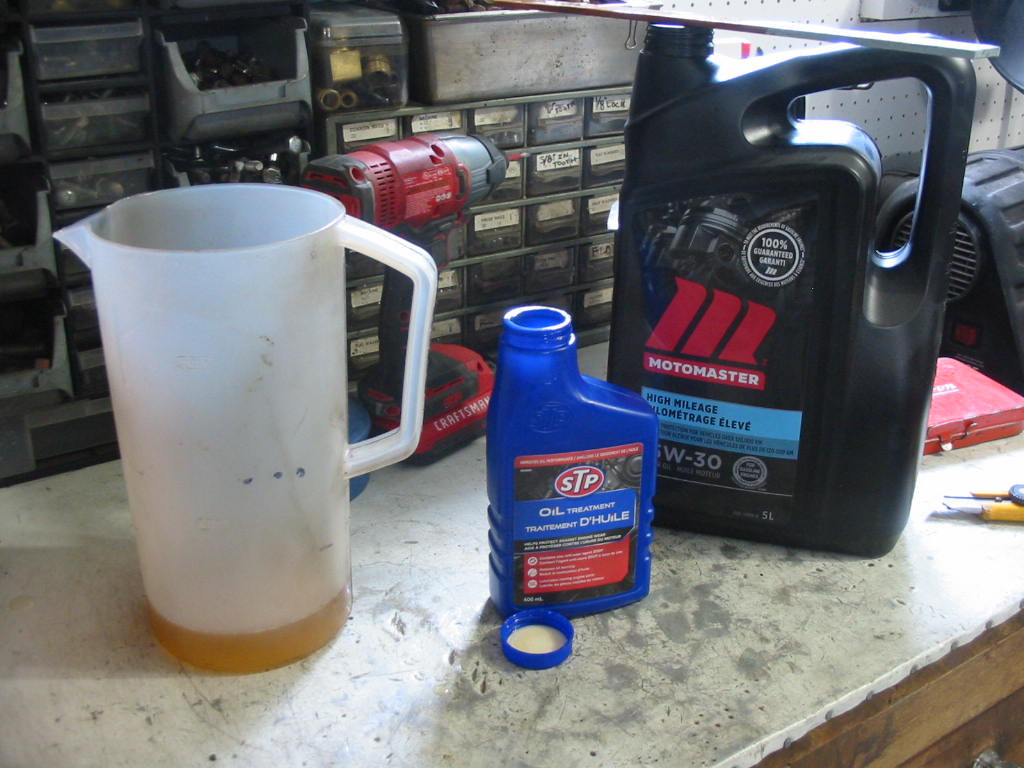
I’m using a high mileage oil from our local Canadian Tire store. Supposed to be meant for older engines. I’m also adding a bottle of STP. According to a letter I got from STP it has all the zink and phosphates needed to protect the cam and lifters and it will help seal the rings on this high mileage engine.
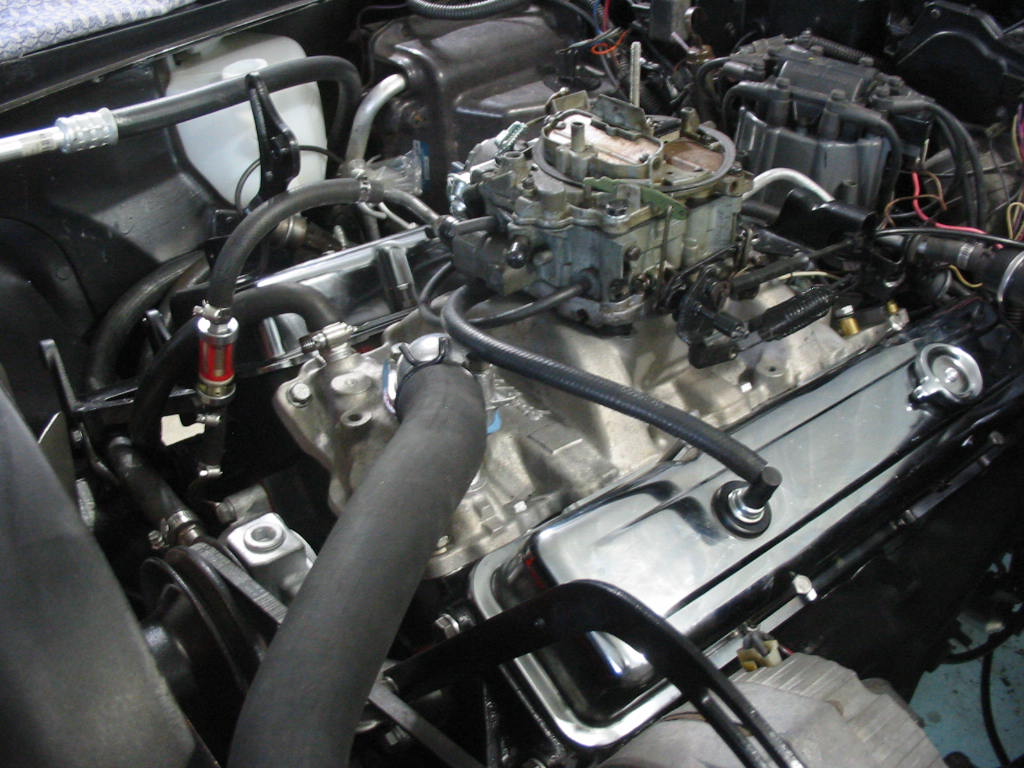
No shots of the engine running, but it ran well with only a small leak at the thermostat housing and around the pan bolts. I snugged both up. The thermostat housing sealed and I hope the pan will as well. My distributor is one tooth out of position so my start up timing was way advanced. Once I got it closer to TDC it started fine. I set the initial timing at 4 degrees and idle rpm at about 650. I ran it to temperature and then shut it down. I need to remove the water from the rad and both sides of the block – a bit messy, but…
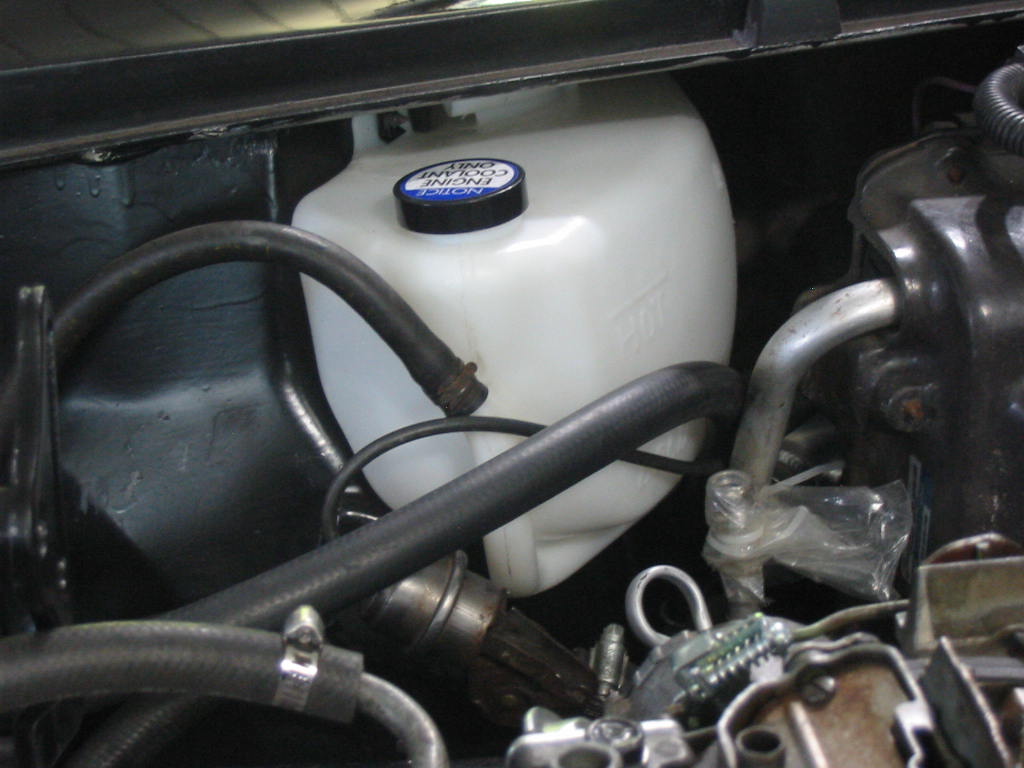
Before finishing up the AC hookup I need to get the new overflow tank in place.
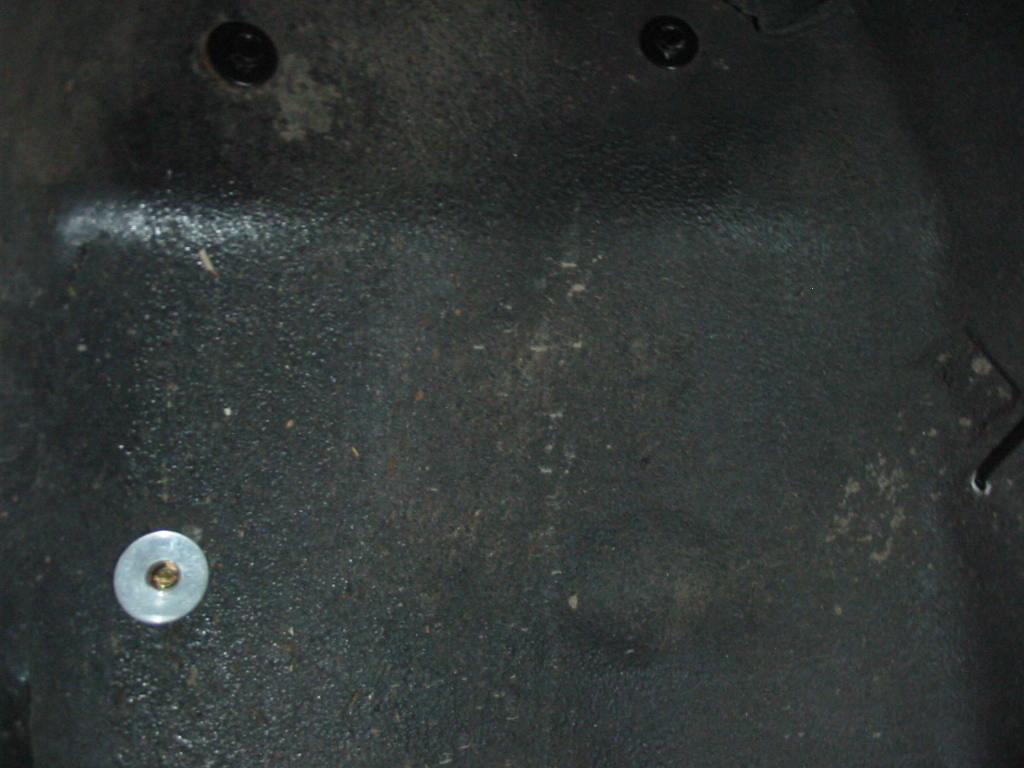
As usual with aftermarket parts the tank holes didn’t line up very well. The top two screws lined up OK, but the lower one would not rest against the fender. I had to use a longer screw top reach the tank. I didn’t tighten it fully for fear of distorting the tank to the point of breaking.
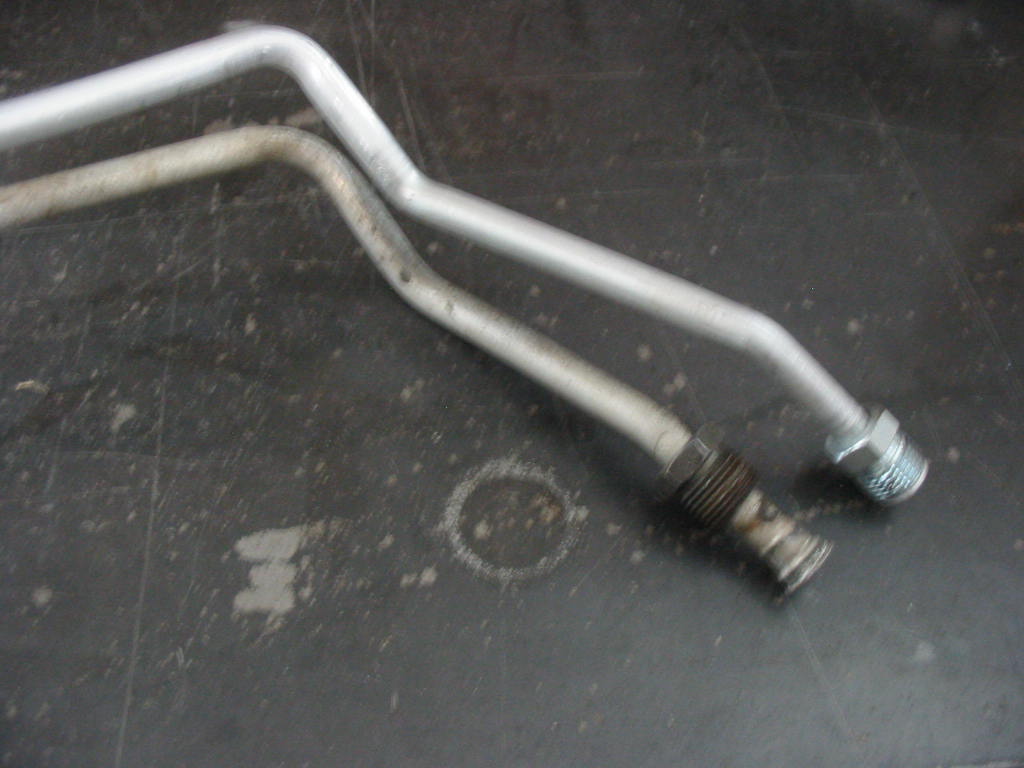
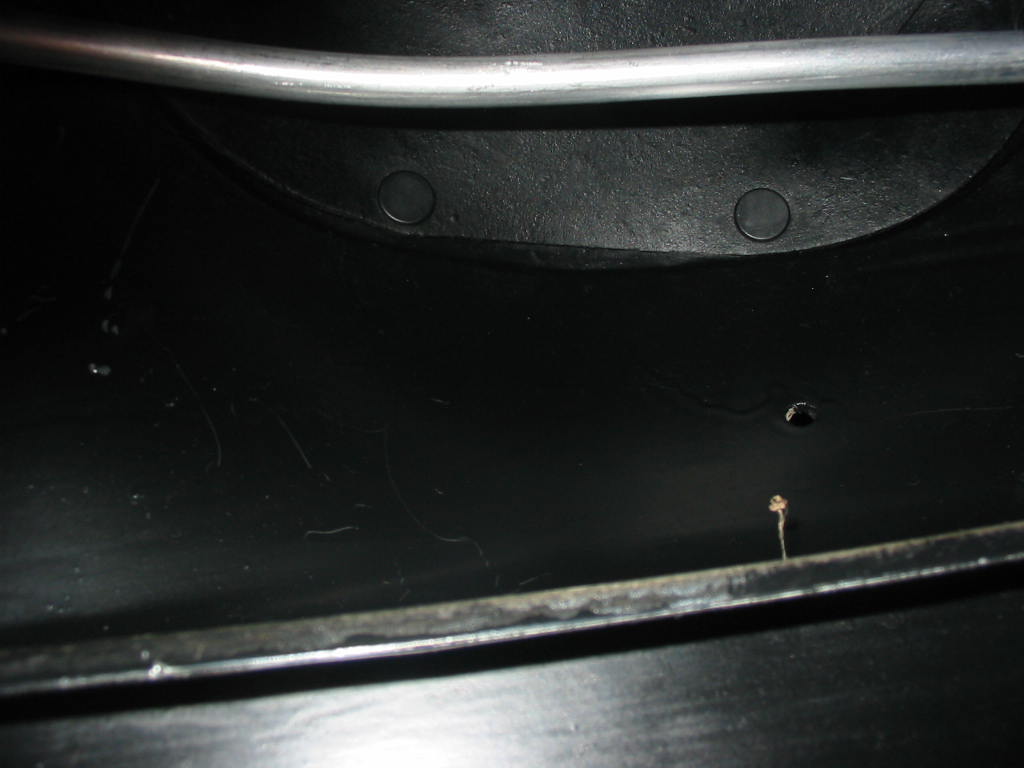
Ditto for the high pressure AC line. The new one was just out of match enough that it wouldn’t mate up with the lower condenser connection. I had to do some hand bending to get it to fit. Also it came nowhere near the fender where the hole for the support bracket is located.
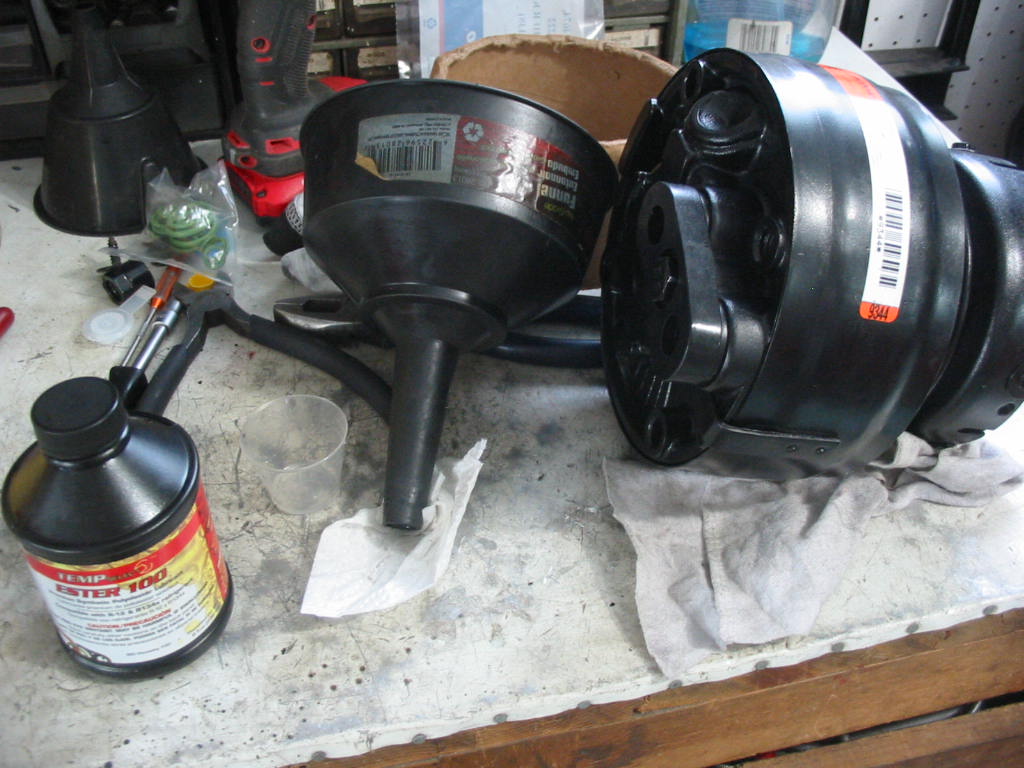
I’ve added 2 fluid ounces of Ester oil, that was supplied with the compressor, to the compressor low pressure port. I then turned the unit a few times to get the oil around. I will need to add 2 more ounces for the new receiver/dryer – as directed in the instructions with the compressor.
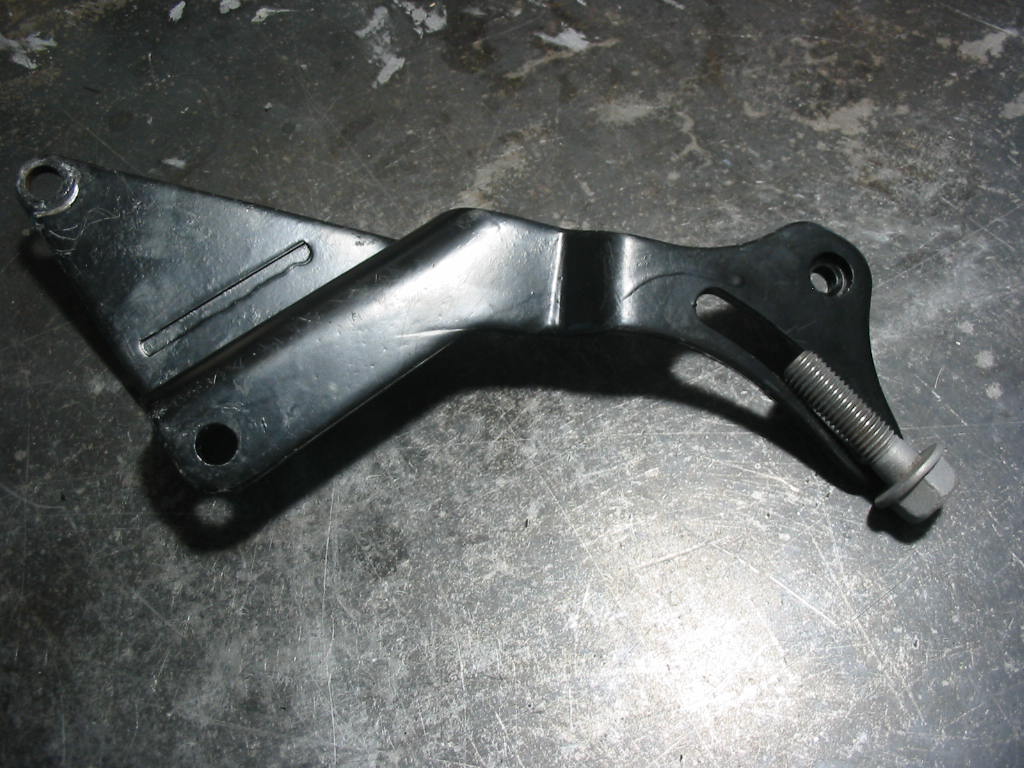
The replacement compressor won’t accept the adjustment bolt used in the old unit. It is a bigger bolt and it won’t fit in the adjustment bracket slot.
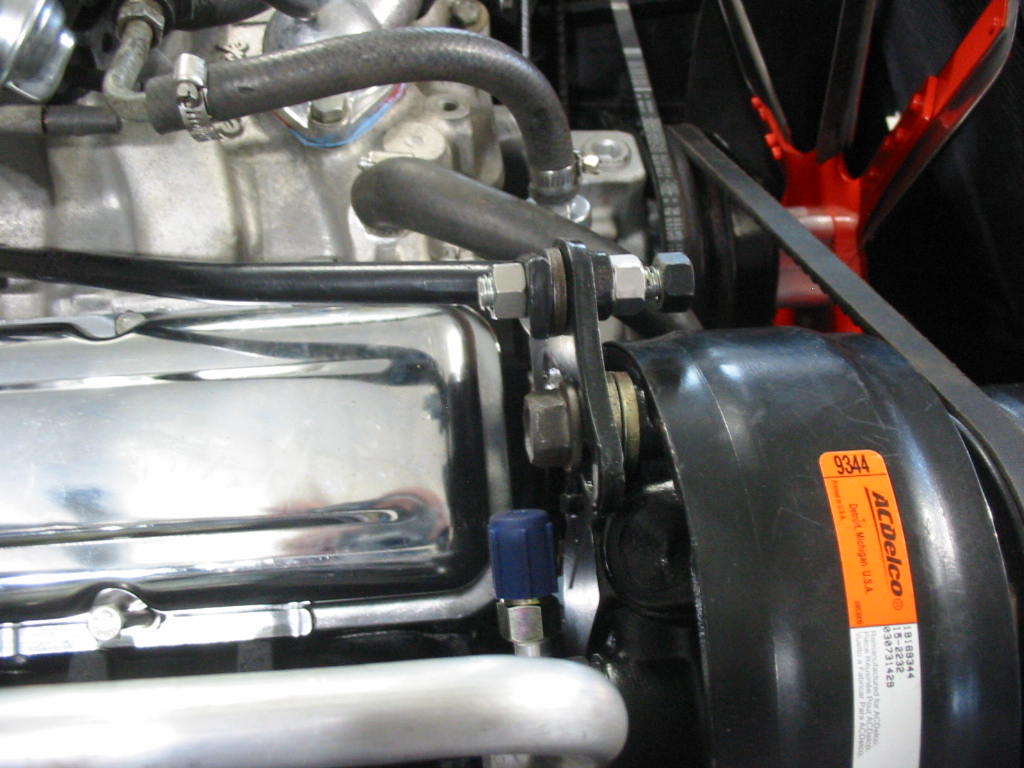
Once the bracket was trimmed to fit the larger bolt I was able to get the unit in place. The original spacer between the bracket and the compressor also wouldn’t fit so I had to swap it for a couple of large washers. Also the adjustment bracket mount on the block had to be ovaled to allow the bracket to rise so that the larger adjustment bolt would fit properly in the compressor. Because of all this I now had to use a spacer to get the adjusting bracket brace to fit.
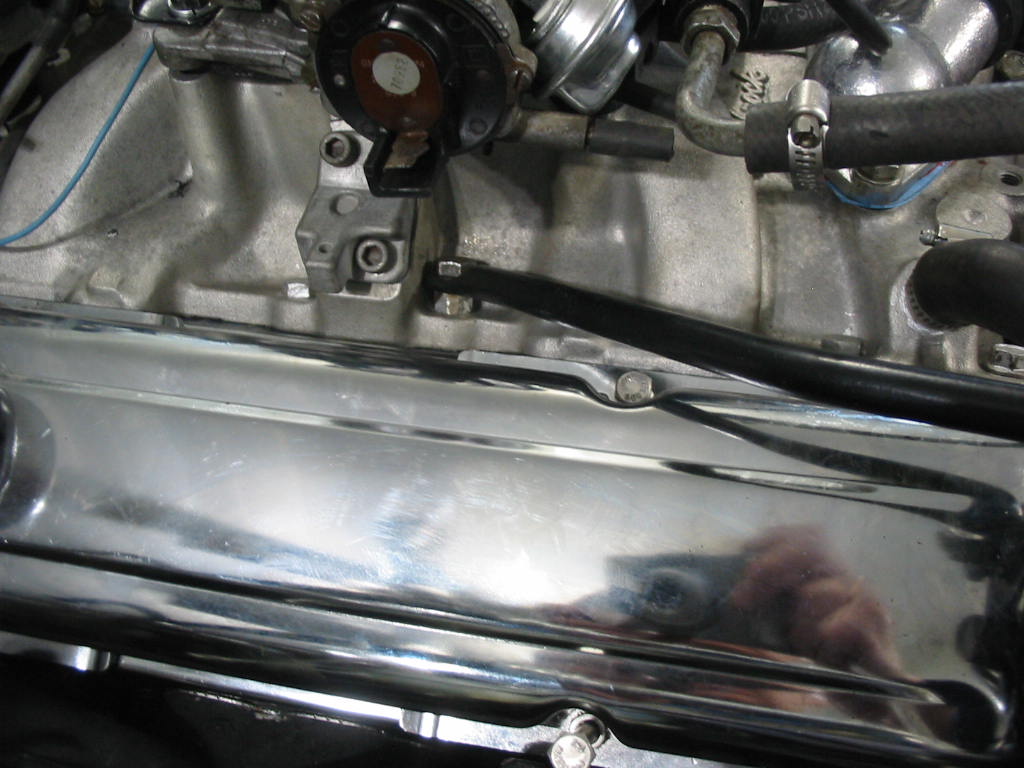
I also had to use a longer bolt and spacer at the manifold to allow the bracket to fit flat on the aftermarket intake manifold. Lots of fiddling to get it all to work, but when I swap back to the original 350 it should be more straight forward.
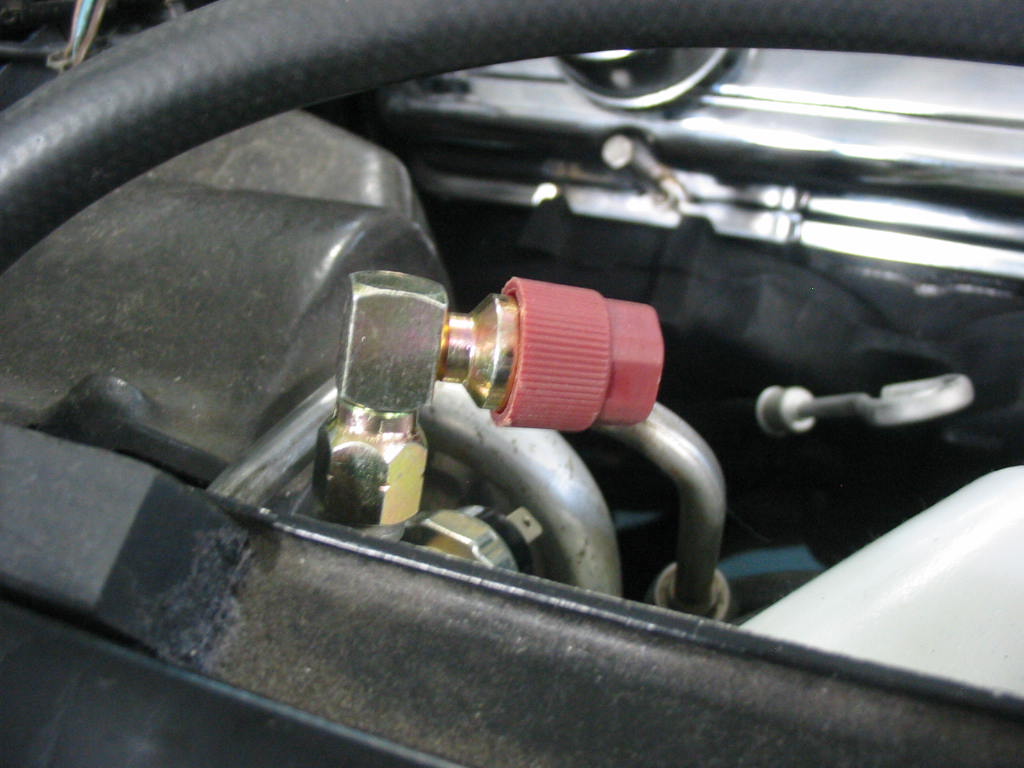
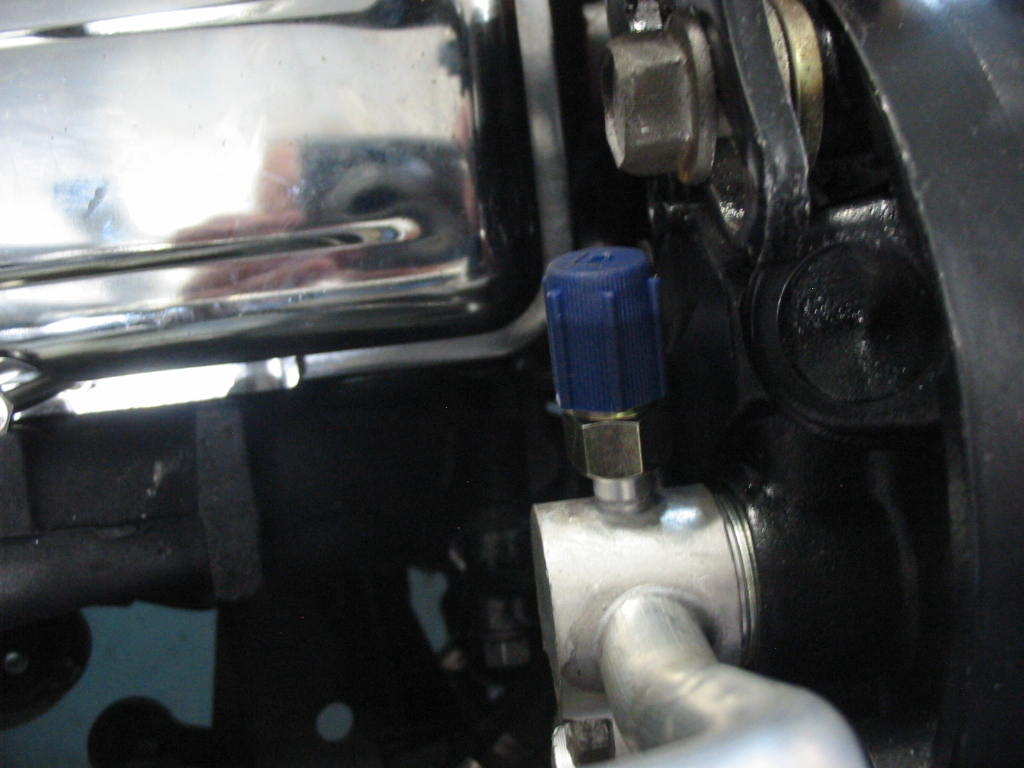
I had to add a 90 degree fitting to the high side of the AC line so that it will clear the hood. I need to do the same with the low side fitting (blue) so that I can connect the AC gauges to charge the system. That part should arrive today I hope.
Next: More AC prep and onwards