
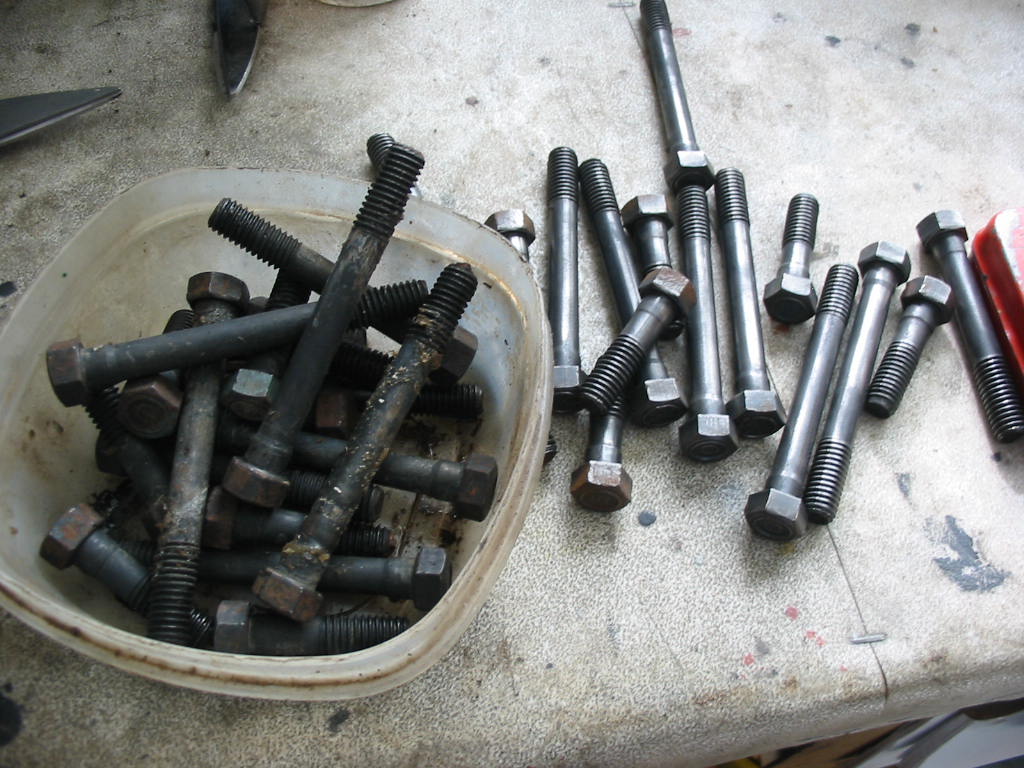
Cleaning up the head bolts with the wire wheel. The manual says to coat the threads of these head bolts with thread sealant. By the looks of them the builder dipped the whole bolts in the sealant – what a mess to clean off.
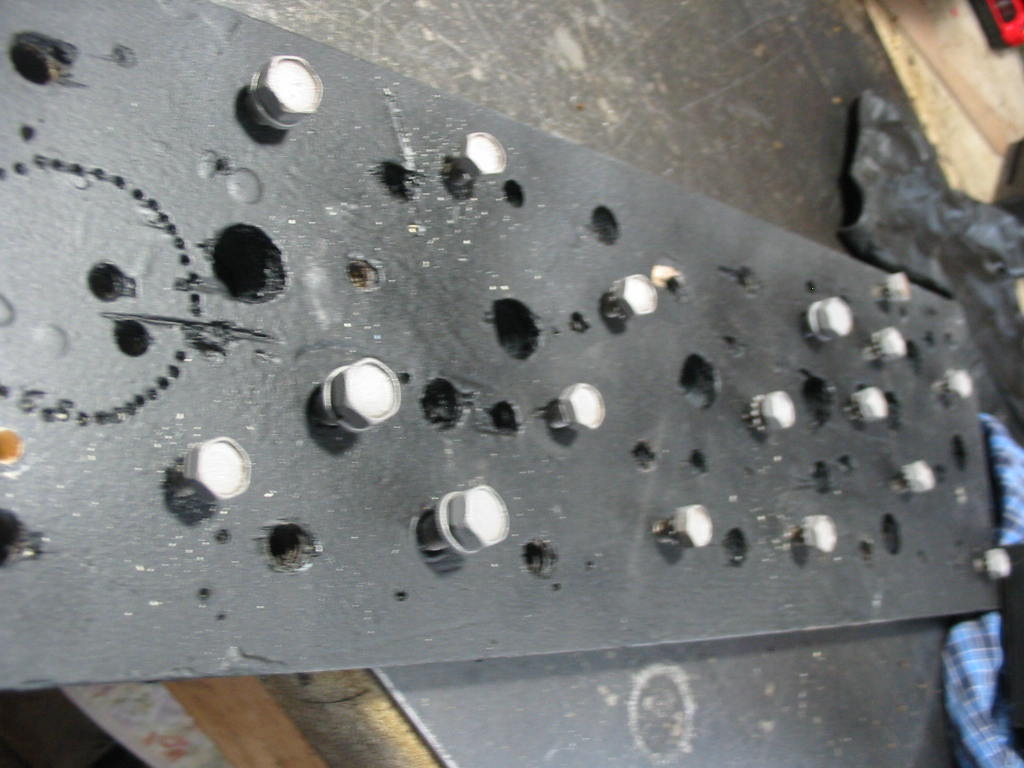
Some parts like these pan bolts I put in parts solvent and then sand blasted them before painting. I find these boards with various size holes handy to hold bolts and screws for painting.
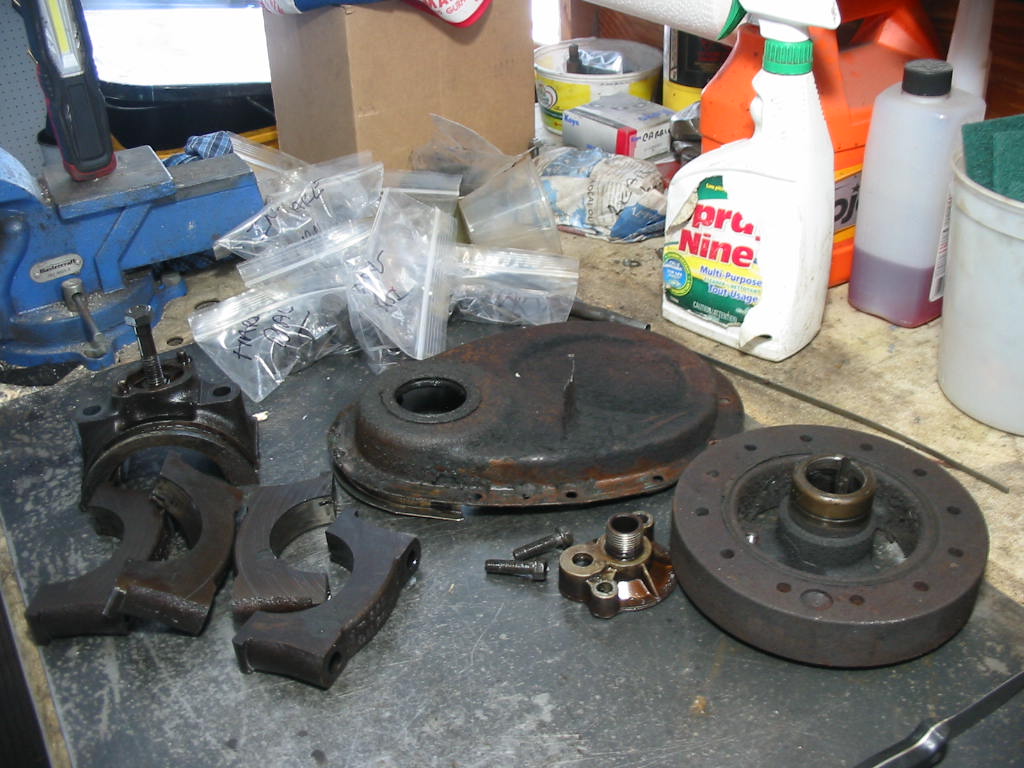
Lots of parts to clean and some to paint. I’ll hold off painting things like the timing chain cover and pan until the engine is all together. Then I’ll give it all a good coat of GM corporate blue which is it’s original colour.
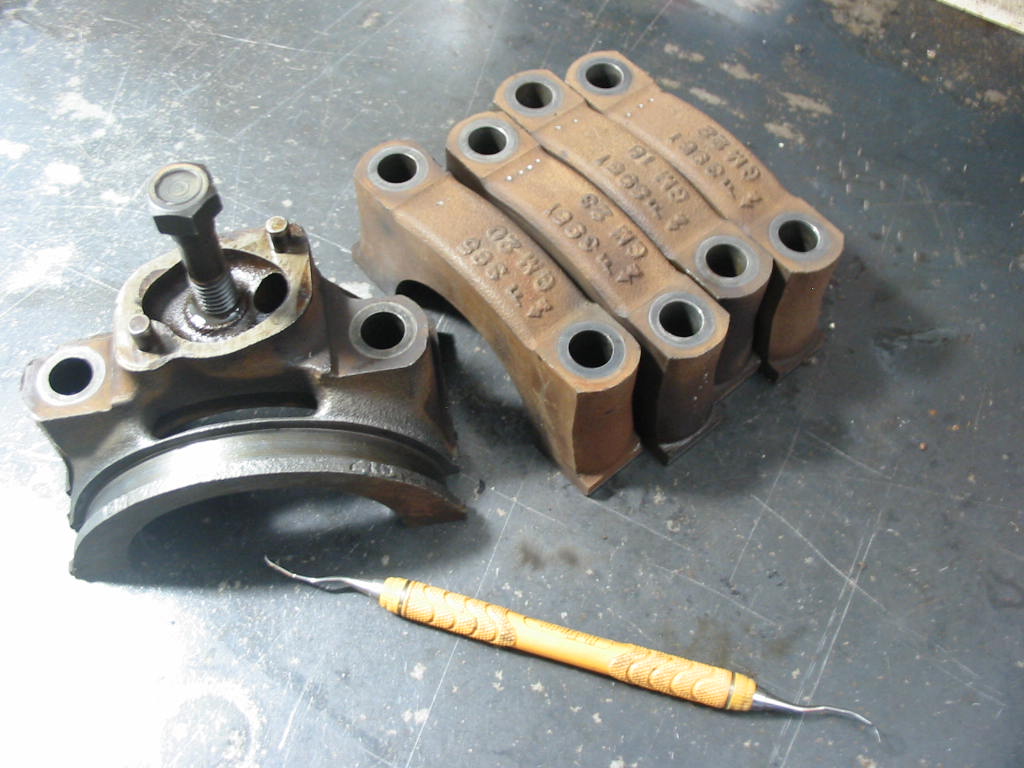
I cleaned out the residue from the rear seal using a wire wheel on my drill. I then used a dental scraper to get the remains out of the edges.
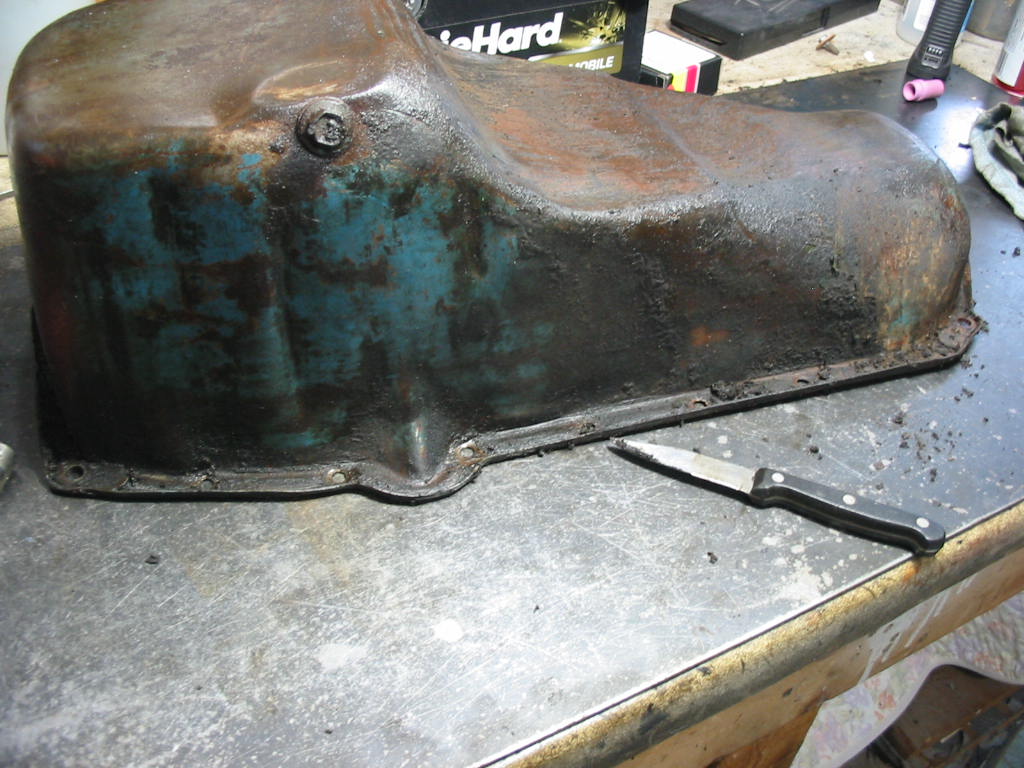
I’d have liked to put the pan in the sand blaster, but there is no way I could be sure that the all the sand was out of the inside under the baffle. Silica sand in the oil pump would not be good!
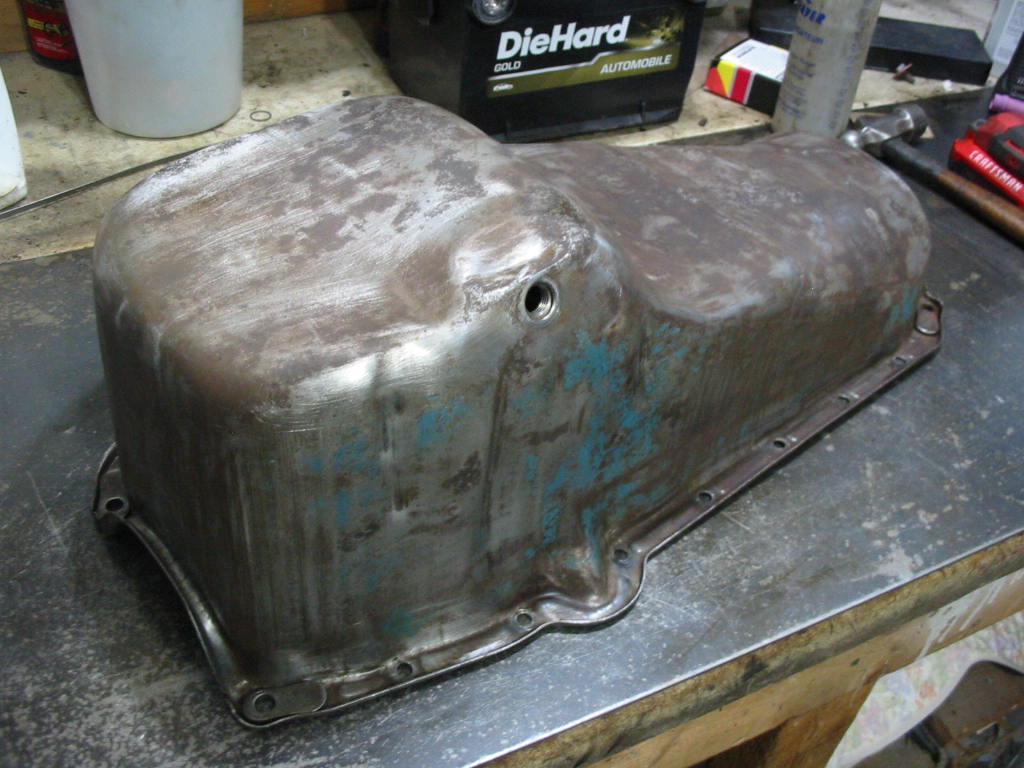

A bit of time sanding and cleaning and it’s ready for paint. I cleaned away the ‘shellac’ deposits using a scotch brite pad and some solvent.
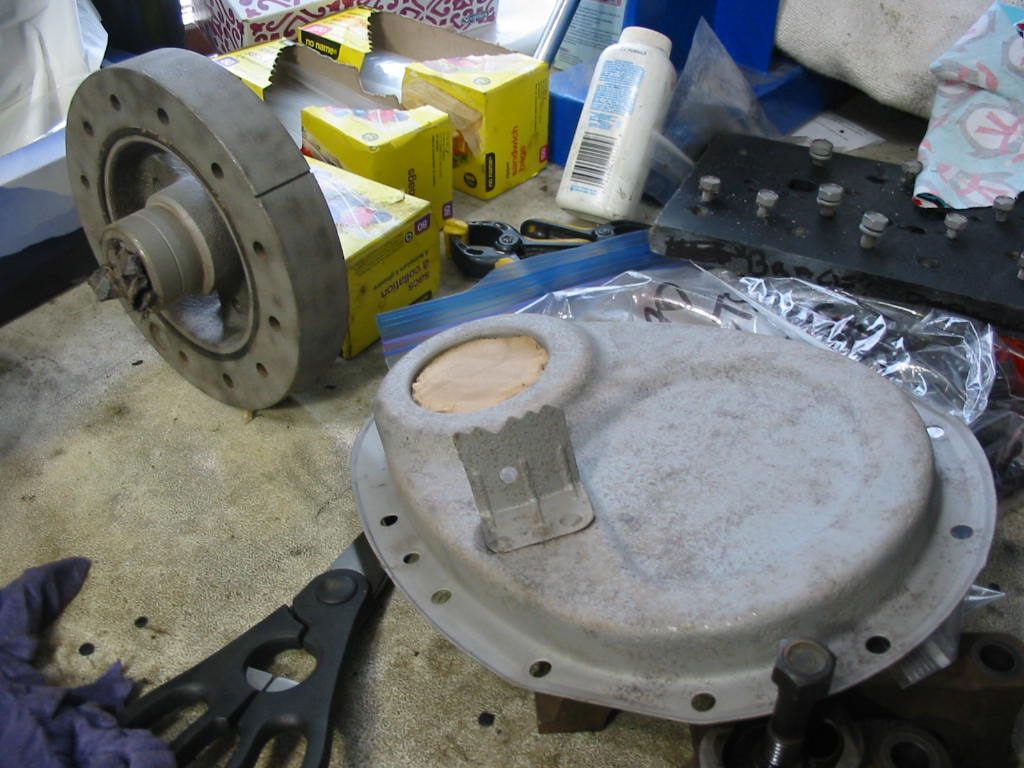
These went through the sand blaster – thankfully because the timing cover was quite pitted and the harmonic balancer has some rough casting areas.
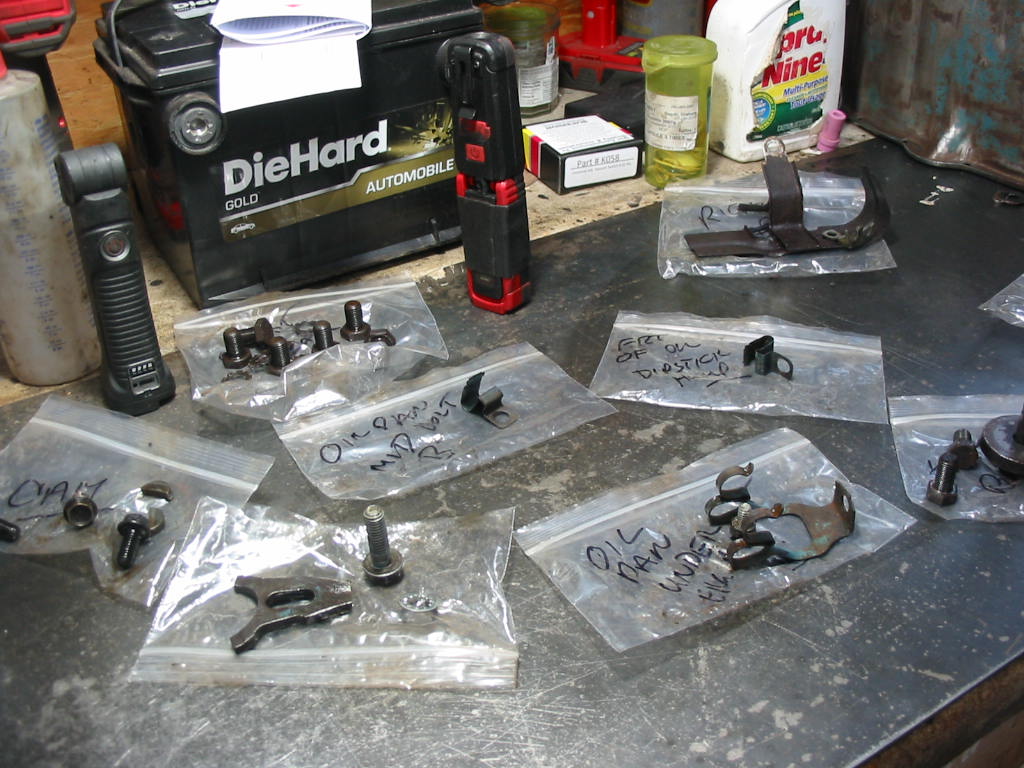
Lots of bits and pieces to be cleaned and painted.
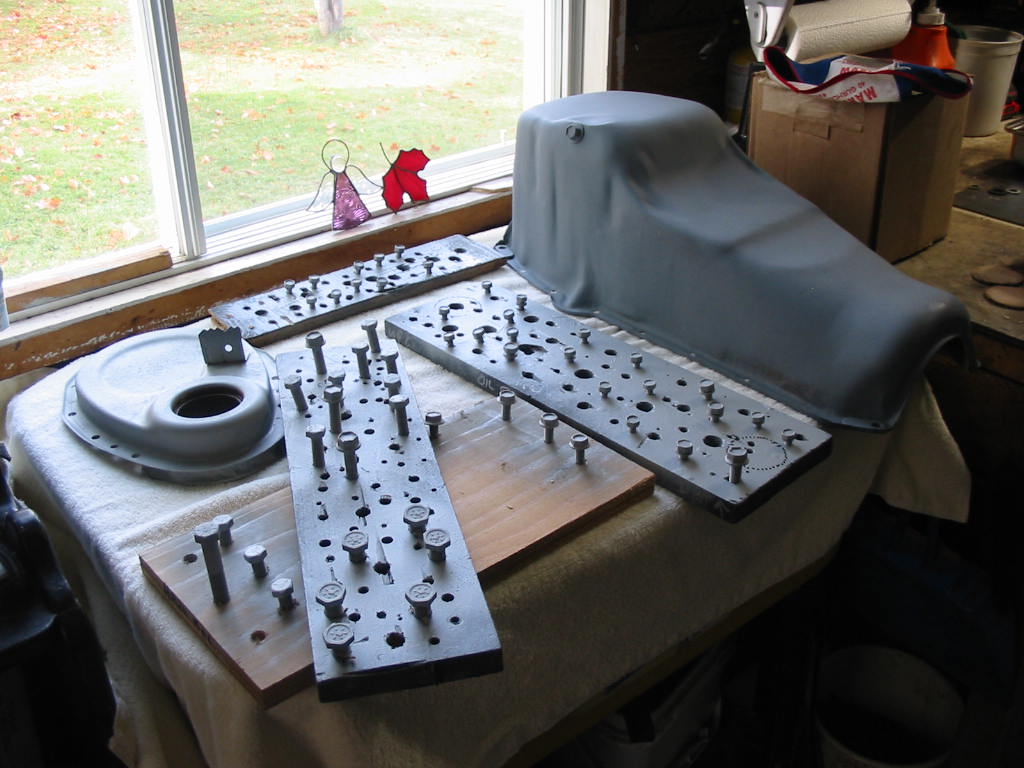
Look so much better with a coat of primer. Some parts will stay in prime until they are put back on the engine and the whole painted in GM corporate blue. Others will get a couple of coats of satin black.
Next: Big problems and as the saying goes ‘the best plans of mice and men…’