The tire shop checked out the damaged tire and found it was cut through at a point on the i bottom bead – go figure! The tire is toast and happily the road hazard warranty will cover the cost of a new tire. It should be in next Monday so hopefully the weather will cooperate and I can get another test drive in.

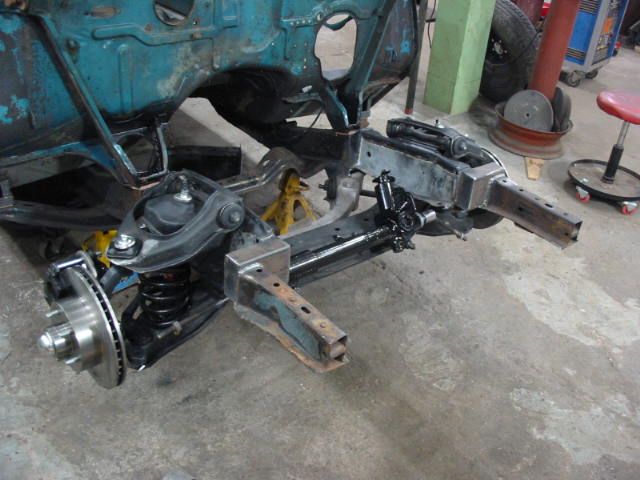
This is on the left rear where I’m having tire issues. Not so nice. I’m checking out a new disk. So far the best price is from Rock Auto. I’ll check with CarQuest on Monday and see if they can do any better than the $92 all in at Rock Auto. the other three disks are holding out fine.

On the test drive the engine idle RPM was too slow and it was stalling. So I upped idle by a 1/4 turn and we’ll see how that does. I also opened up the idle mixture screws 1/8 turn in case it was too lean for a hot idle. Easy to adjust both on this side.

I like the Q jet albeit more complex than a Carter AFB or Edelbrock successor. Only other gripe is that the fast idle setting screw is almost totally hidden behind the linkages on the right side. Also the idle mixture screw on this side is a bit difficult to get to. All of these little bugaboos will mean nothing after the carb is running properly – no need to look at it again for a long, long time:-)