First time out to clear the cobwebs from the Chevy and I run over something on the road and my nice new right rear tire went flat! Hopefully no damage to the rim. I have road hazard warranty for another month so I hope it covers the cost of a new tire if the sidewall is slashed.
Fortunately I had a good spare on hand. I called CAA and they came along and changed the tire. Easier for them as they have a garage jack which is much better than the small scissor jack that is with the car. Still I could do the job if I had to, with the tools I keep in the car.
Got the ’66 on the road yesterday 🙂 Headed for a gas station as I was low on fuel. 1/3 tank cost me $40 so I can expect to pay about $100 for a fill up if I don’t get too close to empty!
All went well including the AC. It is a lot quieter now that I have new window run felts in the front doors. I think I’ll stay with the front bumper. Looking forward to doing the rear doors and hood next winter. In the meantime I’m supposed to hear from the upholstery shop about getting the bucket seats and rear seat redone,
The ’79 is still waiting for it’s turn to have a startup run. I’ll get it out soon and then I’ll be able to fine tune the carb and check that my power steering work is OK.
Hard to see the paint jobs, but I painted the driver’s door with the original Richelieu Blue metallic. Turned out OK with a couple of coats of paint and a couple of clear coat. I used acrylic enamel for both the paint and the clear. The passenger door is done in satin black as I also painted the new fenders and rockers.
The car is now ready to get on the road as soon as the salt is washed away:-)
Meanwhile my buddy Don is working on his ’57 Studebaker project car. Nice job of patching the inside of the fender.
Less patching needed on the passenger side fender.
There are always hitches in these projects. This is the heavy duty 3 spd auto with overdrive that is attached to the 350 LS Don is planning on putting in the Stude. You can’t see it but at least three of the mounting ears are cracked! It is a one piece case so to repair will mean finding another trans and swapping out the internals. Not an easy job to find a donor and do the swap. Happily Don has a 700R4 three speed OD trans from a Firebird that he recently bought, stripped and junked. This might be better as the 700R4 is smaller than the HD trans now on the engine and it will be easier to fit in the Stude.
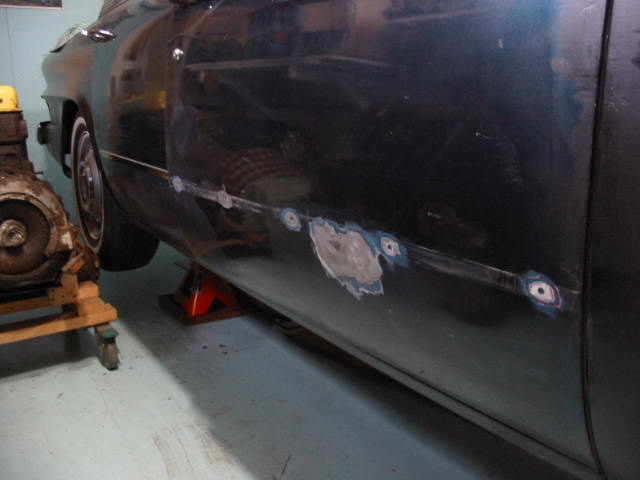
Bondo brand Spot putty applied over the sanded tiger hair fibreglass patches.
First coat of spot putty sanded off and more added to fill spots missed. I decided to do a bit more on the passenger door just to see how smooth I could get it. I sanded the tiger hair with 80 grit paper. I’m sanding the putty with 320 grit. Hopefully that will be good enough for a smooth paint finish.
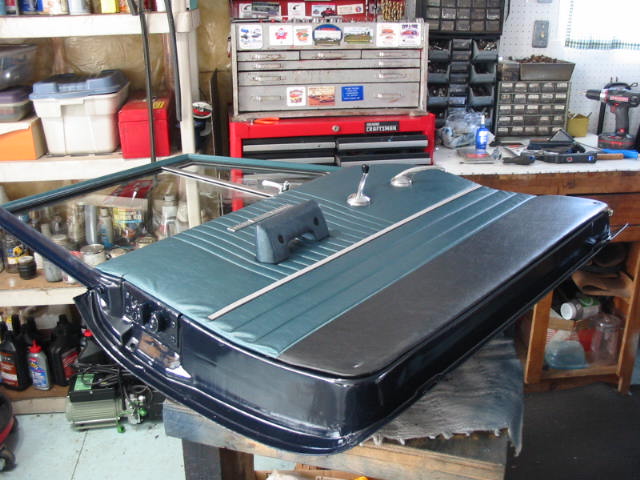
Original front bumper back on the car. I think I like it better. More classic looking than street rod.
Next: spring is here and I need to finish the Studie and get it on the road for it’s spring shake down run 🙂
Left front door finished and back on the car. It went a lot faster and easier with lessons learned from the other front door!
Both door sides need the trim holes filled and there is a small dent on the left door needing attention. I have sanded it down and then coated the bare metal with Rust Converter to be sure any rust left over is turned to primer.
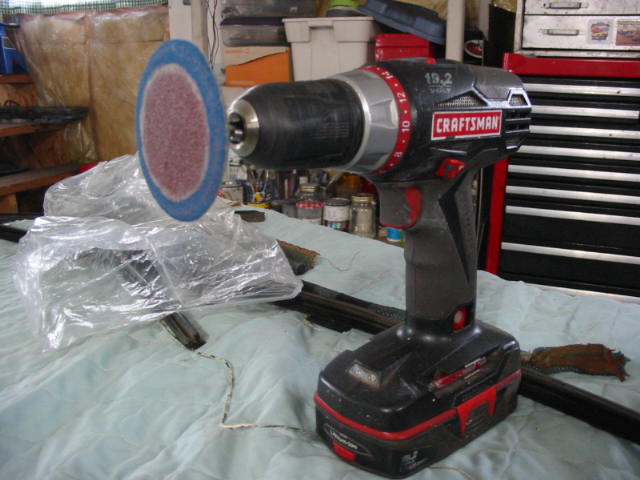
I opted for this setup rather then using the grinder and a flapper wheel. A lot less noise and flying dust this way. With a smaller wheel it worked better for the smaller grinding needed.
Ford rims and temporary tires on the ’57 Studebaker project.
The engine has been moved out of storage and soon will be positioned in the car so that new motor mount pads can be fabricated.
In between some small rusted out areas on the fenders need to be fixed. Same problems with front fender rusting that all early cars without inner fenders suffered.
Next: Finish door repairs and put the front bumper back on and see if I like it better with a bumper than without.
Starting work on the passenger side front door. It should go easier with lessons learned from the first door.
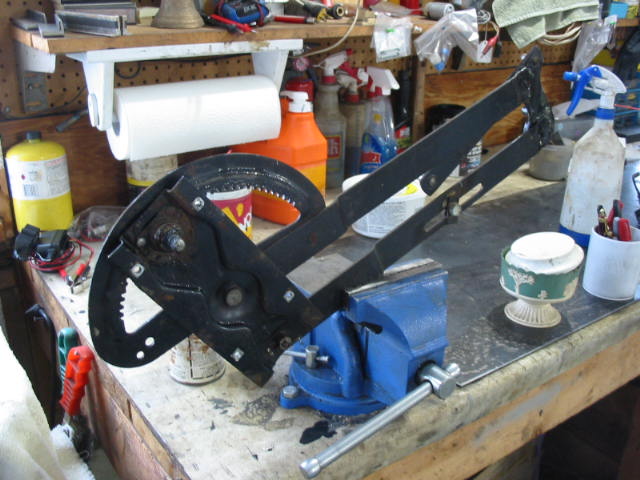
The regulator was pretty stiff so I decided to get it on the bench were I could get at all its ‘joints’.
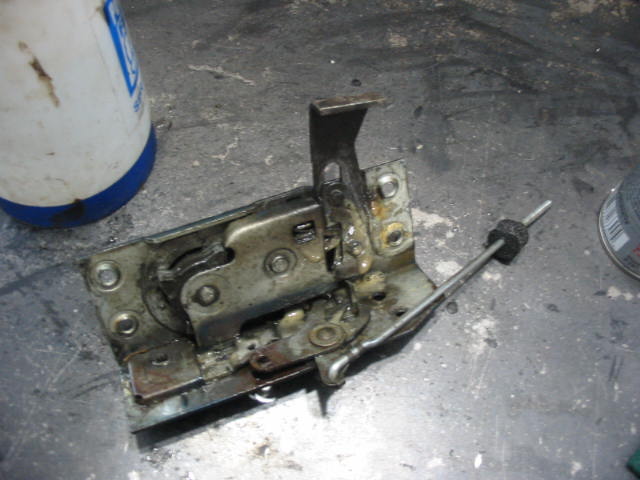
Likewise the door latch.
Old seal glue removed, rusted areas sanded and taped off ready for paint.
Back to the drivers door. Seal and door panel in place.
To seat the new seal which is making closing the door stiff, I moved the door striker out a tad so it was easier to close. I will leave the seal to take a set for a couple of days then over a few more days, move the striker back in bit-by-bit until the door is closing properly.
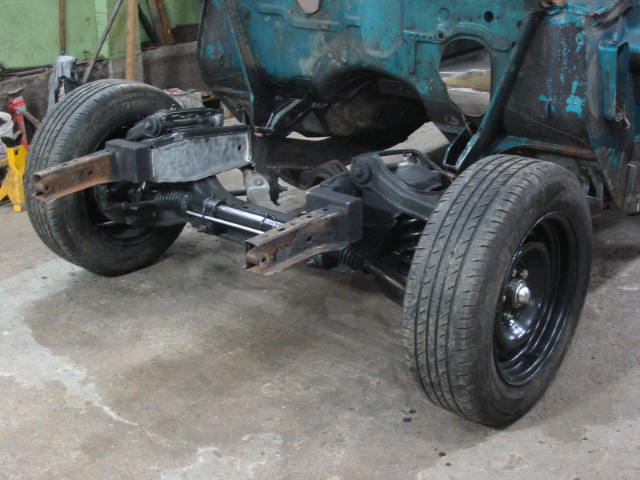
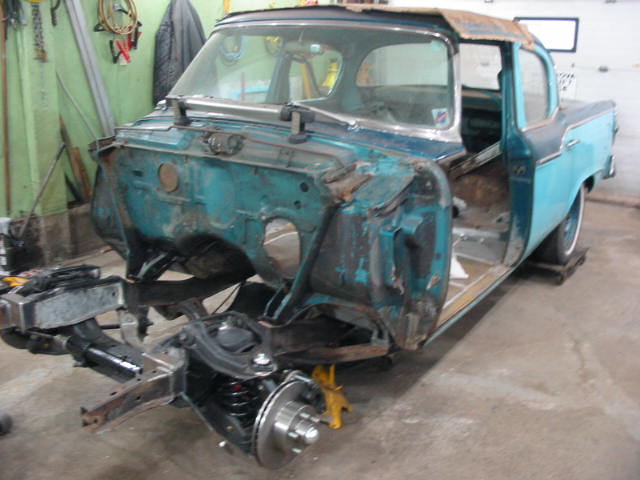
This is a shot of a friends ’57 Studebaker Champion that he is doing over into a nice classic driver. He has adapted an original Mustang II front end to the body at this point.
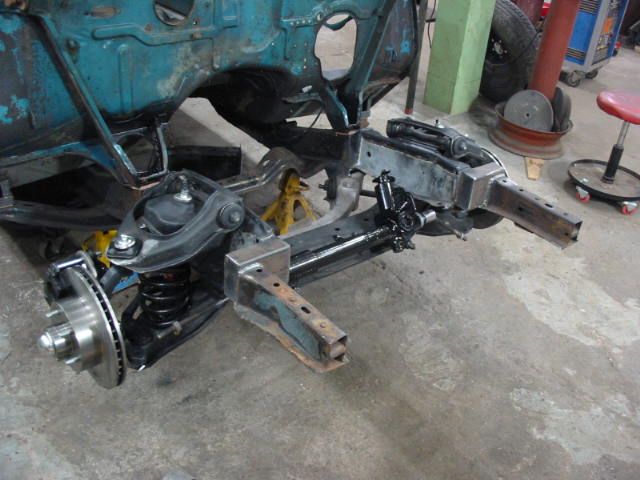
He has upgraded the front end with 11″ brakes and has overhauled the power rack. The original frame fronts are back in place to fit the original front end components. He has also replaced all ball joints, springs and bushings.
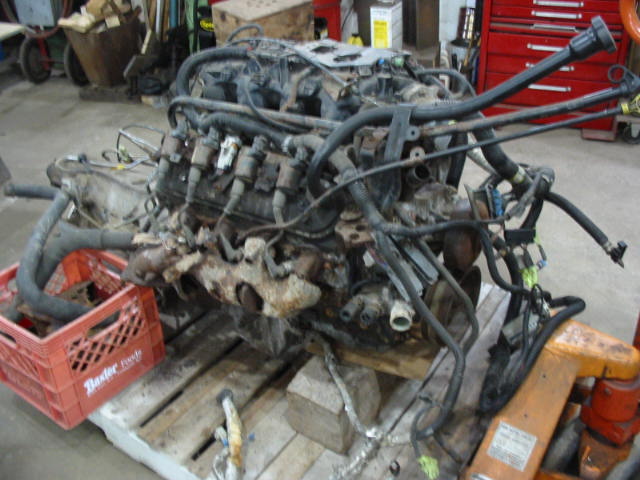
This is a late model LS 350 Chev engine and overdrive trans from a 3/4 ton truck van that he plans to install. It will also include air conditioning.
Paint went on fine, but then the fish-eyes appeared. There is grease on the door latch mechanism and I must have spread it around when I was wiping down with paint thinner.
Not too big a job sanding it down and cleaning it with thinners.
Meanwhile I’m getting other work done in preparation for re-assembly. All cat whiskers now riveted and ready to be installed once I finish going over the doors.
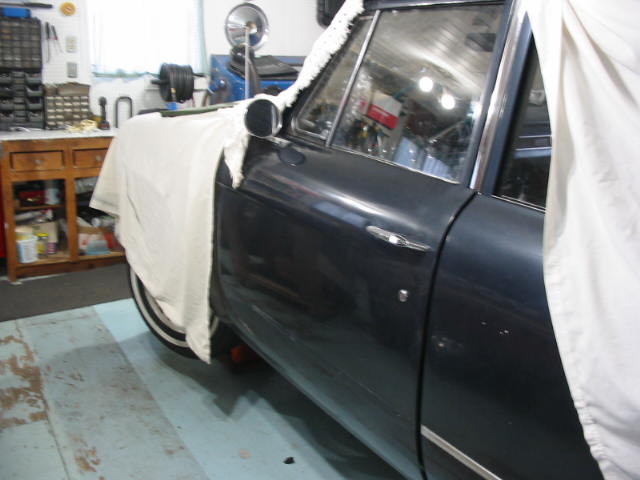
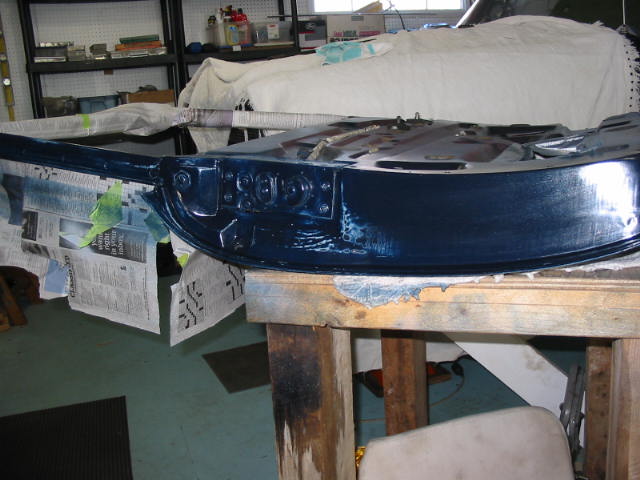
Second go and I got a good result. Three coats of blue and two coats of clear coat.
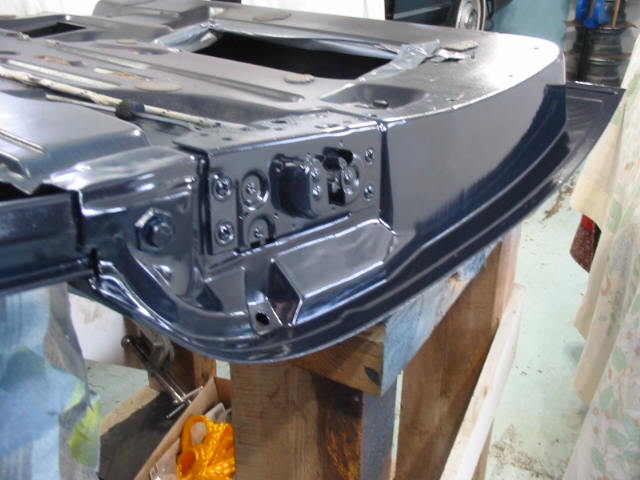
Door complete except for the seal which I will put on when the door is installed. I want to leave the paint for a few days to cure well before gluing on the seal.
Next: The other door and filling the trim holes in both doors.
Painting the area that will be under the new door seal. The blue plastic tape is good for getting a nice clean line.
The old windlace has a wider and stiffer attaching band.
To make up for the floppy attaching band I’m using the old windlace rubber as a filler. I have cut off the old windlace at the door top and will leave it in place. To do a proper job and replace that part of the windlace the headliner has to be removed and that means a new headliner. That may happen, but down the road and I’ll buy all new windlace at that time.
The choice of windlace colours is limited. I chose the light blue. I should have bought a darker tone. But it is a whole lot nicer than the old stuff. And as I said I’ll buy new stuff when I replace the headliner. Also, not only do you need to replace the headliner to do a proper job on the windlace, you also have to remove the dash to get at the hidden windlace clips!!! I have managed to get the windlace to stay behind the dash, but it would have been nice to have it attached in that location.
My test paint. I wanted to use a primer that can go over rust, but I wasn’t sure that it could stand the harsh solvents used in spray bombs. I put down a coat of Rustoleum filler primer. The label didn’t say not to use cover paint with strong solvents ( Tremclad paint, also made by Rustoleum, does warn against using cover paints with strong solvents). I left it for a day and then gave it a coat of Richelieu blue automotive acrylic enamel. After a day it still hadn’t acted upon the primer so it’s a go 🙂
While I’m waiting for the used engine to rebuild for the Chevy I’m going to get some work done on the ’66 Studebaker Commander.
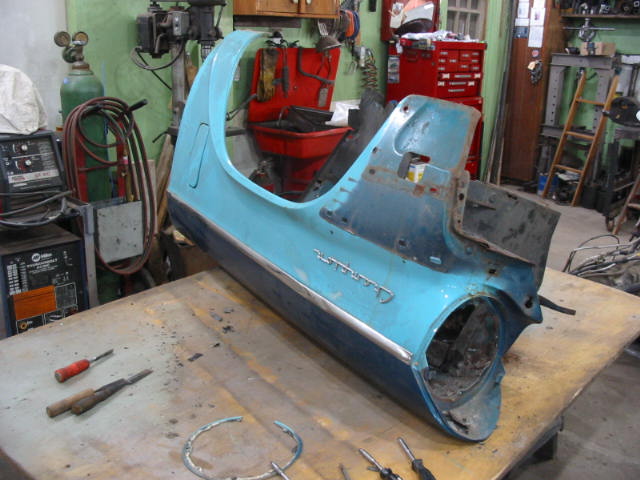
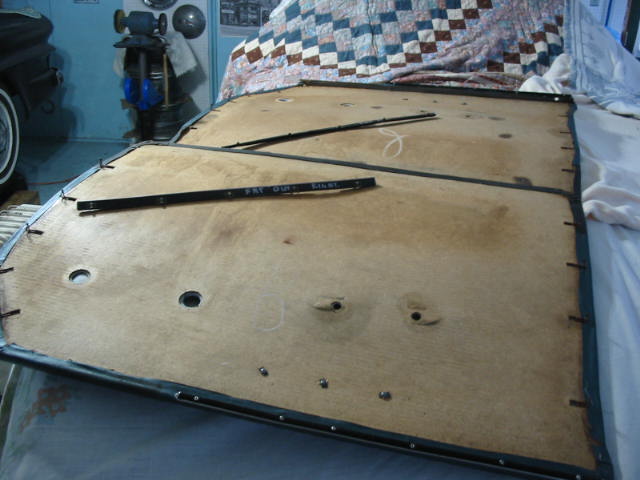
I need to go over all the doors eventually, but for now just the drivers door. I’ll be removing the ’66 lower door trim in favour of the wider ’63 trim that goes along the upper side lining up with the door handles.
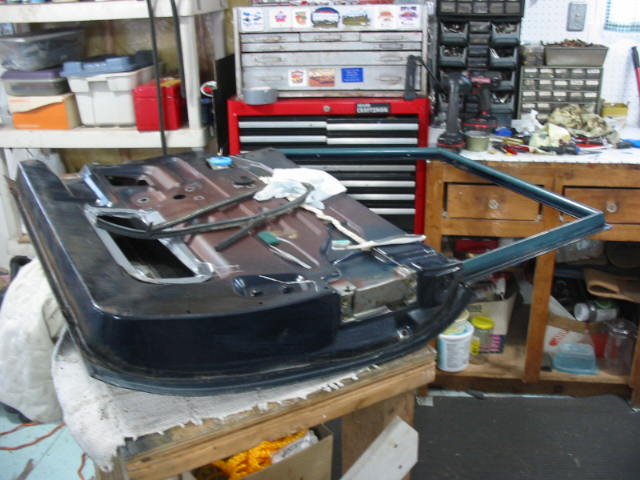
Door off and the vent and door window removed.
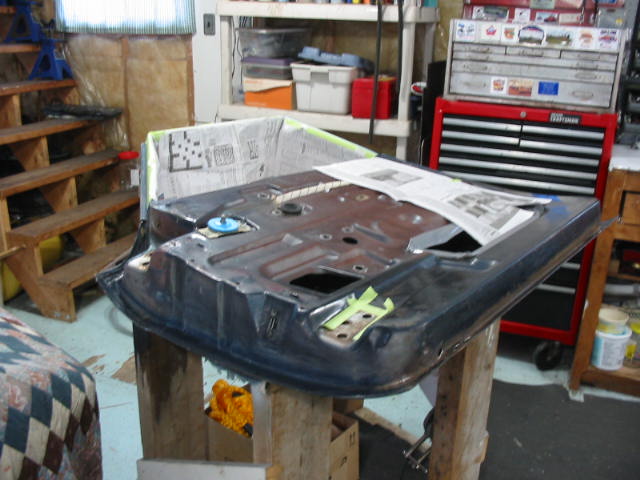
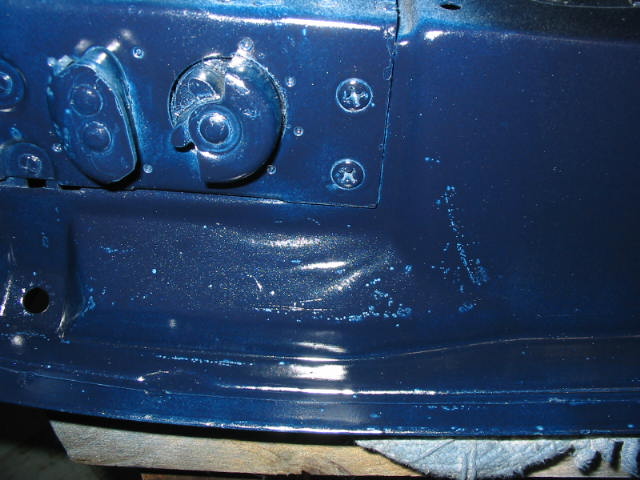
I scraped away the sound deadner, cleaned and sanded around the five lower trim holes. I then applied a fibreglass patch with two coats of fibreglass resin. I will cover them with black automotive coating later. On the outside I’ll fill the holes with two part body filler with short tiger hair. I’ll then skim that with regular body filler for the final treatment.
There was no way I could get the attaching clips fitted into the new cat wiskers for the outside of the door. I did find a way to pop rivet the old clips to the strip.
I broke off the mounting tabs and drilled them for a 1/8″ pop rivet. I then drilled the cat wisker in the proper locations and attached each clip. Worked a charm 🙂
Next I removed the old door seal. I wanted to remove all the old glue so that the new adhesive would have bare paint to stick to. The best solution after trying some other stuff was plain house paint thinner and small chunks of course scrubbing pads. I will also clean and sand all the exposed metal for a later coat of new paint.
The nice new speakers refused to fit in the dash opening on the passenger side. The magnet is so big that it hits the bracket for the glove compartment lock. Bummer!
I bought them from Corvette Depot. So I went online and filled out the return form. I then was able to print off a return UPS label. Once I got the return approval email I boxed them up, ready for shipping. The company make it really easy to make returns.
I was going to buy another set of speakers from Corvette Depot, but the only other set that was supposed to fit the ’79 models was out of stock until maybe sometime in May. I was at Canadian Tire picking up some specials and I found a set of 4X6 Pioneer speakers. They looked like they might fit so I picked them up.
They fit just fine on the passenger side.
The speakers came with leads. Here I have soldered them to the original socket from the old speaker on the driver’s side. The leads are marked as + and – using different blade connectors. The Chevy service manual shows the tan lead as being the + side so I made sure the + lead wire was connected to the correct side of the plug.
The old speaker on the passenger side was a replacement and was hard wired in. The + side on the passenger side is the dark blue wire. Using bullet connectors I soldered ends on the leads and the original speaker wires – they are shown on the photo of the glove box opening above.
The installation bracket with the speakers fit the dash openings OK so easy to get the screws in – it was harder with the forward screws as there wasn’t enough room under the windshield to use a 1/4″ ratchet. I started them with fingers and tightened with a 9/32″ box end from a mini wrench set.
They sound great – especially using the cassette tapes. So now I’m really ready for cruising in the Chevy 🙂
Next: I’ll be working on Studebaker doors until I get the used replacement engine for the Chevy.